User Groups can help to further restrict documents, or allow you to add users to the calendar, appointments, or documentation.
Permissions Required
- Manage User Groups
Managing User Groups
To manage user groups, you must have the "Manage User Groups" permission.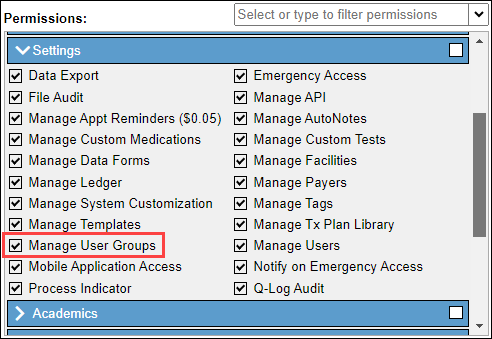
Access User Groups
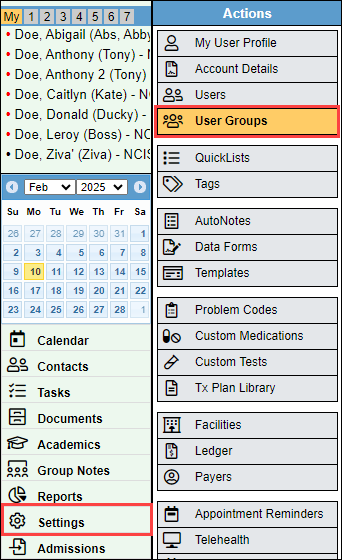
- Navigate to "Settings" and "User Groups."
Create or Update a User Group
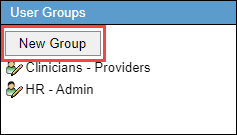
- Select "New Group" to create a new group, or select the name of the group you would like to update.
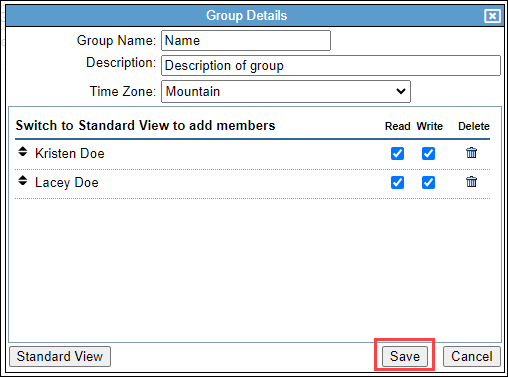
- Enter the "Group Name" and "Description."
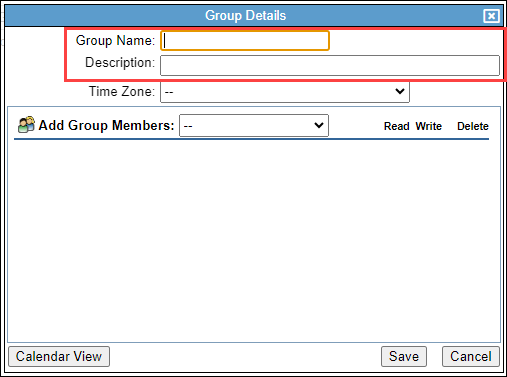
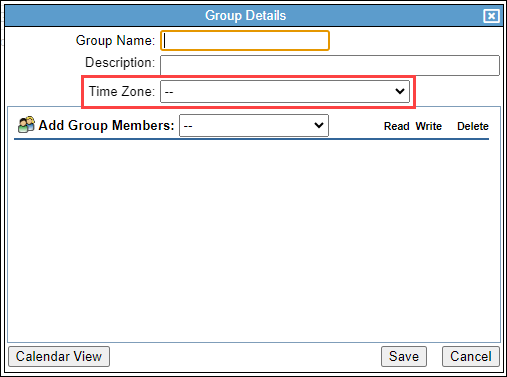
- Select the time zone from the "Time Zone" drop-down. In the Calendar view, the members' schedules will display in the selected time zone.
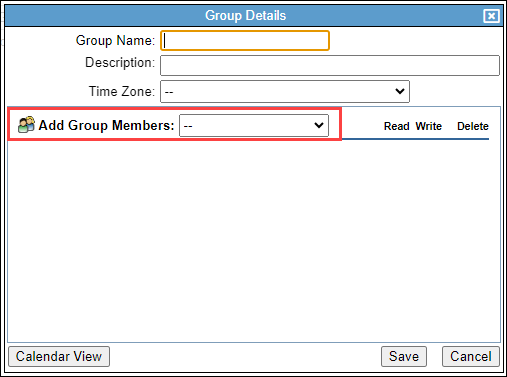
- All users will be listed in the "Add Group Members" drop-down. Select each user you would like to have added.
- For each member of the group, verify the "Read" and "Write" status for each. "Read" will give the user read-only access. "Write" will allow the user to edit unlocked documents.
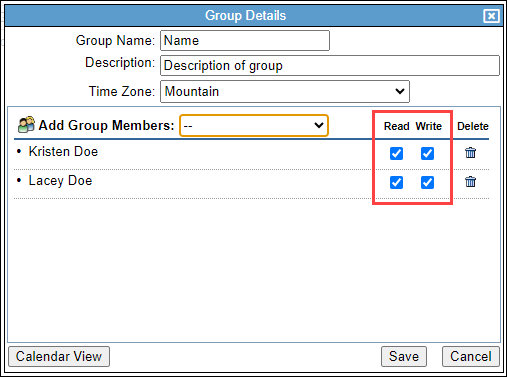
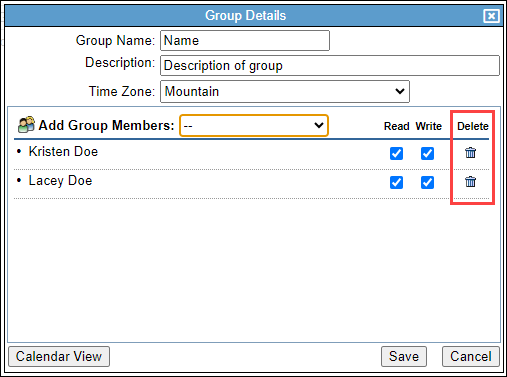
- To remove a member, select the trash can icon in the "Delete" column.
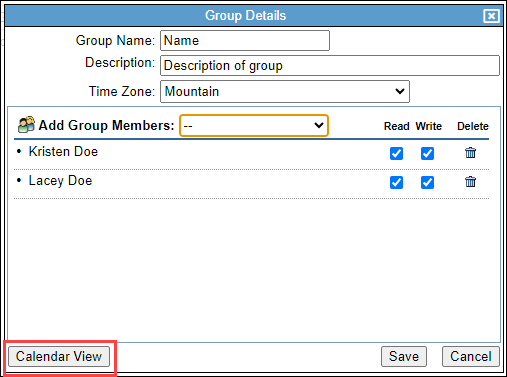
- To adjust the order of the group in this list, and when viewing the group in the calendar, select "Calendar View."
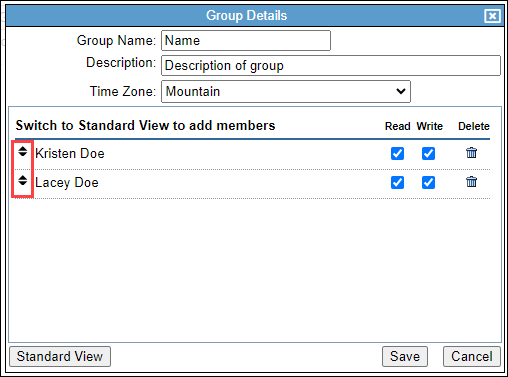
- Select the arrows next to the name of the member, and drag that user to the desired placement.
- Select "Save."