External files can be uploaded and stored within BestNotes, ensuring HIPAA compliance with end-to-end encryption. This article outlines the process for uploading and managing documents.
Permissions Required
- Documents
- Delete Folders and Files
- Data Export
Managing Documents and Uploading Files
Access Documents
To view and upload documents, and create folders from the dashboard, you must have the "Documents" permission.
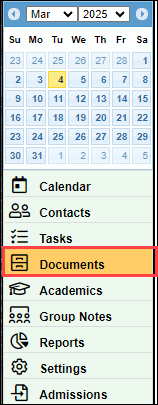
To access the documents in the dashboard, select the "Documents" tab in the bottom left hand corner.
Create Folders
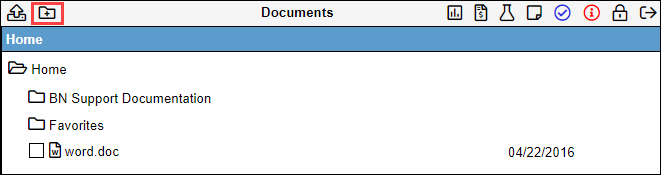
- Select the "Create Folder" icon in the top left corner.
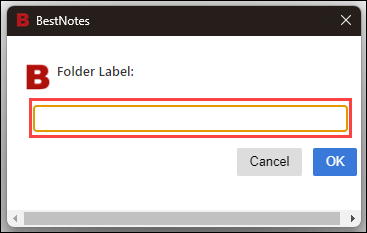
- Enter the "Folder Label" title.
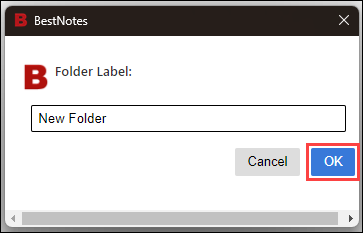
- Select "OK."
- To access the folder, double-click the folder.
Upload Files
- To upload a document to a specific folder, open the folder by double-clicking on the desired folder. Otherwise the document will be added to the "Home" folder.
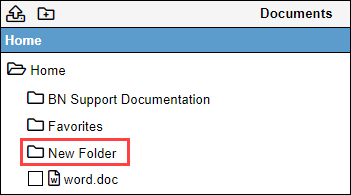
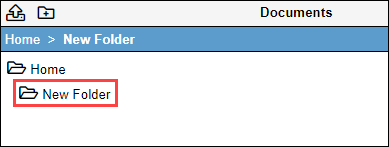
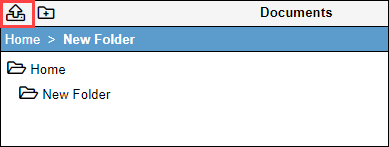
- Select the "Upload" icon in the top right corner.
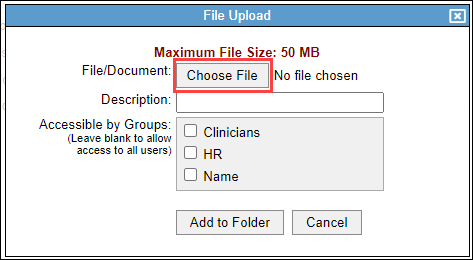
- Select the "Choose File" button, and select the file you would like to upload from your computer.
| Note: Avoid uploading files names which contain special characters (!@#$%&). It may negatively impact the upload. |
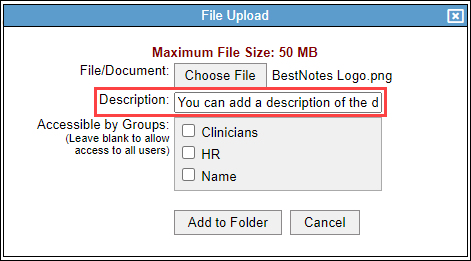
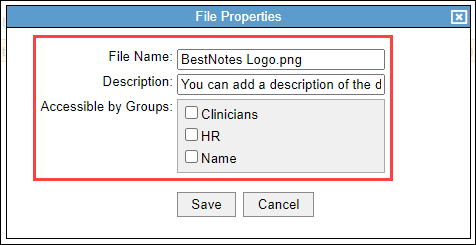
- The "Description" is free text that will appear when you hover over the saved file. This has a character limit of 255.
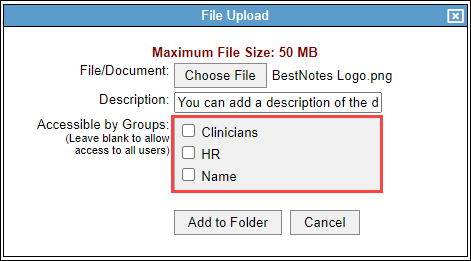
- You can limit access to this file by selecting the "Accessible by Groups" checkboxes.
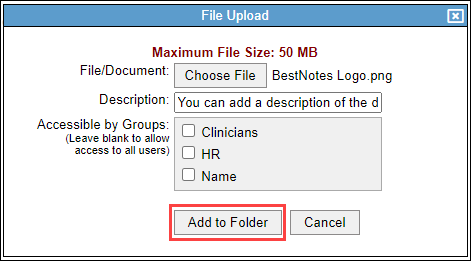
- Select "Add to Folder."
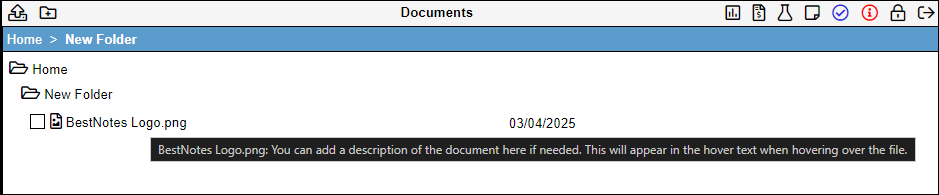
- You will see the file in the folder that it was saved to. Hovering over the file will show you the description that was entered, and you will also see the date the file was added.
- To move the file to a different folder, select and hold the file, and drag to the folder you would like to move it to.
Manage Documents
Once a document has been uploaded, you can manage that document's properties, send the document via an external email service, or delete the file with the appropriate permissions.
File Properties
- Select the file.
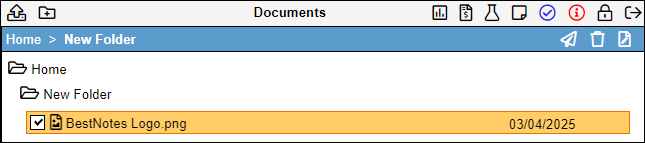
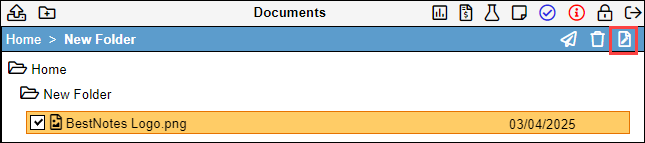
- Select the "File Properties" icon in the top right corner.
- Update any necessary file properties.
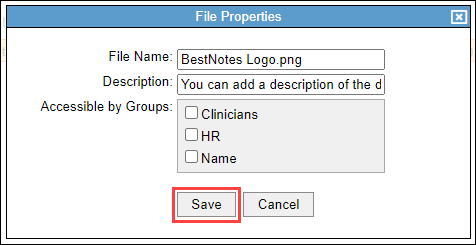
- Select "Save."
Delete File
To delete documents, you must have the "Delete Folders and Files" permission.
- Select the file.
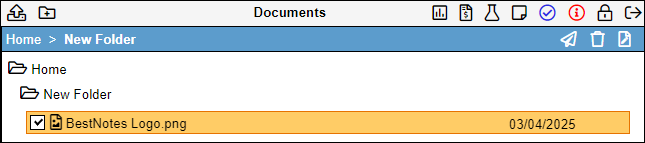
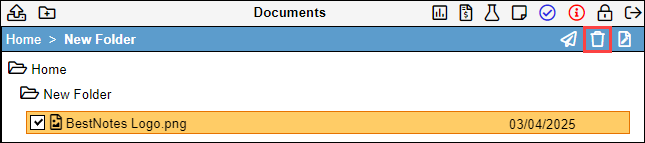
- Select the "Delete Document" icon in the top right corner.
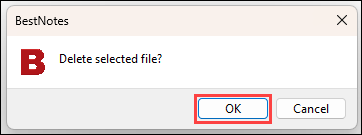
- You will receive a prompt that says "Delete selected file?" Select "OK."
Send File
To send files via email, you must have the "Data Export" permission.
- Select the file.
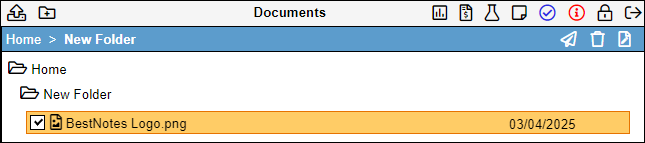
- Select the "Email File" icon.
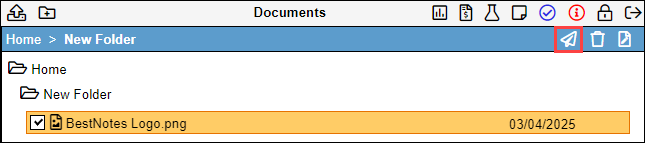
- Follow the on-screen prompts.
Next Steps
- See also: Contact document upload