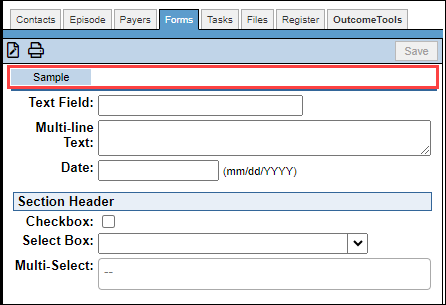
This article explains how to assign and manage Data Forms for clients, detailing how to add initial and additional forms, manage their visibility, and fill them out, with all entered information being reportable and usable with Special Fields.
Permissions Required
- Forms
Managing Client Data Forms
To add and fill out Data Forms on a client's chart, you must have the "Forms" permission enabled for your user role.
Add Initial Data Form
- Navigate to the client's chart.
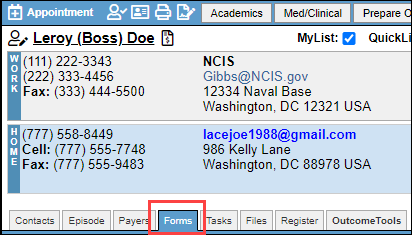
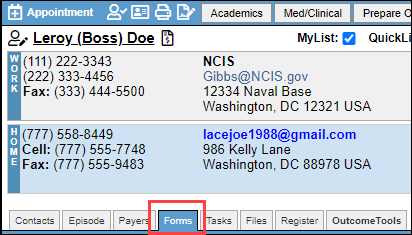
- Select "Forms."
- Select the drop-down on the right side, and select the Data Form you would like to add.
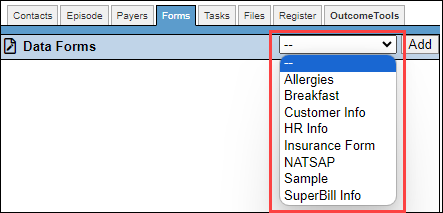
- Select "Add."

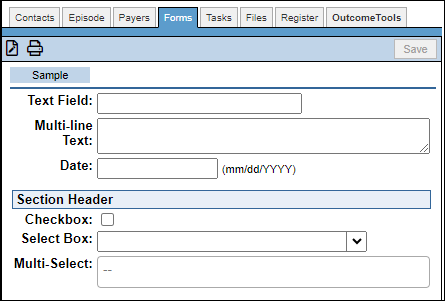
- You have now added a single Data Form, and can fill out the information.
Add Additional Data Forms
- Navigate to the client's chart.
- Select "Forms."
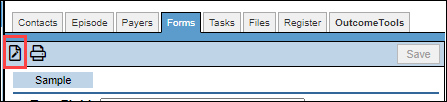
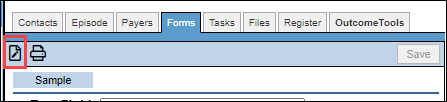
- Select the "Data Form" icon in the top left.
- Select the drop-down on the right side, and select the Data Form you would like to add.
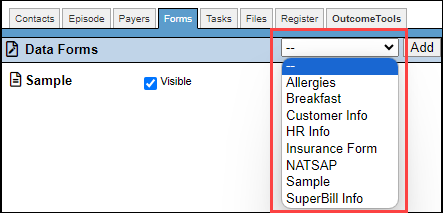
- Select "Add."

- Repeat as necessary until you have added all of the Data Forms you would like.
Manage Data Form Visibility
- Navigate to the client's chart.
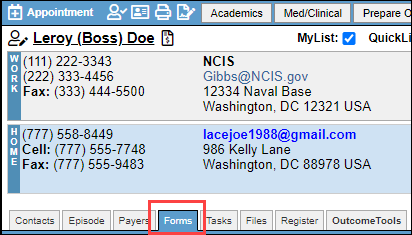
- Select "Forms."
- Select the "Data Form" icon in the top left.
- Each Data Form that has been added will be listed here with a checkbox next to it. If the checkbox is selected, the Data Form will be visible on the client's chart, and you will have the ability to fill out the form. If the checkbox is not selected, the Data Form will not be visible on the client's chart.
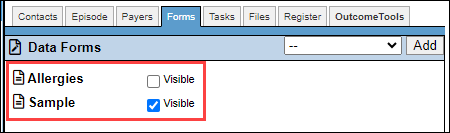
- If you update these checkboxes, select the "Forms" tab to refresh. You will now only see the "Visible" Data Forms.
Fill Out a Data Form
- Navigate to the client's chart.
- Select "Forms."
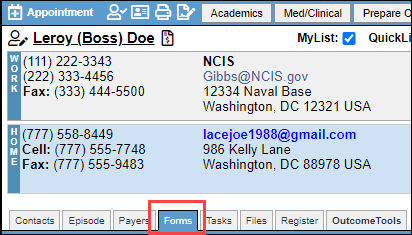
- If you only have a single Data Form, it will automatically load.
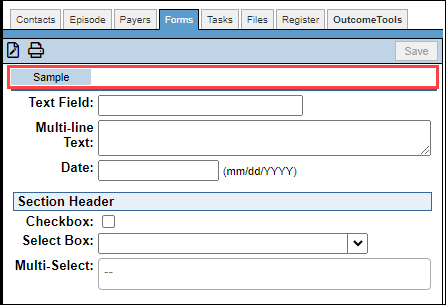
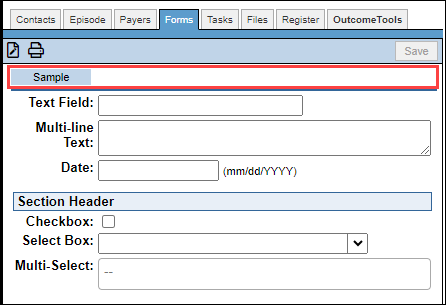
- If you have multiple Data Forms, select the button with the title of the Form you need to fill out.
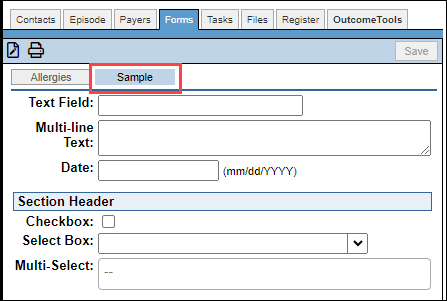
- Proceed to fill out the information in the Data Form. When finished, clicking outside of the fields will initiate an auto-save and gray out the "Save" button. If the "Save" button is not grayed out, select "Save."