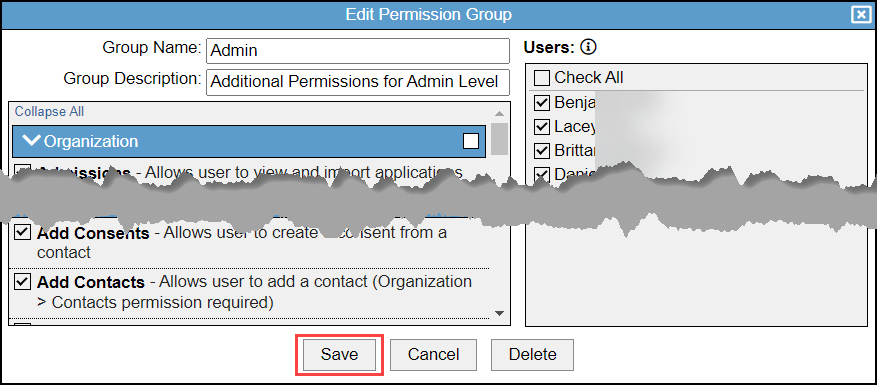
Default Permission Groups allow you to create and assign a specific set of permissions to a user.
Permissions Required
- Manage Users
- System Administrator checkbox
Visual Tutorial
Managing Default Permission Groups
You can create as many Default Permission groups as necessary for your needs. To create a Default Permission Group, follow the steps below:
Create Default Permission Group
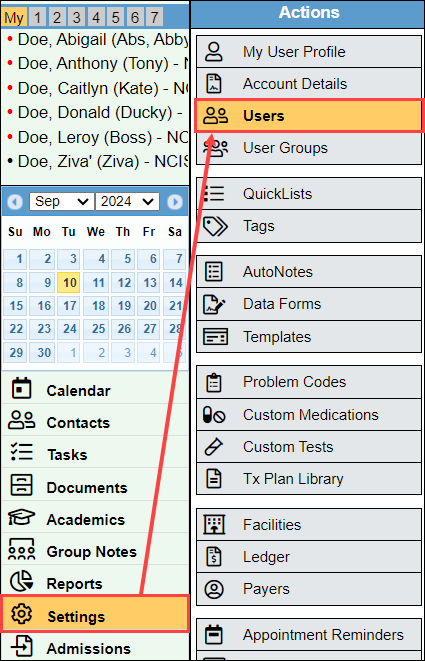
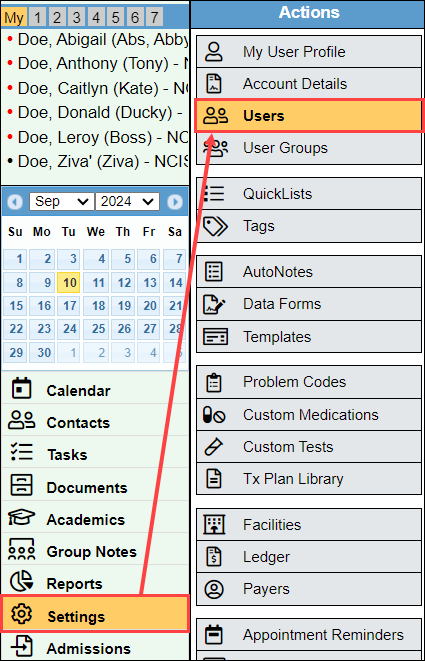
- Select "Settings", then select "Users."
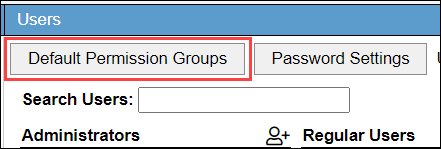
- Select the "Default Permission Groups" button.
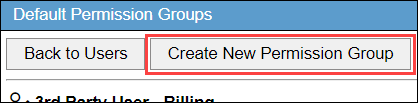
- Select the "Create New Permission Group" button.
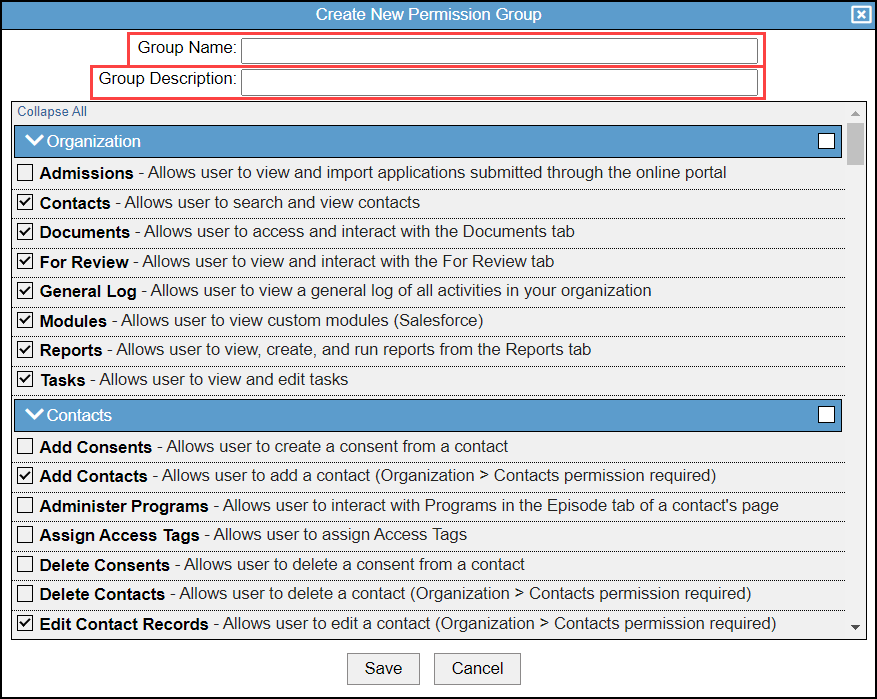
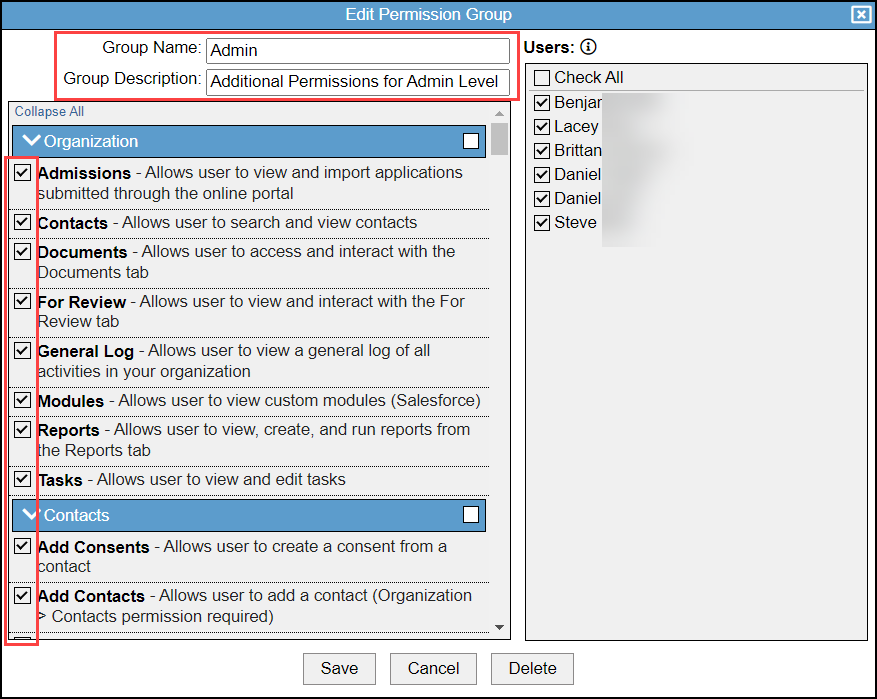
- Enter a "Group Name" and "Group Description."
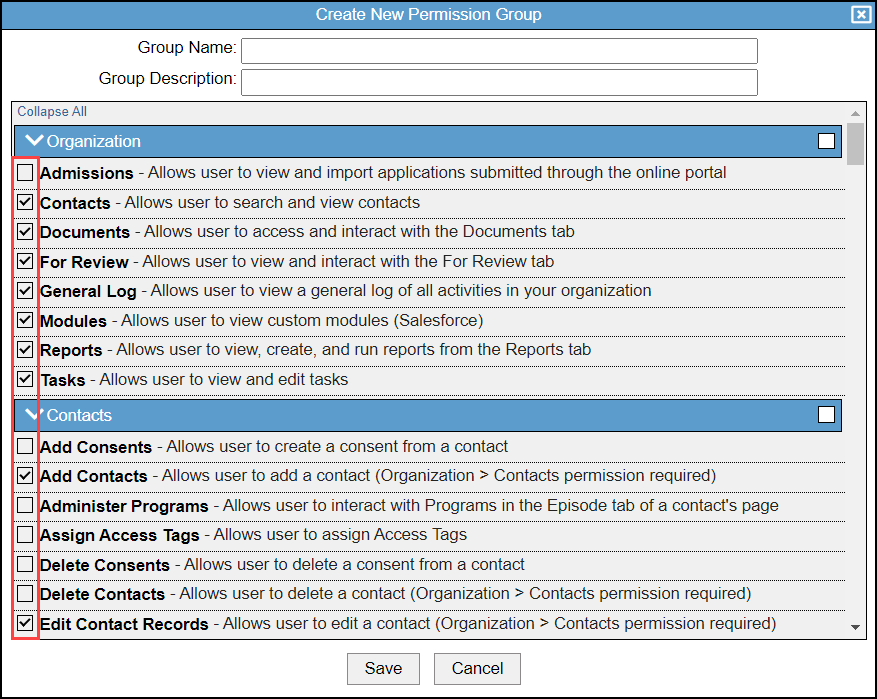
- Select all of the checkboxes that are relevant to the default permission for that user group.
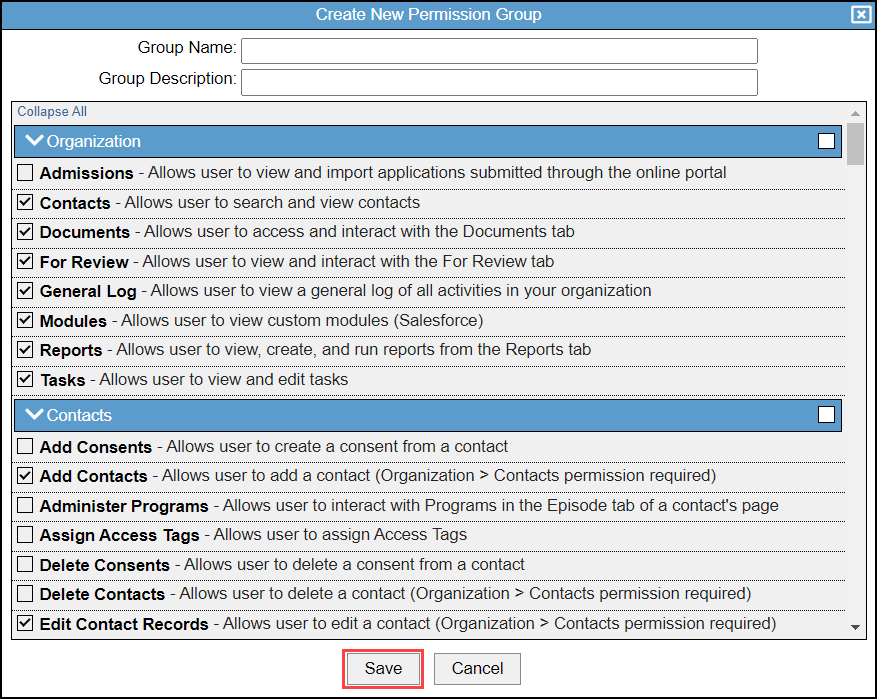
- Select "Save."
Update Default Permission Group
To update an existing Default permission group:
- Select "Settings", then select "Users."
- Select the "Default Permission Groups" button.
- Select the group that you would like to update.
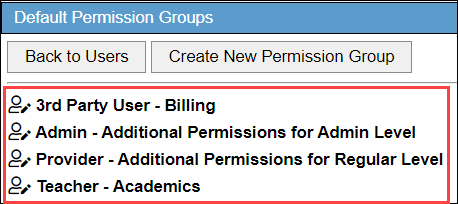
- Make desired adjustments to the "Group Name", "Group Description", and the checkboxes.
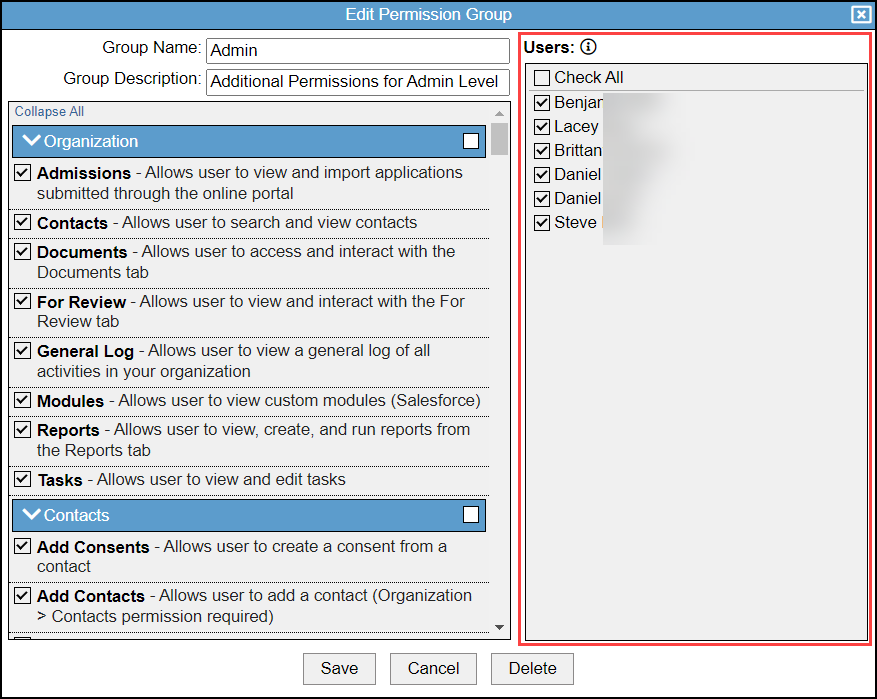
- The "Users" column shows all of the existing users that this permission group is applied to. The adjustments that you have made will apply to every user that is selected in this list. If you don't want this update to apply to a specific user, uncheck the box next to their name before saving.
- Select "Save."