This article provides instructions on how to set up and manage your BestNotes Ledger by creating Categories, Code Modifiers, Fee Schedules, and Item/Codes.
Permissions Required
- Manage Ledger
| Caution: BestNotes employees are unable to provide any insight on what procedural codes are used, or any details within those codes. |
Setting Up and Managing Your Ledger
Navigate to the Ledger
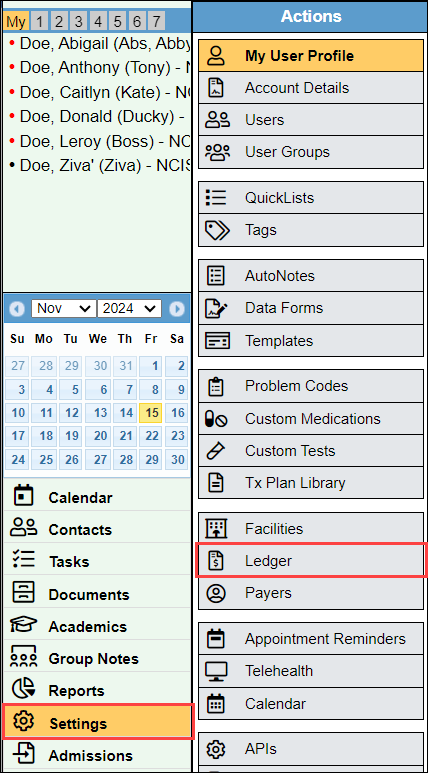
- Select "Settings" and "Ledger."
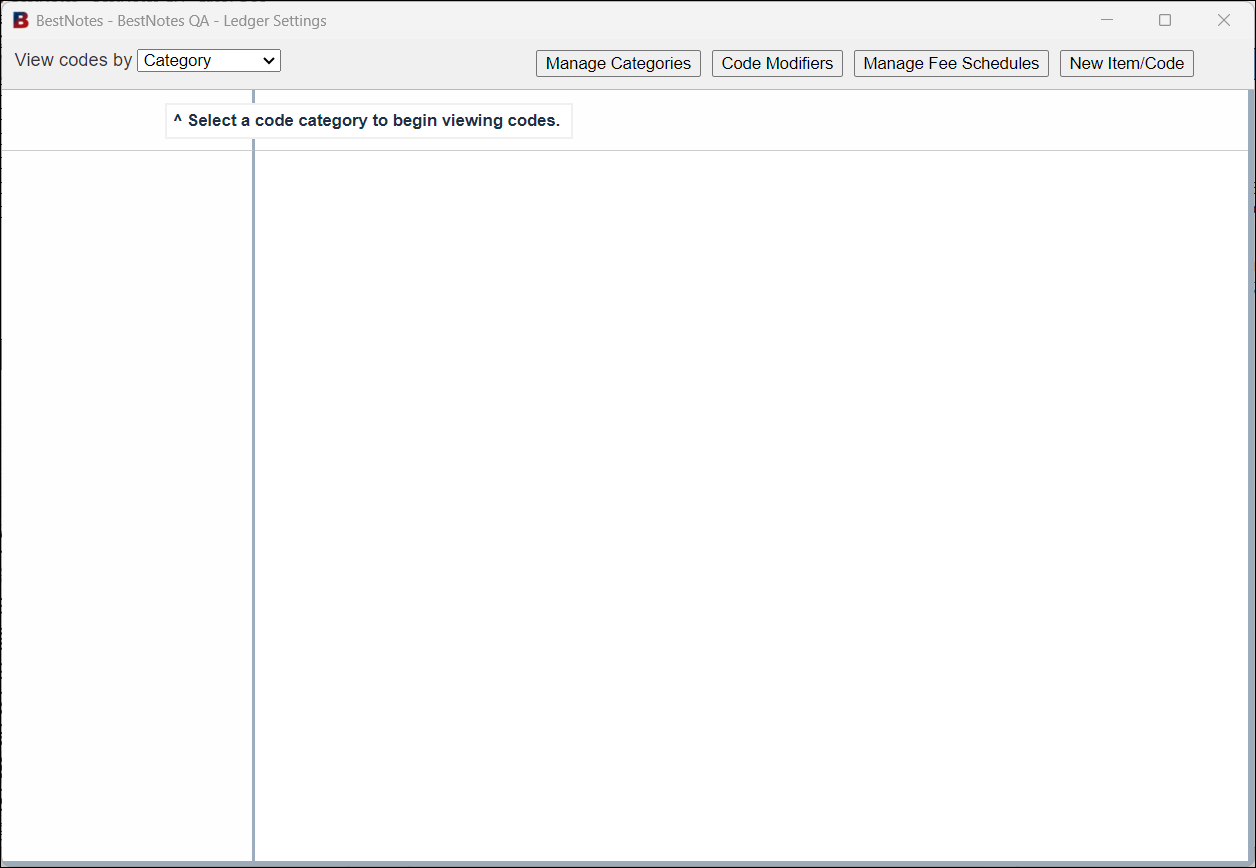
- Your "Ledger Settings" window will open.
Manage Categories
Categories help organize your ledger, for example, separating "Clinical Codes" from "Case Management Codes" or "Add-On Codes."
Create New Category
- Select "Manage Categories."

- Select "New Category."
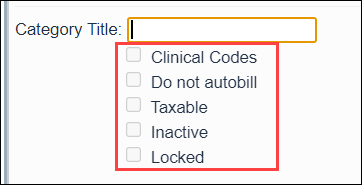
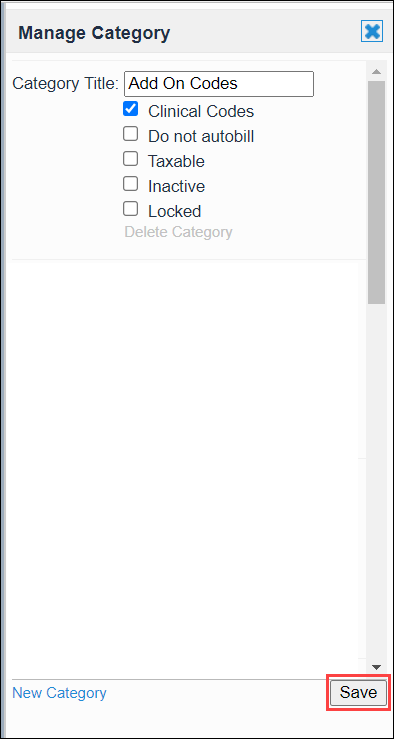
- Enter the "Category Title." Clicking outside the "Category Title" field will automatically save the category. Categories are listed in alphabetical order.
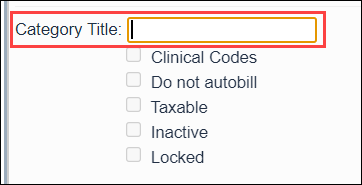
- Select the appropriate checkboxes.
- Select "Save."
Category Checkboxes
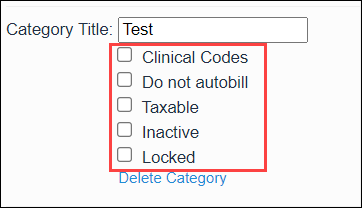
Each category checkbox serves a different purpose:
- Clinical Codes - Generates claims in the preliminary claims queue for e-billing. Selecting this option provides additional settings when creating codes within this category.
- Do not autobill - Allows you to create clinical codes within a category that will not be sent to the preliminary claims queue.
- Taxable - Flags the category as taxable.
- Inactive - Inactivates the category.
- Locked - Locks the category from further updates.
Delete Category
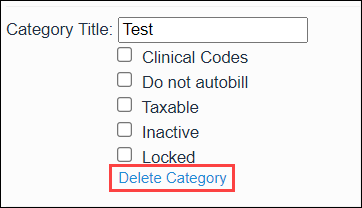
A category can only be deleted if it contains no codes. The "Delete Category" button will appear blue when it is available to be deleted.
Code Modifiers
Create Code Modifier
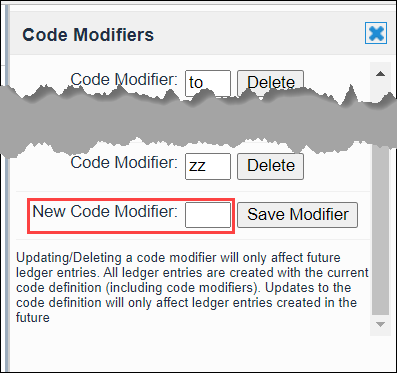
- Select "Code Modifiers."

- Add the appropriate text in the "New Code Modifier" field.
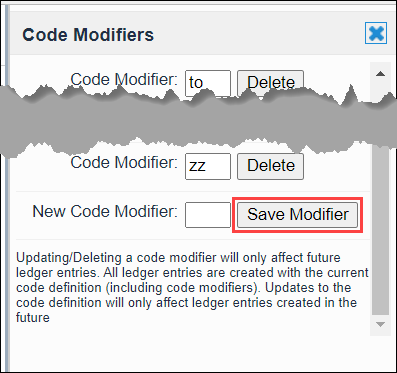
- Select "Save Modifier."
Update Existing Code Modifier
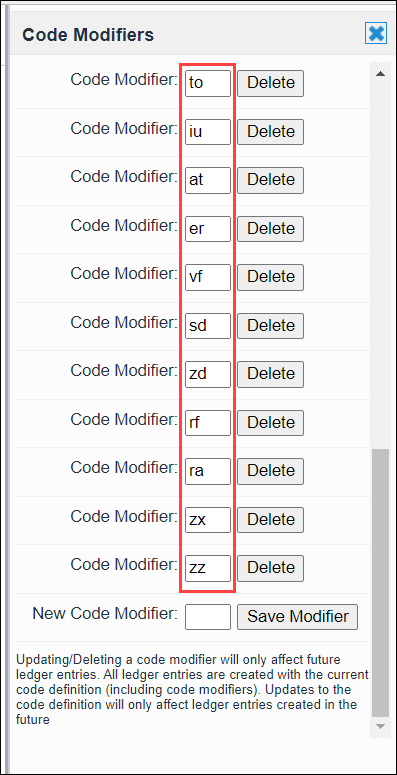
To update an existing Code Modifier, modify the text and then click outside the text field to save your changes.
Delete Existing Code Modifier
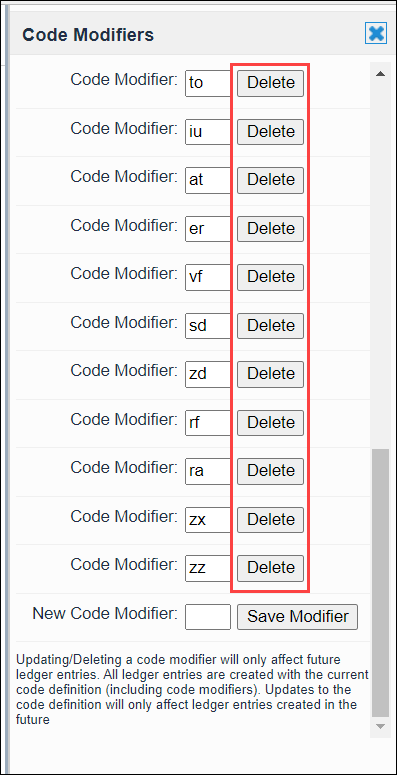
To delete a code modifier, select "Delete" next to the code you wish to remove.
| Note: Updating or deleting a Code Modifier will only affect future ledger entries. |
Manage Fee Schedules
Create New Fee Schedule
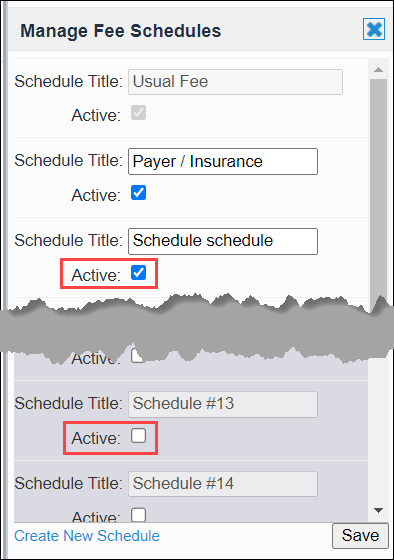
Every BestNotes database includes a "Usual Fee" schedule by default, which cannot be modified.
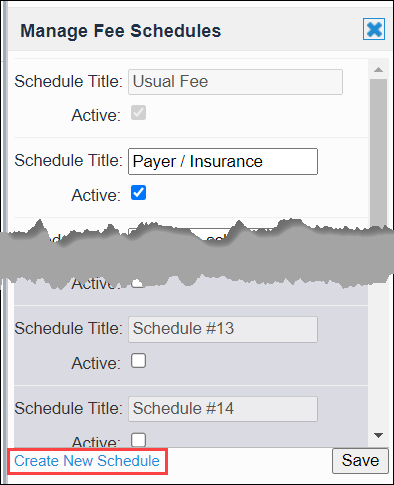
- Select "Manage Fee Schedules."

- Select "Create New Schedule."
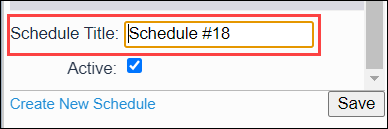
- Enter the "Schedule Title."
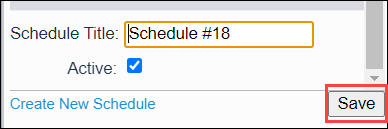
- Select "Save."
Update Existing Fee Schedule
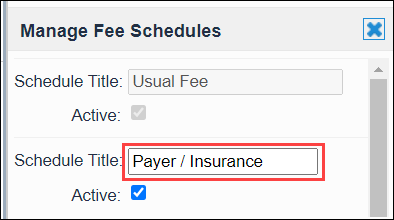
To update an existing Fee Schedule, modify the text and then click outside the text field to save your changes.
Inactivate Fee Schedule
To inactivate an existing Fee Schedule, uncheck the "Active" checkbox. To reactivate it, re-select the "Active" checkbox.
New Item/Code
Create New Item/Code
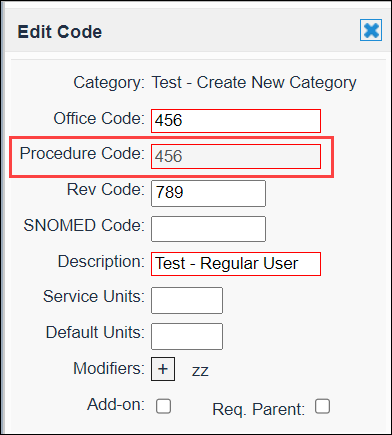
- Select "New Item/Code."

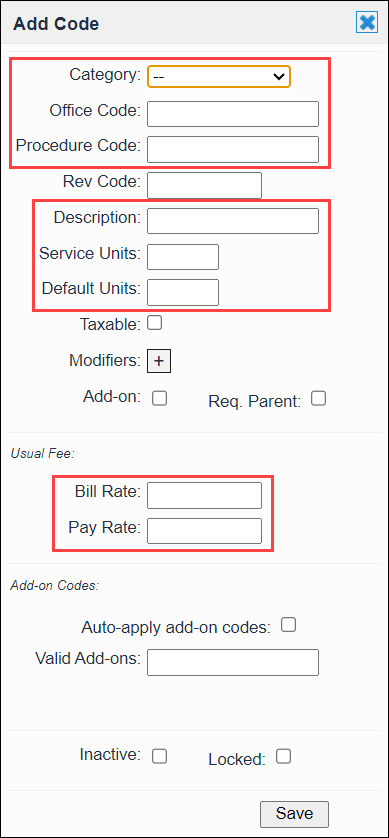
- At a minimum, enter information in the following fields:
- Category - Select the appropriate category from the drop-down menu.
- Office Code - This can be internal codes used within your company.
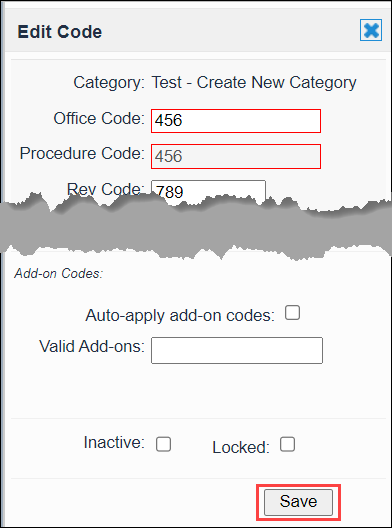
- Procedure Code - These must be actual codes, recorded properly for successful submission to insurance payers.
- Description
- Service Units
- Default Units
- Bill Rate - The rate you charge for the service, which defines the bill rate for the "Usual Fee" schedule.
- Pay Rate - The rate you pay for the service, which defines the pay rate for the "Usual Fee" schedule. If you are not paying contracted providers, it is recommended to enter "0.00" in this field.
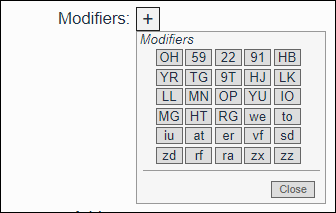
- If you add a "Modifier," that Modifier will automatically be applied when the code is used. Modifiers are pulled from the list you created.
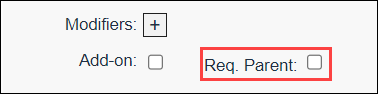
- Selecting the "Add-on" checkbox identifies the code as an "Add-on" code.
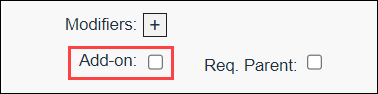
- Selecting the "Req Parent" checkbox is used with the "Add-on" checkbox and prevents users from adding this code without the required parent code.
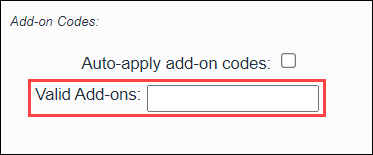
- In "Add-on Codes," you can identify this code as a Parent Code. In the "Valid Add-ons" field, type in the Add-on procedure code and select the applicable code. When this parent code is added, you will have the option to select the valid "Add-on" code if needed.
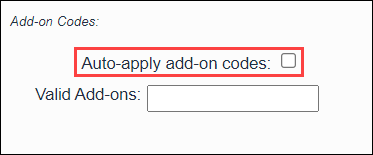
- Select the "Auto-apply add-on codes" checkbox to automatically apply the Add-on code when the parent code is applied.
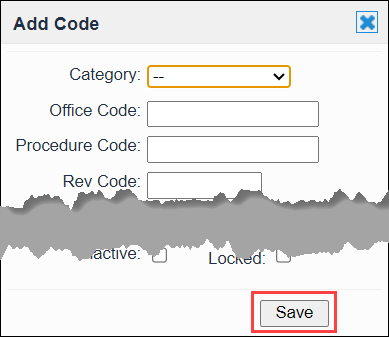
- Once you have filled in the appropriate information, select "Save."
Manage Item/Codes
Once a procedure code has been applied to a client's register, you can no longer edit that code.
You also cannot edit the "Procedure Code" once it has been saved. If you have made a mistake and need to correct the Procedure Code, please submit a support ticket.
If a ledger code is no longer needed:
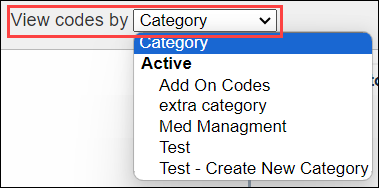
- Select the Category in the top left.
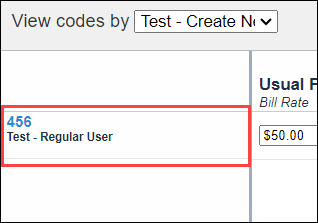
- Select the code.
- Select the "Inactive" checkbox.
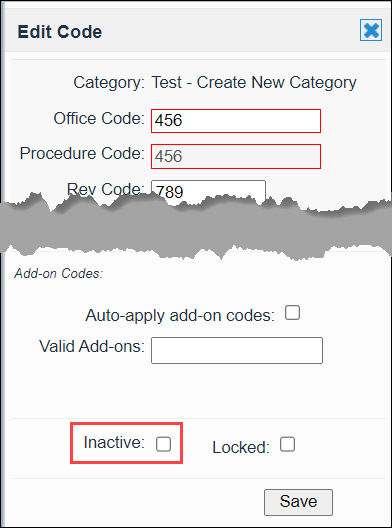
- Select "Save."