This article provides instructions on how to create, update, and delete Tags within BestNotes.
Permissions Required
- Manage Tags
- System Administrator
Managing Tags
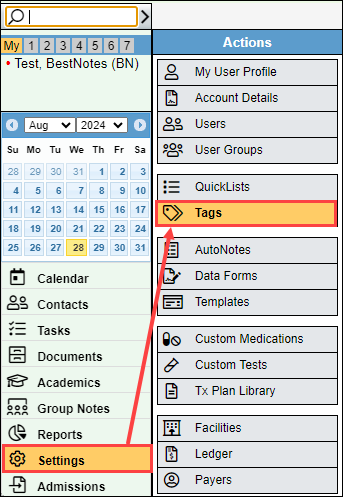
Navigate to Tags
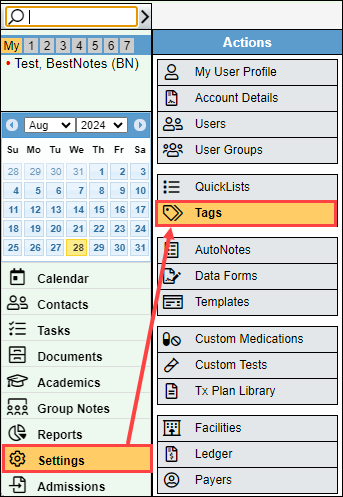
- Navigate to "Settings", and select "Tags."
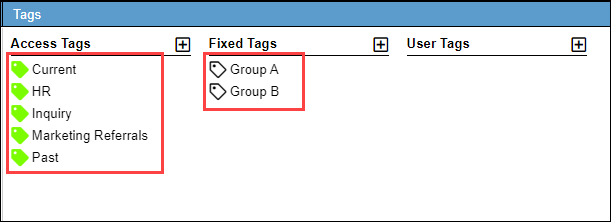
Manage Tags
With the appropriate permissions, you can make adjustments and delete tags.
Update Existing Tag
- Select the tag you would like to update.
- You may update the name of the tag.
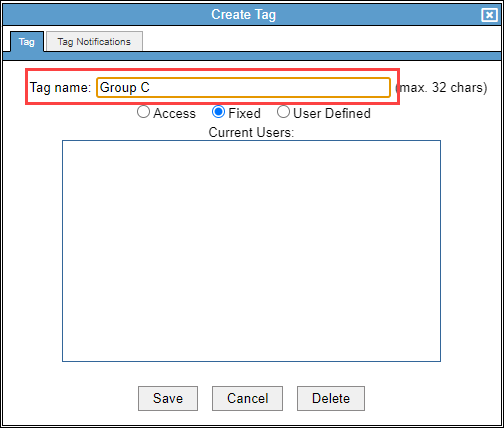
Caution: Do not include "LOC" in the name of the tag, as this will cause errors within BestNotes.
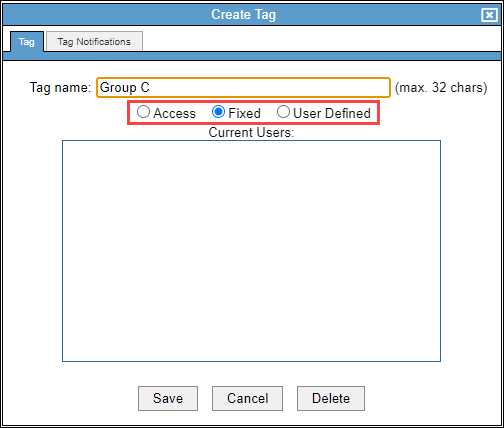
- You can adjust the type of tag.
To manage "Access" tags, you will need to have the "System Administrator" permission enabled.
- You can update the Tag Notifications.
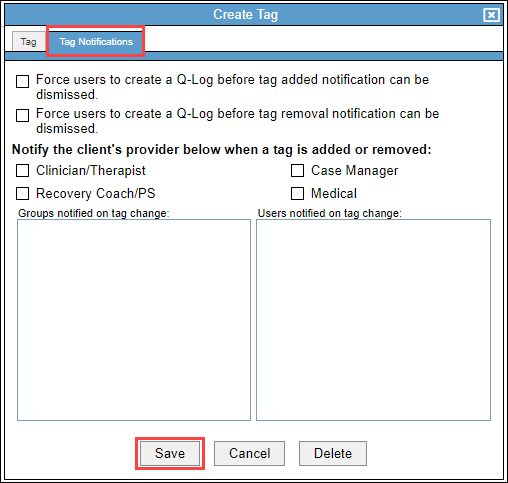
- When you are finished, select "Save."
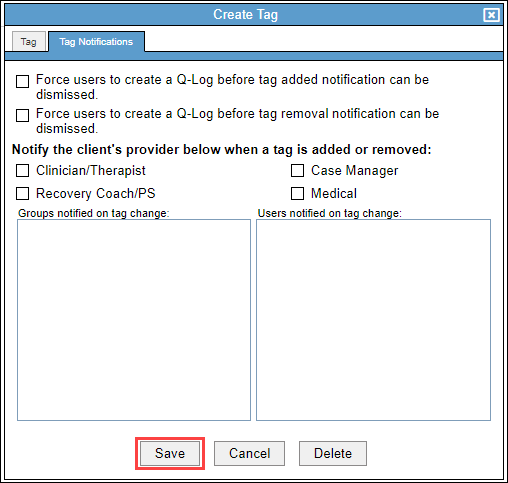
Delete Tag
It is recommended best practice to not delete tags that are associated with contacts, especially contacts that only have one tag. To avoid this, take the steps below:
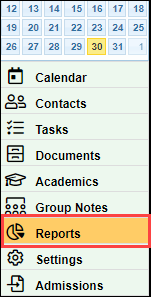
- Navigate to "Reports."
- Using the report builder, set the following parameters:
- Fields to display: First Name, Last Name, Tag.
- Filter Criteria: Tag equal to the name of the tag.
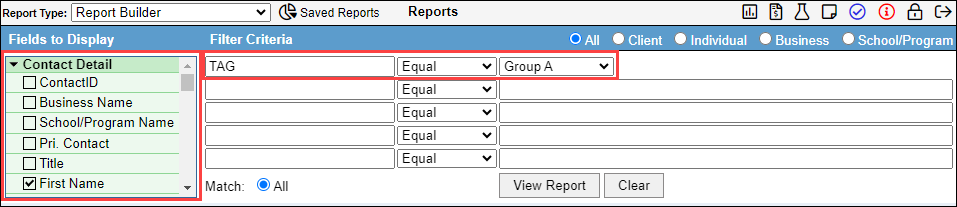
- Select "View Report."
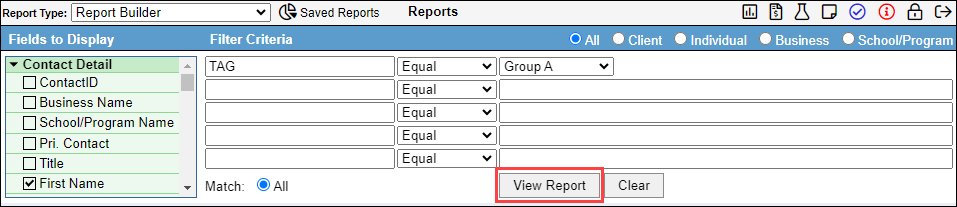
If there are contacts that have ONLY the tag you have selected, be sure to adjust the contacts' tags first. Once you have verified that no contacts have only that tag, you can delete the tag.
- Navigate to "Settings," and "Tags."
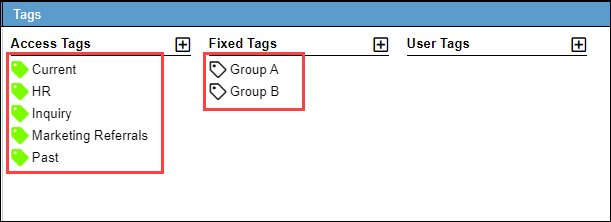
- Select the tag you would like to delete.
- Select "Delete."
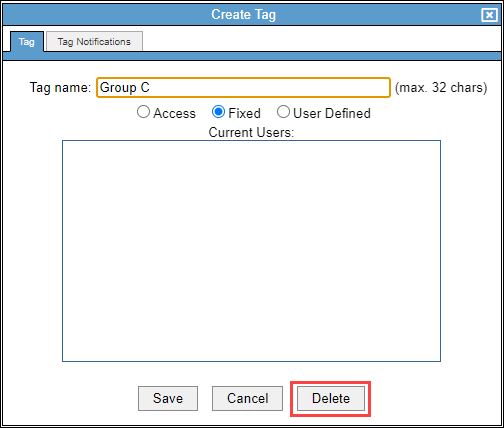
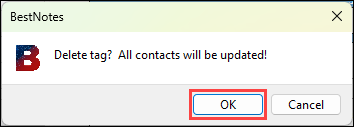
- Select "Ok" to verify that you would like to delete the tag.
Next Steps
- See also: Access and Fixed Tags
- If you have accidentally removed a tag that was the only tag for clients, you can follow our "Missing contacts" process in Recommended Audits.