This article explains how to create and manage appointment types within BestNotes, including setting descriptions, colors, durations, and associating them with telehealth, ledger codes, and documentation.
Permissions Required
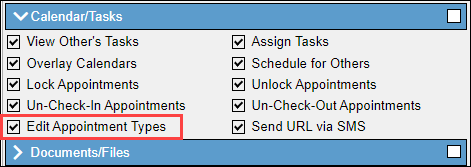
- Edit Appointment Types
Creating and Managing Appointment Types
Any adjustments made in this area will require you to log out and log back in for the updates to take effect.
To create or edit Appointment Types, you will need the "Edit Appointment Types" permission.
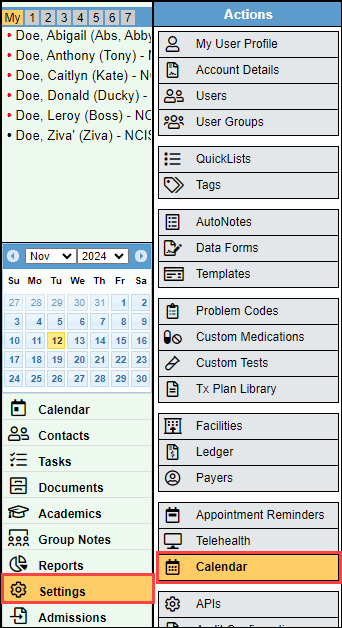
- Select "Settings" and then select "Calendar."
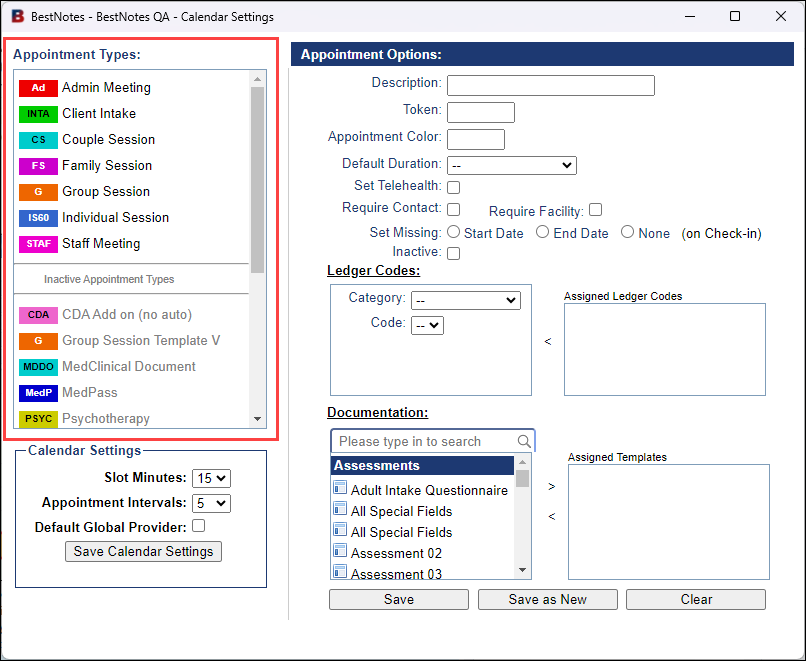
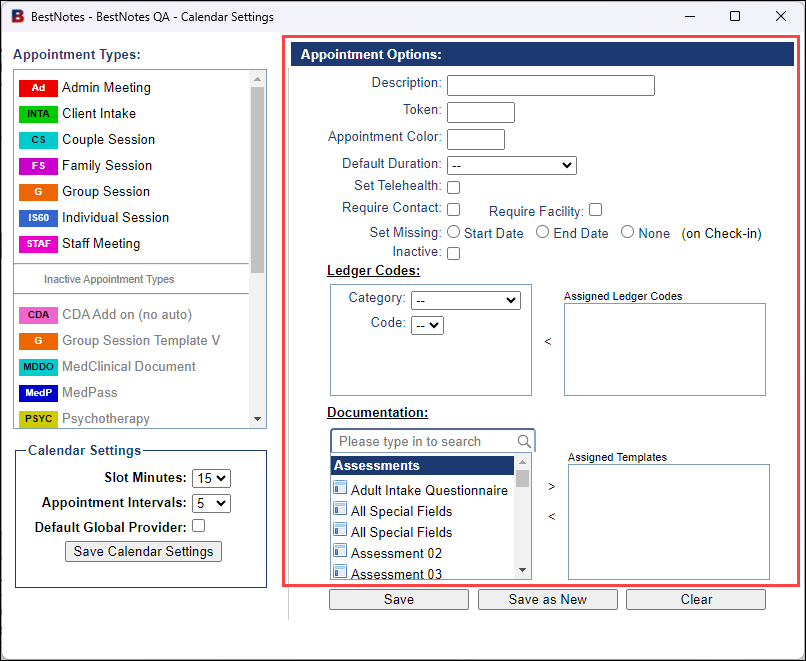
- This will open the Appointment Types window. On the left-hand side, you will see your "Appointment Types," which is a list of any existing Appointment Types.
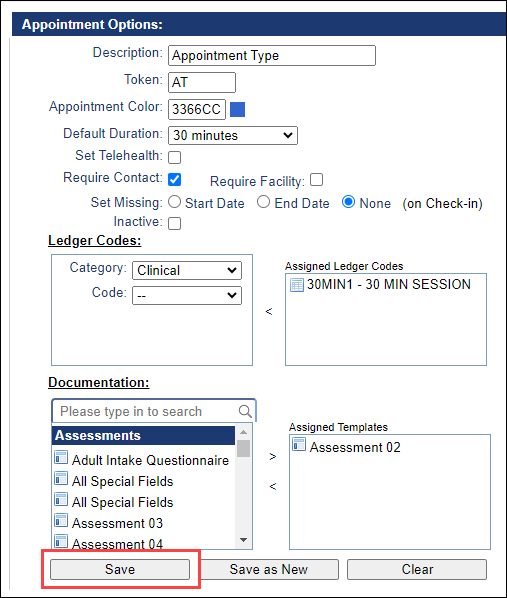
- On the right-hand side, you will see "Appointment Options." To create a new Appointment Type, fill out the necessary Appointment Options:
- The "Description" will identify the appointment type.
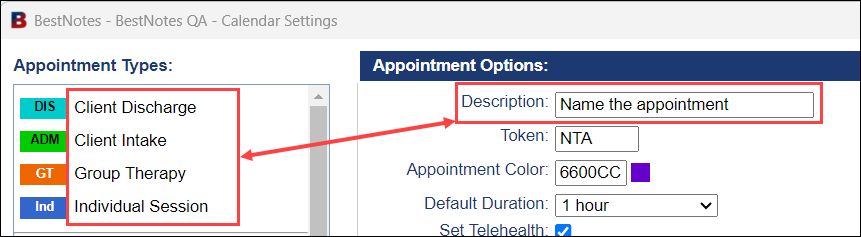
- The "Description" will identify the appointment type.
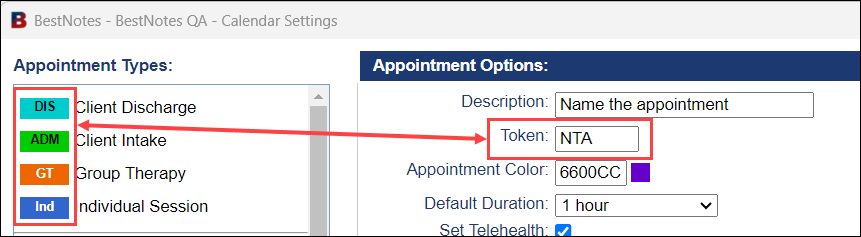
- The "Token" is a shortened version of the description and will appear within the color block on the calendar.
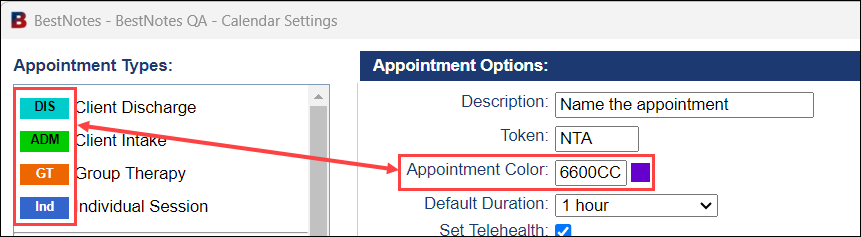
- The "Appointment Color" will allow you to color-code different appointment types. This is also the color the appointment will display on the BestNotes Calendar.
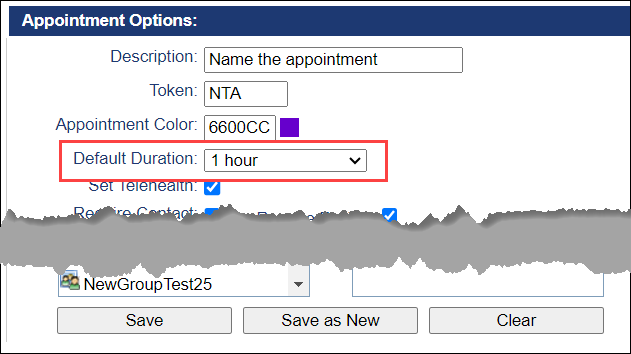
- The "Default Duration" will allow you to select a default appointment length, ranging from 15 minutes to 8 hours. This can be adjusted after the appointment type is created.
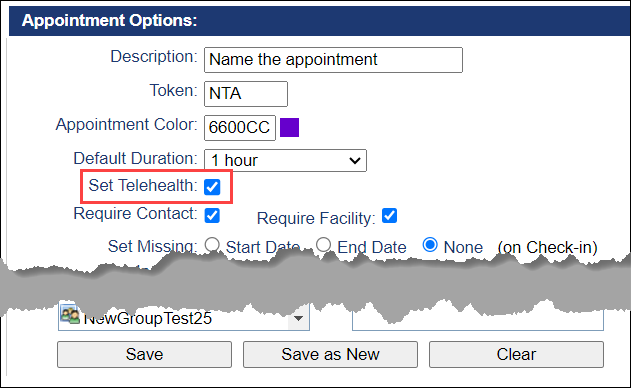
- The "Set Telehealth" checkbox will create a telehealth link for the appointment if you have the Telehealth module activated.
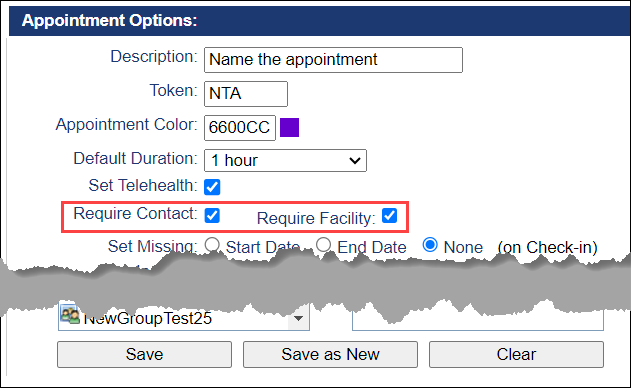
- If you select the "Require Contact" or the "Require Facility" checkboxes, users will be required to add these items before they can save or update this appointment type.
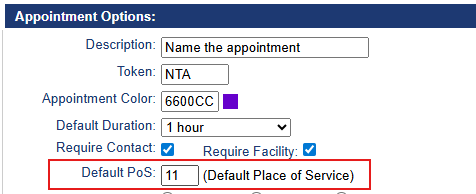
- Assign a value to the Default Place of Service field.
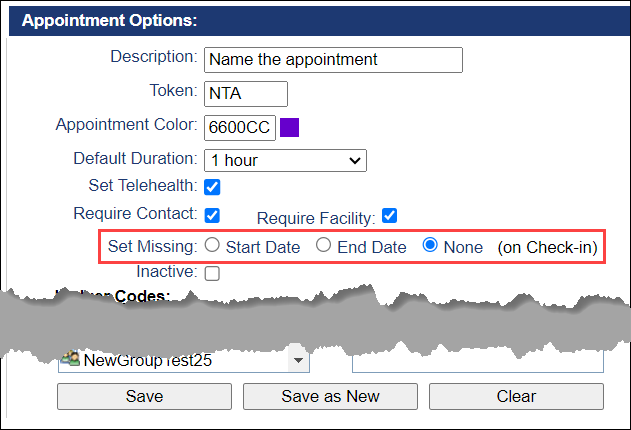
- The "Set Missing" option has a specific purpose. The "Start Date" option is intended for intake appointments, and the "End Date" is intended for Discharge appointments. For all other Appointment Types, it is recommended that this be set to "None."
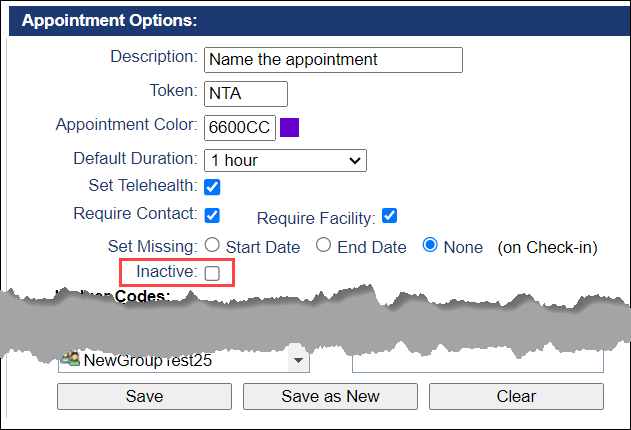
- The "Inactive" checkbox will inactivate the appointment type if it is selected.
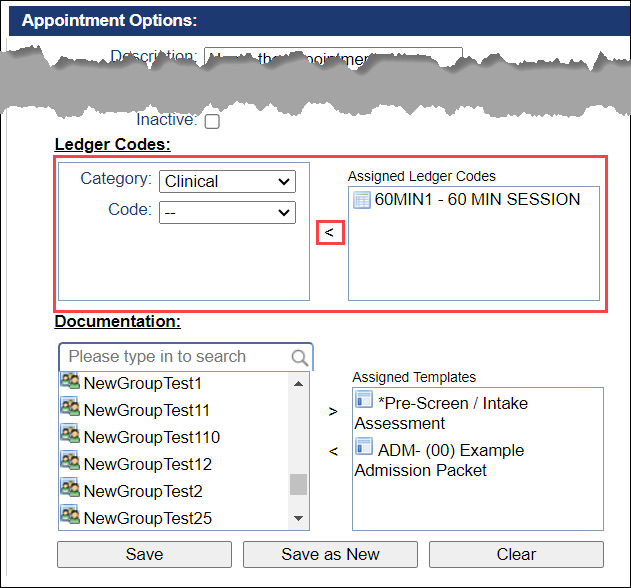
- Ledger codes can be added by selecting the "Category" and then selecting the "Code." This will automatically add the ledger code. To remove the code, select the "<" symbol. Ledger items can be adjusted once the appointment has been created.
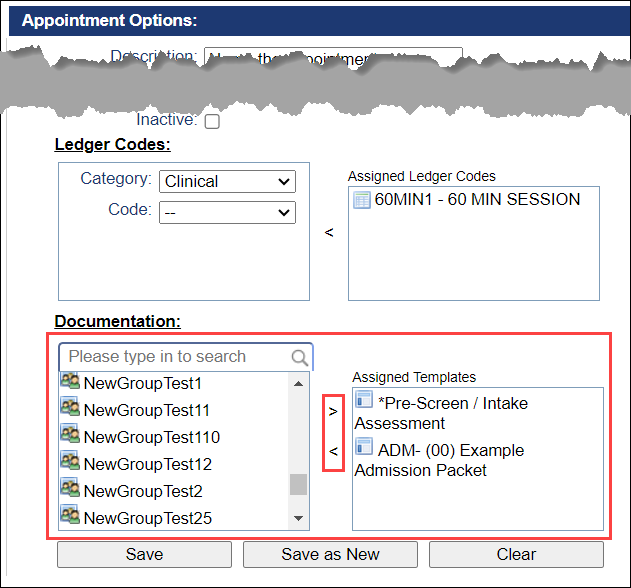
- Documentation can be added to the appointment as well. Search for the document, or scroll through the list, select the document, and select the ">" symbol to add the document. To remove a document, select the document on the right side, and select the "<" symbol. Documents cannot be added to the appointment later and must be added here. When the appointment is checked in, the documents added will open automatically.
- Select "Save."