This article provides instructions on how to manage existing Data Forms in BestNotes, including how to update fields, lock/unlock forms, and inactivate forms or fields.
Permissions Required
- Manage Data Forms
Managing Data Forms
This section details how to update an existing Data Form.
- Navigate to "Settings" and "Data Forms."
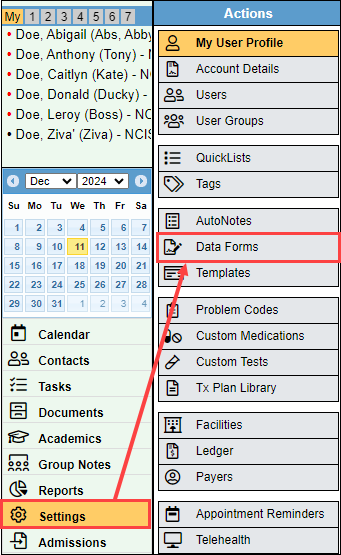
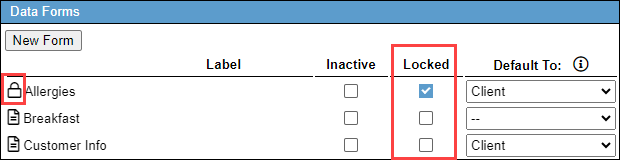
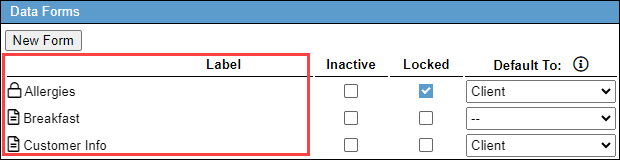
- In the list of existing Data Forms, if there is a lock icon next to the Data Form, this means that it has been locked, and the fields within that Data Form can't be updated. To unlock a Data Form, uncheck the "Locked" checkbox in the same row as the Data Form.
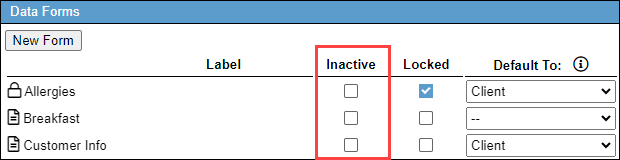
- To inactivate a Data Form, select the "Inactive" checkbox in the same row as the Data Form.
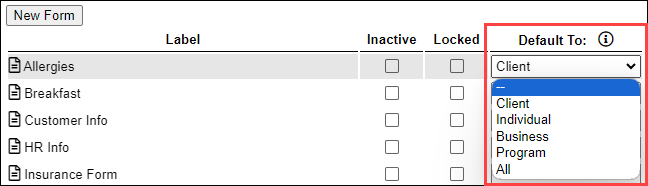
- The "Default To" column has a drop-down option. This will automatically add the Data Form of that row to the type of contact that is selected. If nothing is selected, the Data Forms will need to be added manually.
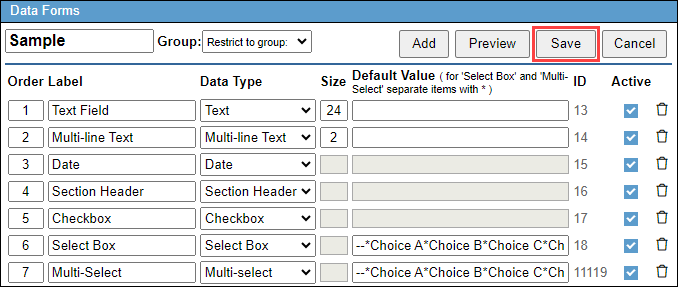
- To add or remove fields from a Data Form, select the label of the Data Form.
- To add a field, select "Add."

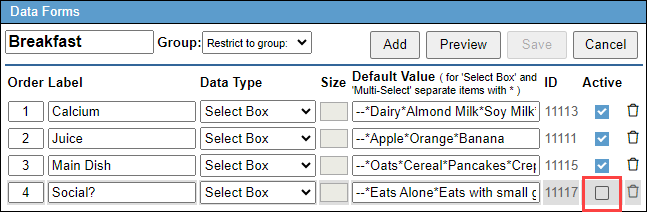
- It is recommended best practice to inactivate fields on your Data Form. Un-select the "Active" checkbox for the field you would like to inactivate. This inactivates the field, but maintains the historical data.
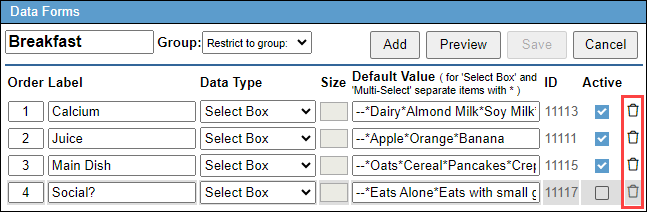
- To remove a field, select the trash can icon in the same row as the field you would like deleted. If there is recorded data on a contact's chart, you WILL lose this data if the field is deleted. If you delete all of the fields within a Data Form, it will automatically be deleted.
- If a Data Form has not been used on a contact's chart, you will have the option to "Delete." Otherwise, it is recommended to "Inactivate."

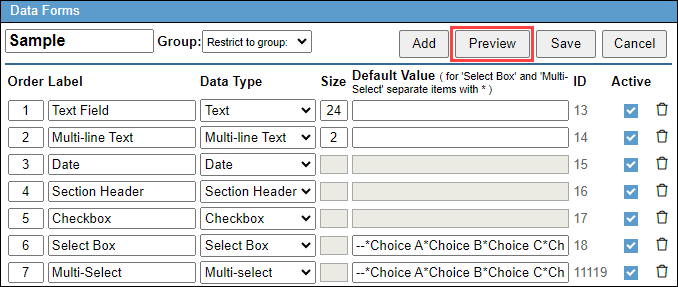
- Select "Preview" to see what your Data Form will look like on the contact's chart.
- When you have made the necessary adjustments, select "Save."
Next Steps
- See also: Creating a new Data Form