A Calendar Resource allows users to create an additional calendar for collaborative purposes.
Creating a calendar resource does not incur any additional charges.
Permissions Required
- Manage Users
Creating a Calendar Resource
To create a Calendar Resource, follow these steps:
- Navigate to "Settings" and select "Users."

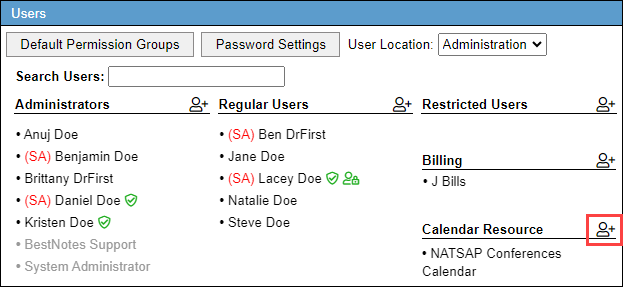
- Select the Add User icon next to the "Calendar Resource" label.
- Enter the calendar name in the "Calendar Label", provide a description, and select the desired Time Zone. If applicable, select the "User Locations" (only available to companies with multiple associated "User Locations."

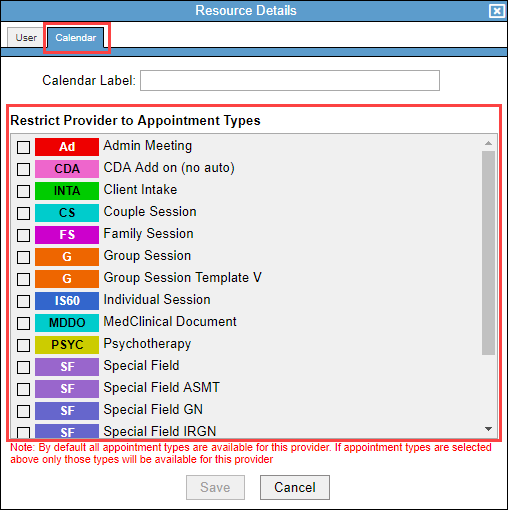
- Select the "Calendar" tab to restrict the Calendar Resource to specific appointment types.
- Select "Save." You must log out and log back in to view the new Calendar Resource.
