The client PIN signature system allows a client and related contacts to digitally sign documents using a HIPAA compliant PIN number or physical signature.
Permissions Required
- File Audit
- Setup Contact PINs
Managing HIPAA Compliant Client PIN and Physical Signatures
Add Related Contact to Signers
- Click on New Note or a saved Activity Log.
- Use the dropdown or type the name of the Related Contact in the Contact's box (upper-right of Note) to log this Note to the person who needs to sign.


- Then click the Signers button and add that person as a signer.


- Then click Save, Sign, and Lock.
- The Signature button will be made available on the contact's Activity Log.
- If the contact is on-site, have them use their PIN (see below).
NOTE: Related contacts need to be added BEFORE the Note is saved and locked. To unlock a Note, you need the File Audit user permission.
Setup and Reset a Client On-site PIN
In order for a client to obtain a PIN, users must have the Setup Contact PINs permission. With this permission, users will see the icon with a pencil (top of client's face page):

- Click on the Setup contact PIN icon.
- It will lock/clear the screen of the BestNotes window, allowing the client/contact to select their PIN number without seeing sensitive information.
The client will privately type in their PIN number, confirm, and hit "Submit".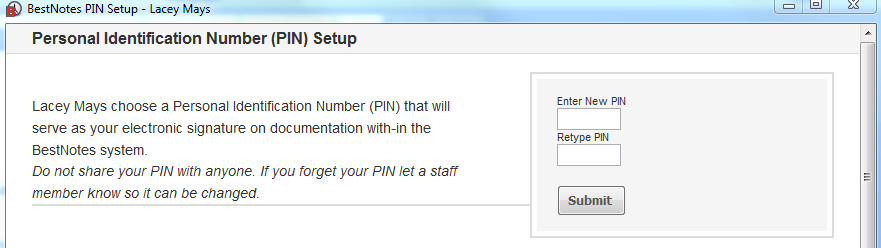
Signing Documents On-Site
- To sign individual notes, you can click on the Signature Required button.

- It will lock the screen from the BestNotes user and allow the client to privately add their PIN number.
- This adds their digital signature to the individual note.
To sign multiple notes at a time, you can click on the "sign all notes" button on the Activity log. This will lock the screen and allow the client to add their PIN number to all documents requiring their signature. This adds their digital signature to all documents that they sign.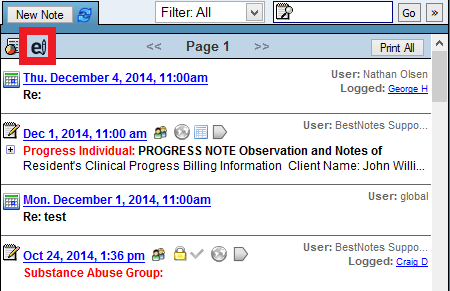
Next Steps
- See also: Physical Signature
- See also: All User Permissions (File Audit)
- See also: Portal Account for Clients & Related Contacts (Portal eSignature)
- See also: Contacts Permissions (Setup Contact PINs)