This document walks through how to create a portal account for your client, applicable to both "Client" and "Individual" contact types. It outlines two methods, with the recommended workflow presented first.
Permissions Required
- Web Portal
Creating Client Portal Accounts
To create a portal account for your client, you must have the "Web Portal" permission. This permission is never set as a default to ensure data security.
Create Portal Account Within Client Chart
- Navigate to the client's chart.
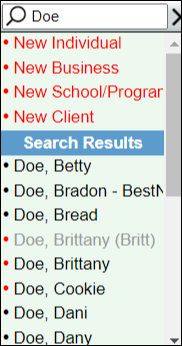
- Verify that there is a valid email entered in the client information. If the icon that looks like a person has a negative symbol next to it, that means there is not a valid email address.
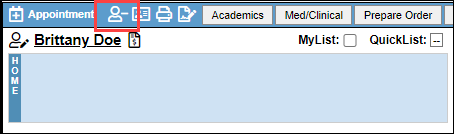
Note: Hovering over this icon at any time will tell you the status of the client's portal.
- If there is not an email, select the edit icon to the left of their name to add one.
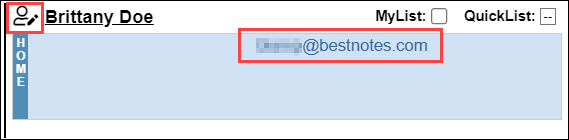
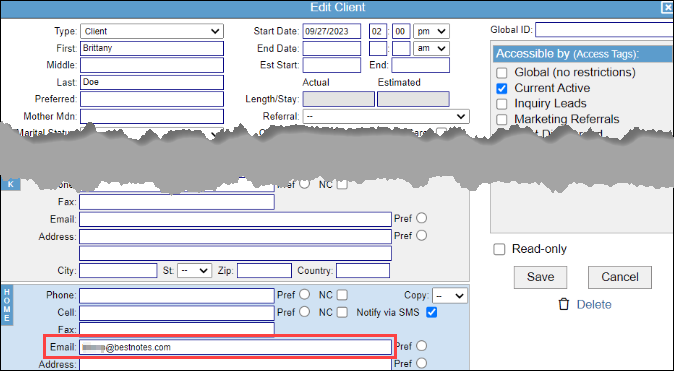
- The edit client screen will open, enter the email address then select "Save."
- In the top left corner of the client's chart, select the icon that looks like a person with an X.
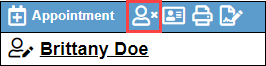
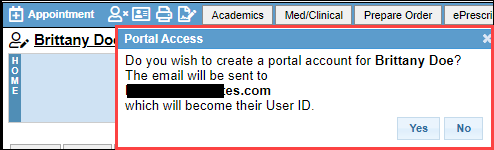
- You will then receive a message asking if you want to create a portal account and to verify the email that it will be sent to. Select "Yes."
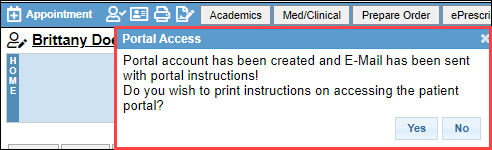
- Next, you will receive a message stating that the portal account has been created and an email has been automatically been sent to the client with further instructions. You will be given the option to "print" a PDF of the portal instructions which can be sent to the client if needed.
Creating a Portal with an External Link
This is an alternative method, and is intended to be used when a portal link lives in your company website. Otherwise, we recommend you use the method described above.
- Direct your client to your website portal link, or send the customer a direct link to the portal you want them to go to.
- They will select the link to open the portal login page.
- On the right hand side of the window, fill out the information required, and select "Create Account."
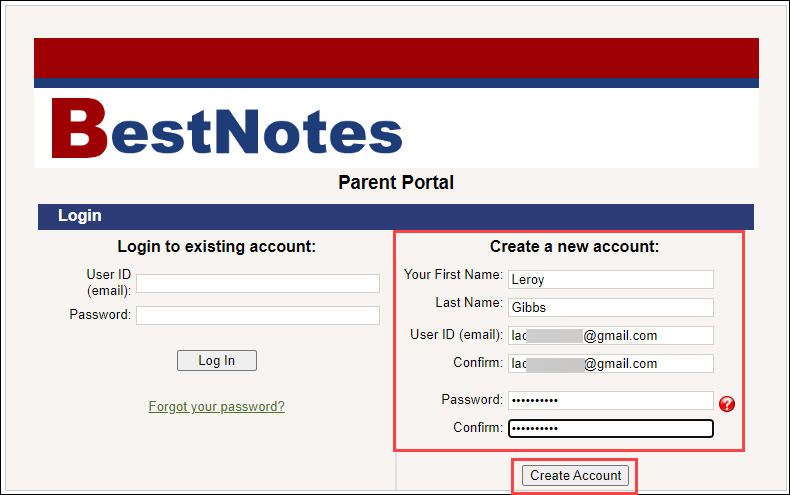
- Follow the onscreen instruction regarding the verification email. This verification email will only be valid for 30 minutes.

- In the verification email, select the "Verification Link."

- Your client now has a portal account! They may fill out any necessary applications and sign documents.

- You will find their application by opening the Admissions tab as described above where you will be able to view the new application, add it to BestNotes and create a new client from the application manager.