This article provides step-by-step instructions on how to create new appointments within BestNotes, including details on permissions and various appointment settings.
Permissions Required
- Schedule for Others
- Overlay Calendars
Creating Appointments
Create an Appointment
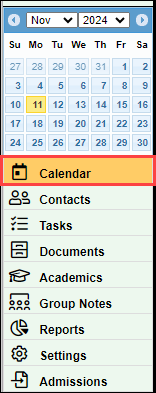
- Select "Calendar" from the lower left menu.
- Navigate to the appointment date by:
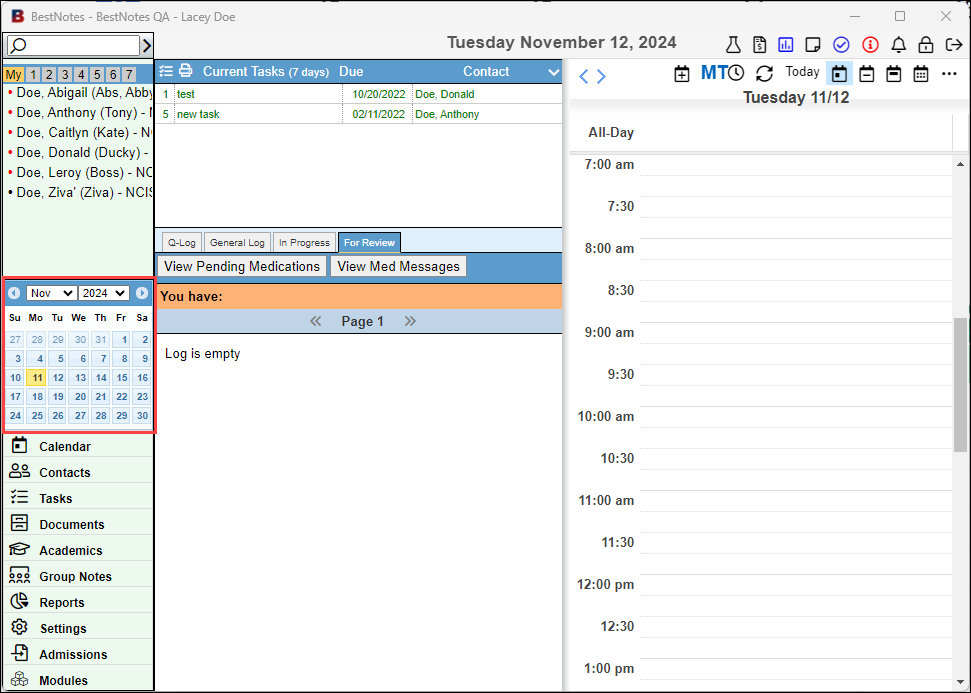
- Selecting the date from the calendar on the left hand side;
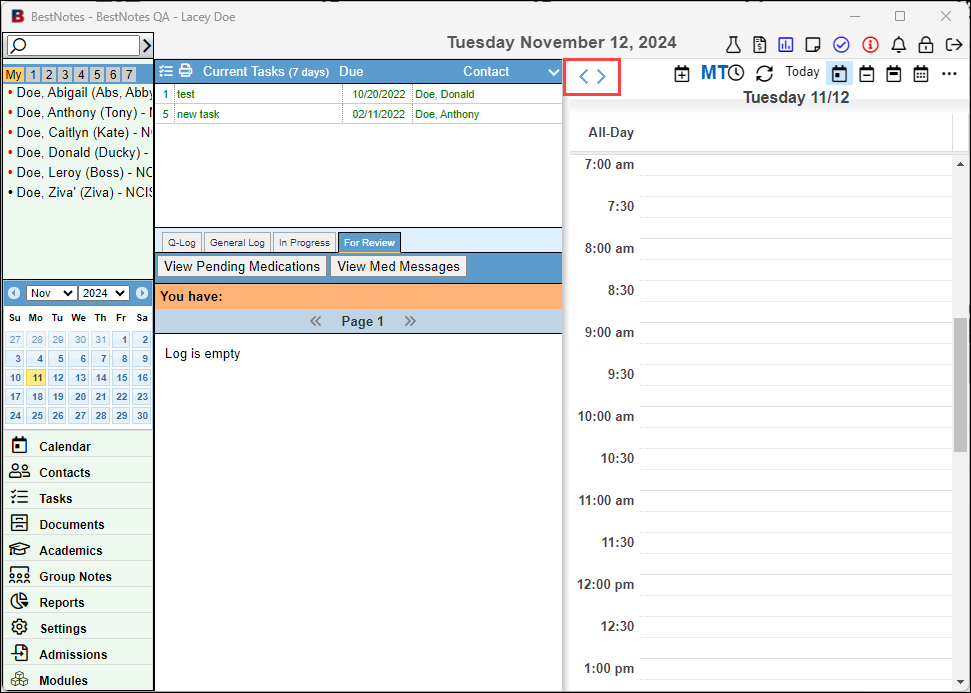
- Using the navigation arrows at the top to find the desired date.
- Selecting the date from the calendar on the left hand side;
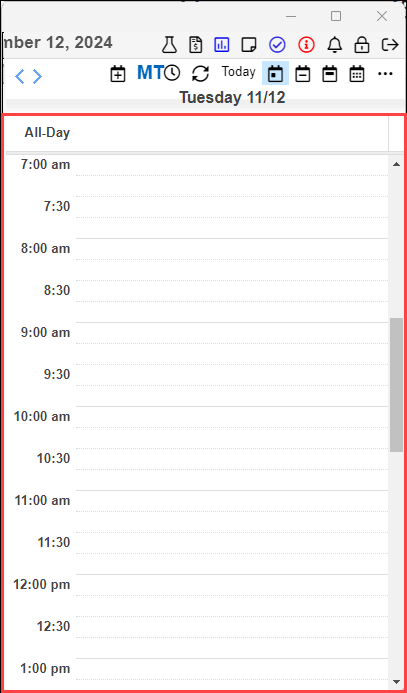
- Once the date is displayed on the right hand side, select the desired start time.
- When your appointment window opens, verify the date and time, and enter a "Subject." This can be seen by others, and should not include any PHI.
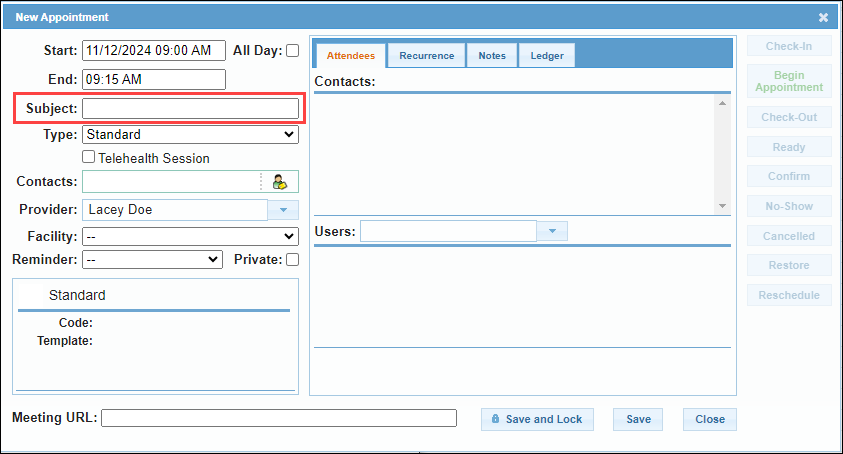
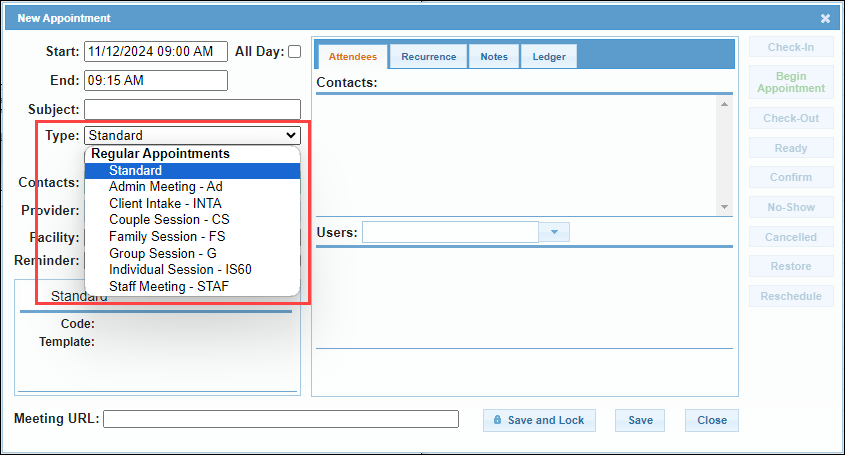
- Select the "Type" drop-down to select the appropriate appointment type. For example, if you are creating an "Intake" appointment, you could choose the "Client Intake" appointment type.
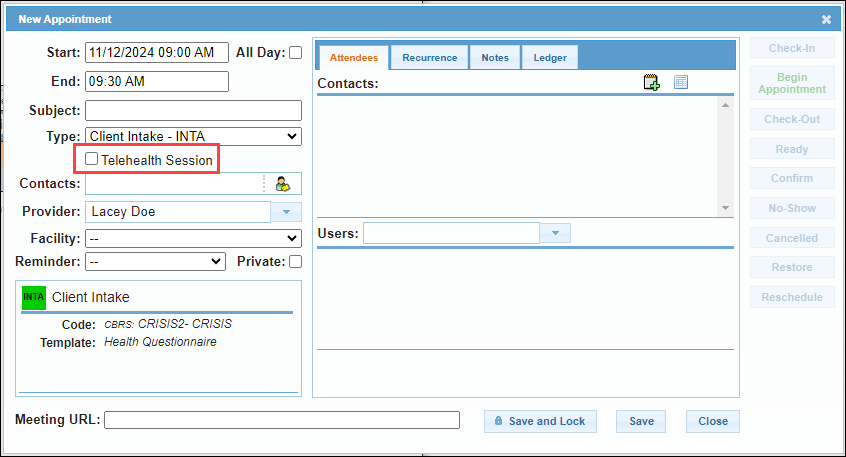
- If you have telehealth sessions enabled, you will have the "Telehealth Sessions" checkbox. To make this a telehealth session, select the checkbox.
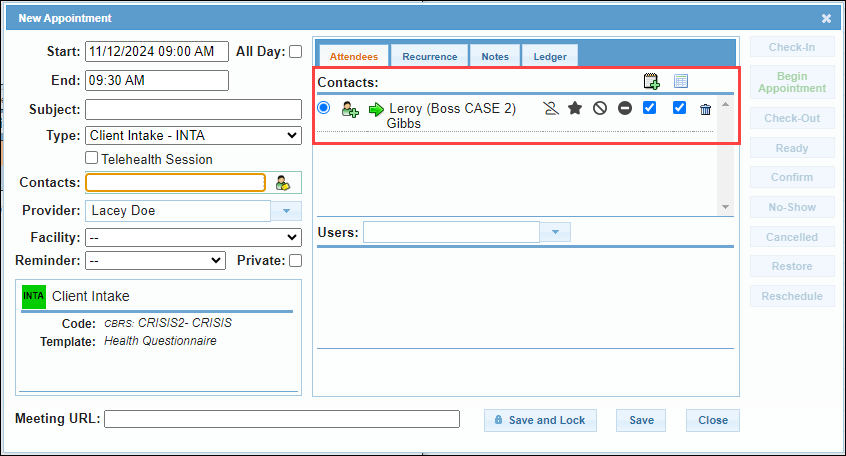
- In the "Contacts" field, enter the contact's first or last name. Possible matches will appear, select the appropriate contact from the list.
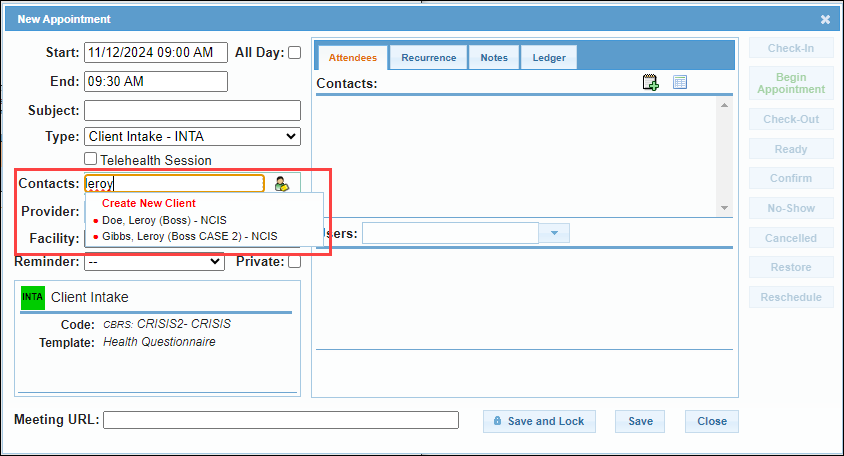
- This will add the contact to the "Attendees" tab below the "Contacts" label.
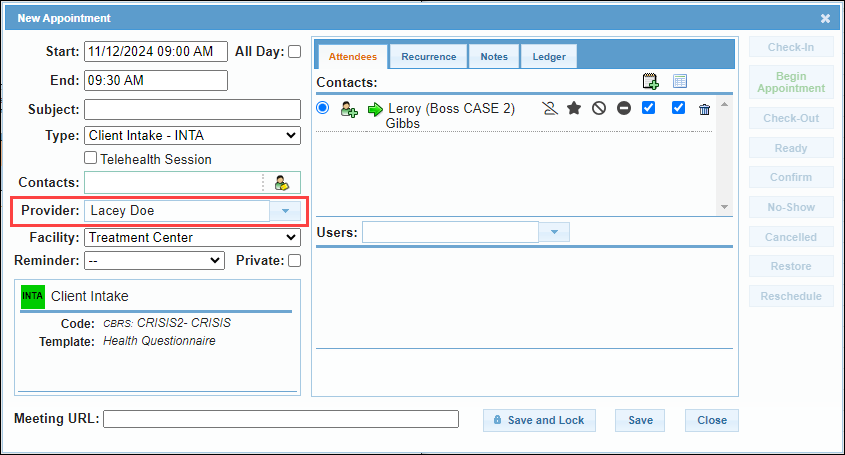
- The "Provider" field will default to the user that is logged in. With the appropriate "Schedule for Others" and "Overlay Calendars" permissions, you can choose a different user if needed.
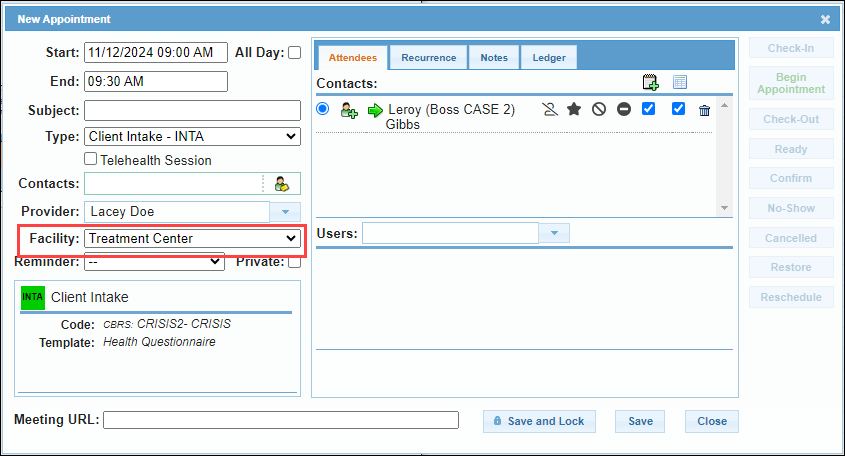
- Verify the "Facility" field is correct. If not, select the appropriate facility from the drop-down.
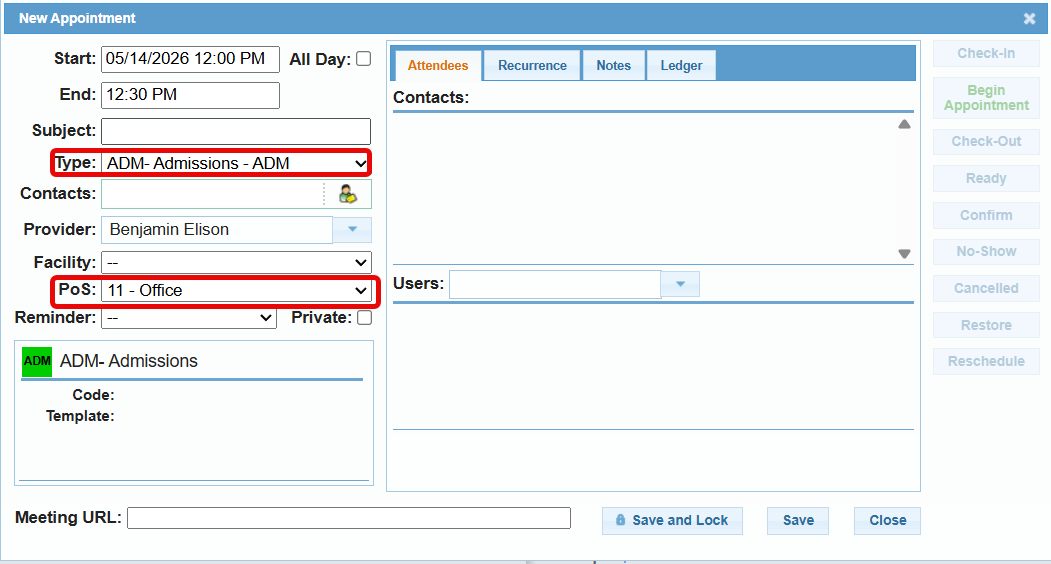
- Notice the Place of Service field (located directly below the Facility field) automatically populates based on your selection. If you need to change it for a specific instance, simply select a different value from the dropdown. The selected POS will now flow directly to the encounter and the electronic claim.
- To add another user to the appointment, enter their name into the "Users" search. Possible matches will appear, select the appropriate user from the list.
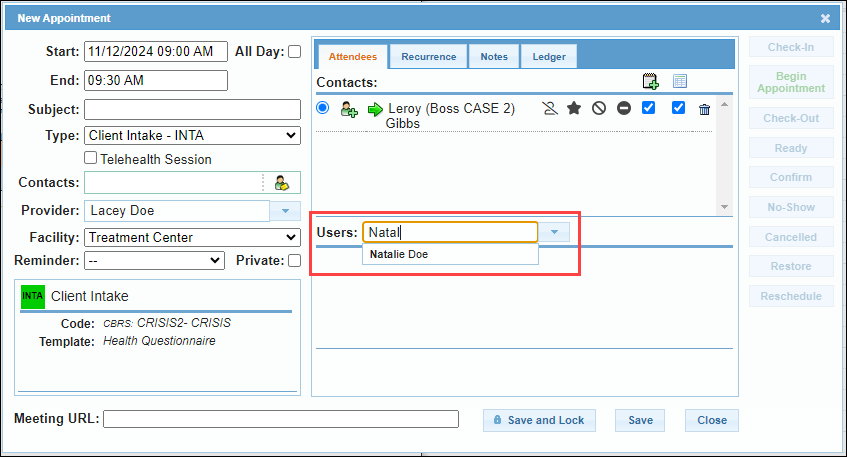
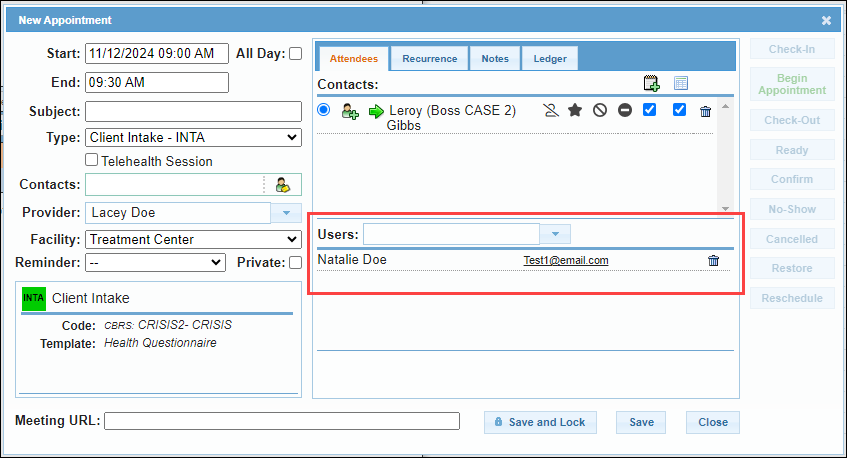
- This action will add their name in the area below, and will make the appointment appear on their calendar.
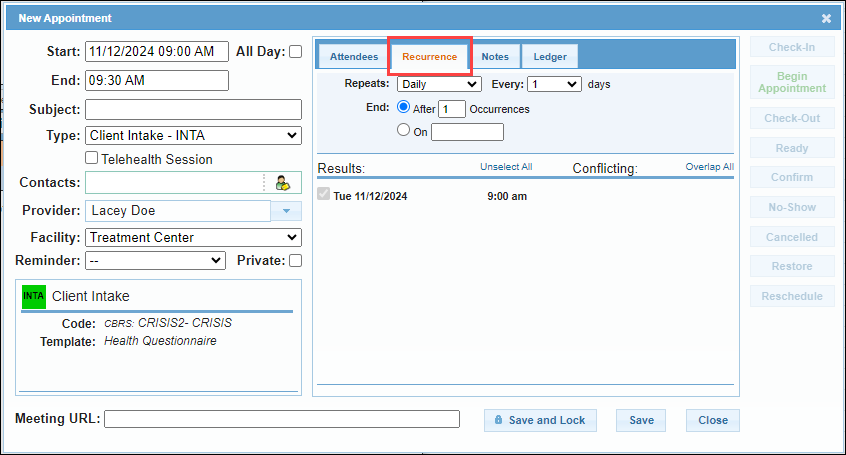
- If you would like to set this appointment as recurring, you can do that on the "Recurrence" tab.
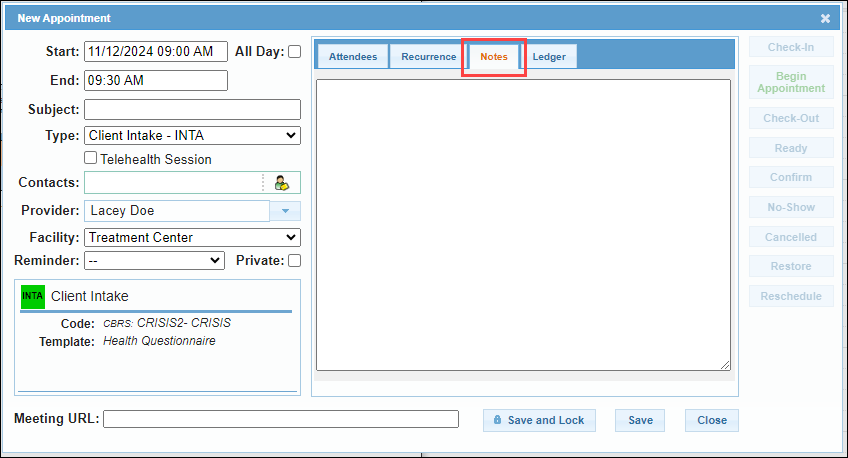
- You can add notes to the appointment in the "Notes" section. This information can be seen by anyone who can view the appointment, and it is recommended best practice to not put any PHI in this area.
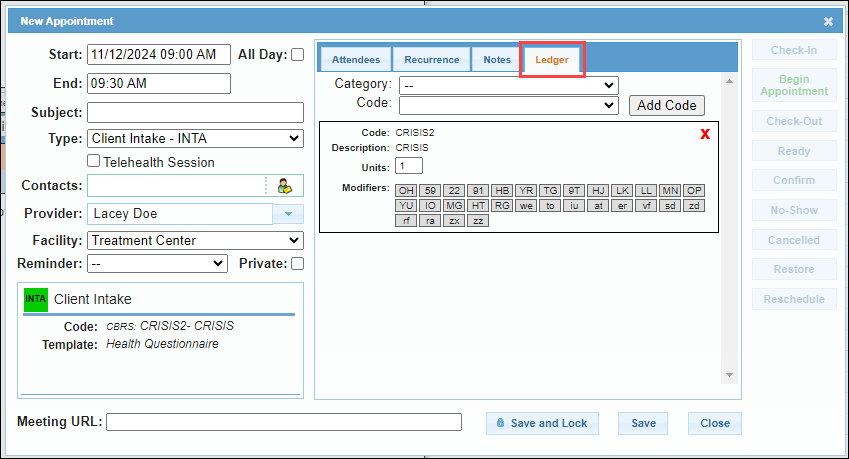
- The ledger tab is where you can add or update the ledger items associated with the appointment.
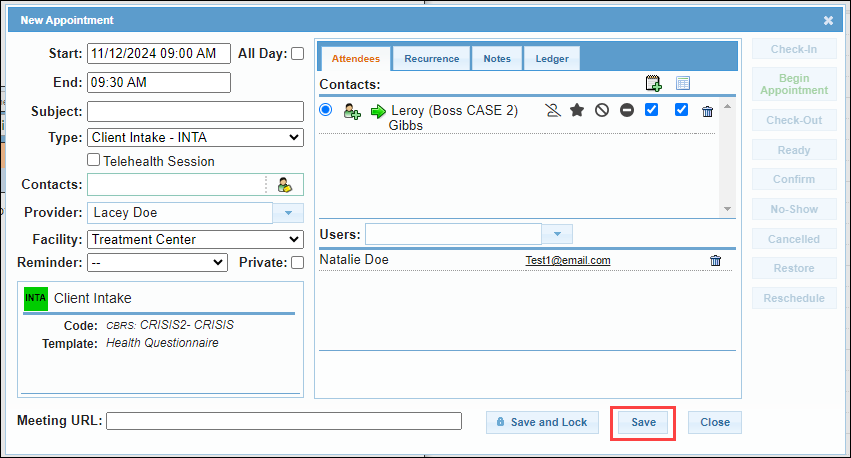
- Once you have entered all of the appropriate information, select "Save."
Next Steps
- See also: Recurring Appointments
- See also: Ledger in calendar appointments