This article provides a visual and step-by-step guide on how to manage data forms within a contact's profile in BestNotes, including adding, managing multiple, deleting, hiding, and revealing forms.
Permissions Required
- Manage Data Forms
Visual Tutorial
Click Play button
Managing Data Forms
On a contact's profile page, the Forms tab can add specialized data about a contact.
Adding a Data Form
- Look at the Data Forms in the dropdown list.
- Select a form.
- Click Add.
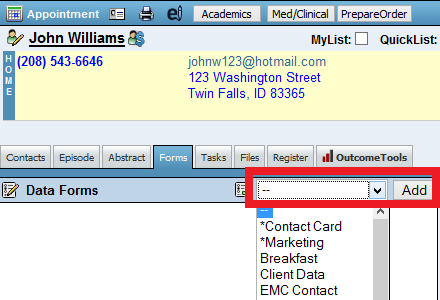
Data Forms can include:
- Text boxes
- Select boxes
- Check boxes
NOTE: All Information in any Data Form is reportable.
- Once you have filled out the form, click Save (Data Forms can also autosave when you click out of any text box).
- Data Forms can also be populated in:
- A Template
- The Contact's Profile Demographics top half of page (Create Ticket)
Managing Multiple Data Forms
- Click the Manage Form button.
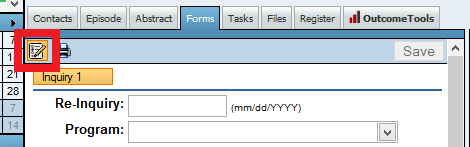
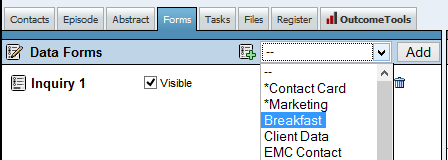
- Select another Data Form.
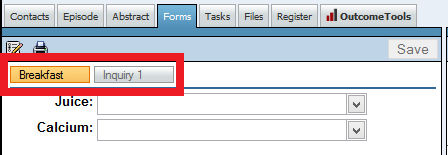
- Multiple Data Forms can be opened when you click on their abbreviated name and button.
Delete / Hide Data Forms
If you decide to discontinue the use of a data form that has already been added, then click the Manage Form button.
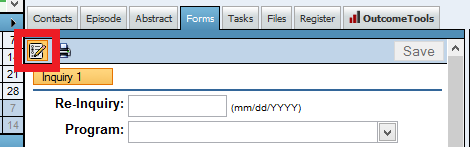
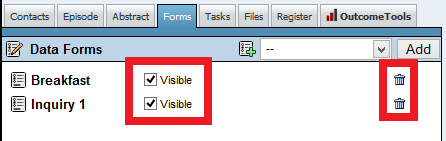
- Click the Trashcan to delete it entirely (NOTE: non-retrievable).
 OR
OR - Uncheck the Visible box to simply keep the data, but not show the form.
Reveal Hidden Data Forms
- Click on the Manage Form button.
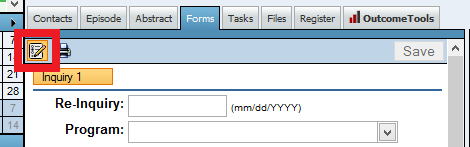
- Check the Visible box.
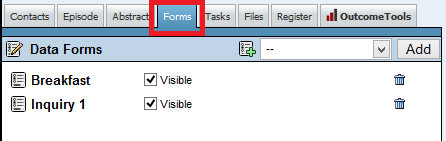
- Click on the Forms tab.
- Edit as needed.
Next Steps
- See also: Documentation on Manage Forms Permission
- See also: Templates (scroll to "Other" section)
- See also: Creating and Managing Data Forms