This article provides a comprehensive guide on recording administered medications in the BestNotes eMAR, covering the Med Pass process, PRN medications, and override procedures. No specific BestNotes permissions are required.
Permissions Required
- eMAR Access
Visual Tutorial
Recording Administered Med Workflow in eMAR
The BestNotes eMar is designed to be used in the "Chrome" web browser, with a resolution of at least 1024x768. If you don't have chrome, you will want to download it before using the eMAR.
Navigate to eMAR
- Navigate to the BestNotes App (https://crm.bestnotes.com/apps/sso/)
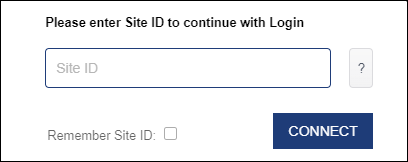
- Add your Site Id.
- Enter your BestNotes Login information.

- Once you have logged in, select the "eMAR" button to access the eMAR.

Access the Med Pass
When you log into the eMAR, you will be on the "Patients" tab. To begin a Med Pass, follow the steps below:
- In the top left corner, select the drop-down to specify a location (Groups based on Access/Fixed tags).

- Select the time of the MedPass. Patients who are included in that MedPass will appear in a darker black type than those who do not.

- Select the green "Start this MedPass" button.
Note: Verify all patient information (gender, tags, admission status) and medication lists in this med group are accurate before starting the MedPass, as it cannot be reversed once initiated. - Gray = future pass
- Blue = selected pass
- Green = pass has been started
- Orange= pass was never started (past)
- Select the active patient on the left to administer the MedPass.
Note: Medication administration can be recorded anytime after starting the MedPass.

- Once the medication has been administered, select the check mark box next to the medication that was administered. This check will turn green.
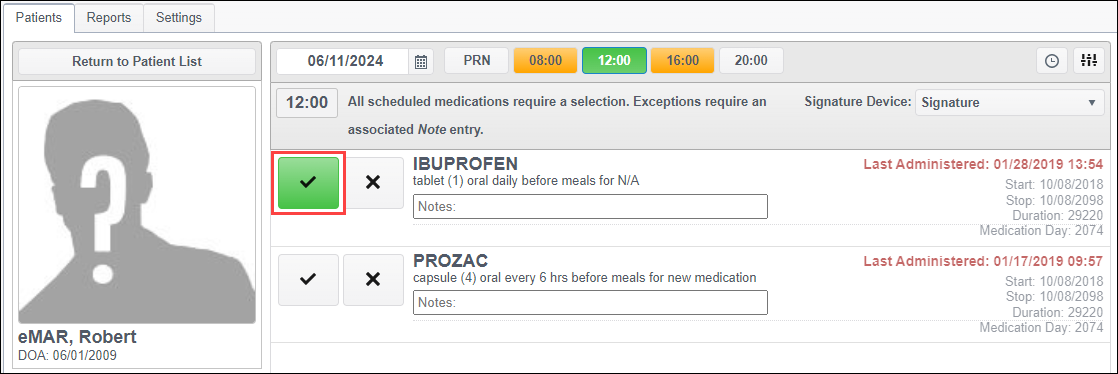
- If the patient refuses their medication, select the X button to decline the medication. The X will turn red and you are required to notate why they refused medication.

- Once all the medications for this patient have been passed, if you require the patient signature, this will need to be recorded first, then the staff signature. For more information regarding signatures, visit Signatures in the eMAR.
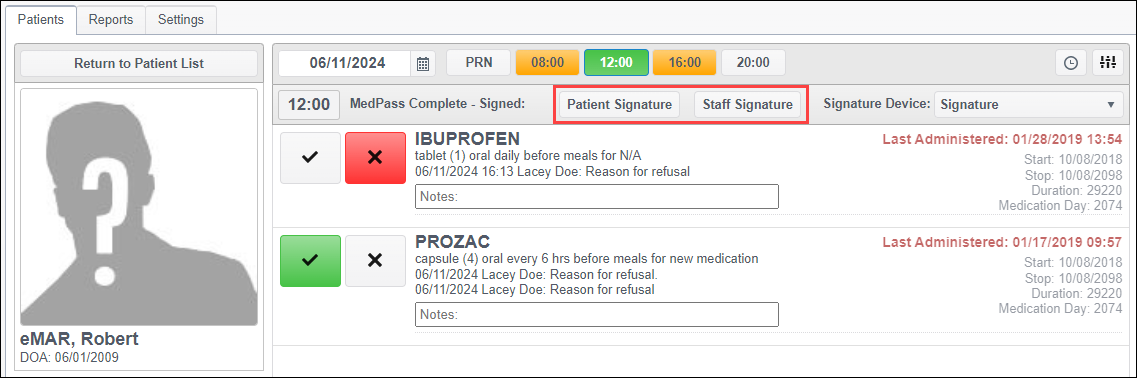
- Once all of the medications for that patient have been declined or administered, an indicator will be displayed on the patient for that MedPass. A green check signifies all meds were taken and the red check signifies that at least one med was not administered.

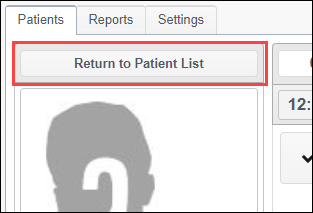
- Then select the "Return to Patient List" button, and repeat steps 5-9 for each patient within the MedPass.
PRN (As Needed)
For PRN's or STAT medications, be sure that your System Administrator has entered all PRN medications in your BestNotes "Custom Medications" tab. This can be found in the "Settings" area, within the "Custom Medications."
For BestNotes medications, select the "as needed" checkbox.

For DrFirst medications, select the "PRN" checkbox.

Once that has been completed, you can administer PRN medications as follows.
- Select the patient from the patient list.

- Then select the PRN button.
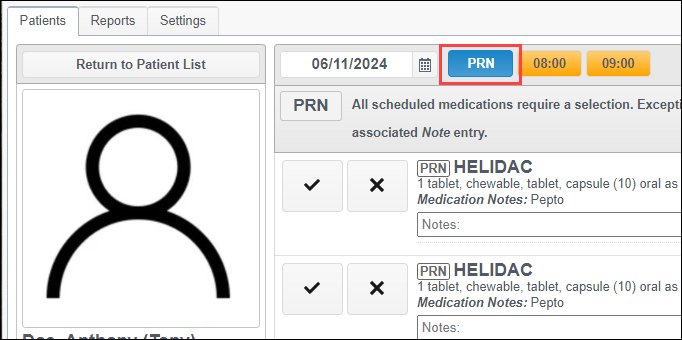
- The available list of medications for that patient will be listed.
- Select the checkbox for the requested medication, then sign for the medication administration. If you would like to record the patient signature, the patient will be required to sign first. For more information regarding patient signatures visit, Signatures in the eMAR.

- If you return to the patient list without signing for a PRN medication, when you return to the PRN page, you will see the signatures listed directly below the medication that was administered.

Override
When a refused medication is taken at a later time, an override reason must be noted
- Return to the MedPass time.
- Select the check mark.
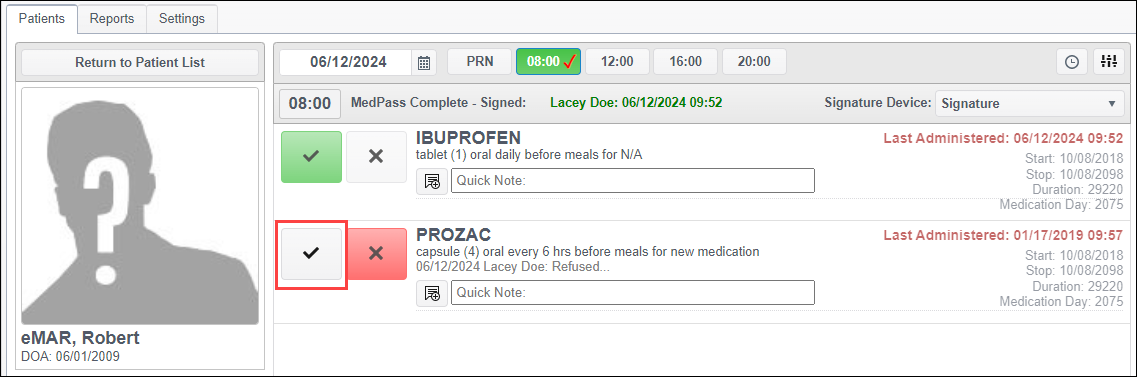 Give a reason for the override.
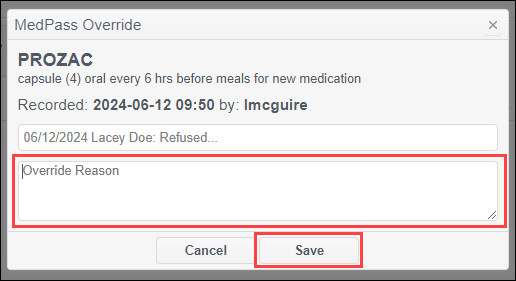 This will mark the med was administered and deduct it from the Inventory. No signature is required because the note is registered with the user.

Next Steps
- See also: Signatures in the eMAR