This article guides you through setting up the BestNotes eMAR, including defining groups for MedPasses and configuring SigPads for patient signatures.
Permissions Required
- eMAR Access
- eMAR Configure Settings
Visual Tutorial
eMAR Setup and Configuration
The BestNotes eMar is designed to be used in the "Chrome" web browser, with a resolution of at least 1024x768. If you don't have Chrome, you will want to download it before using the eMAR.
Navigate to eMAR
- Navigate to the BestNotes App: https://crm.bestnotes.com/apps/sso/
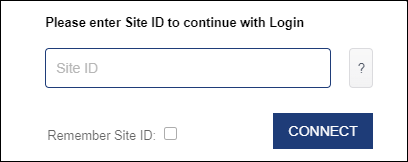
- Add your Site Id.
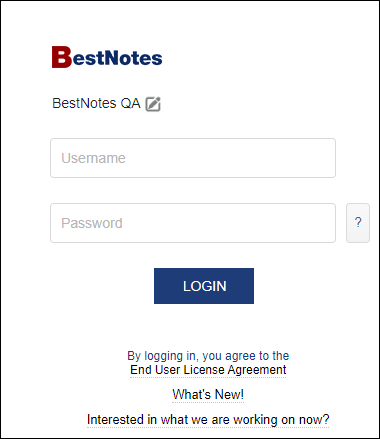
- Enter your BestNotes Login information.
- Once you have logged in, select the "eMAR" button to access the eMAR.

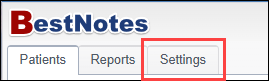
- Navigate to the "Settings" tab.
Groups
The "Groups" area is where you will define which individuals will be included in the Group and the times that they will have a MedPass available.
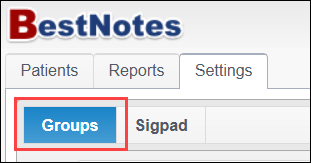
- Select the "Groups" tab.
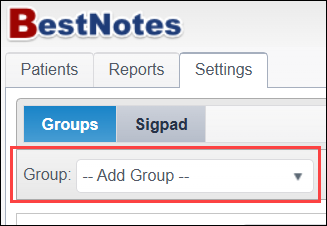
- In the "Group" drop-down, select "--Add Group--."
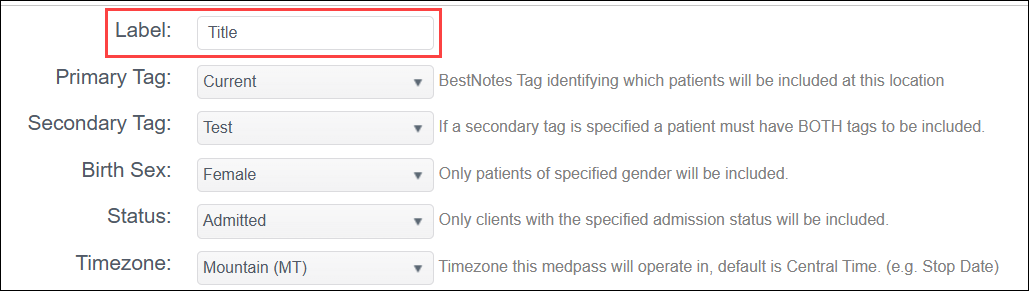
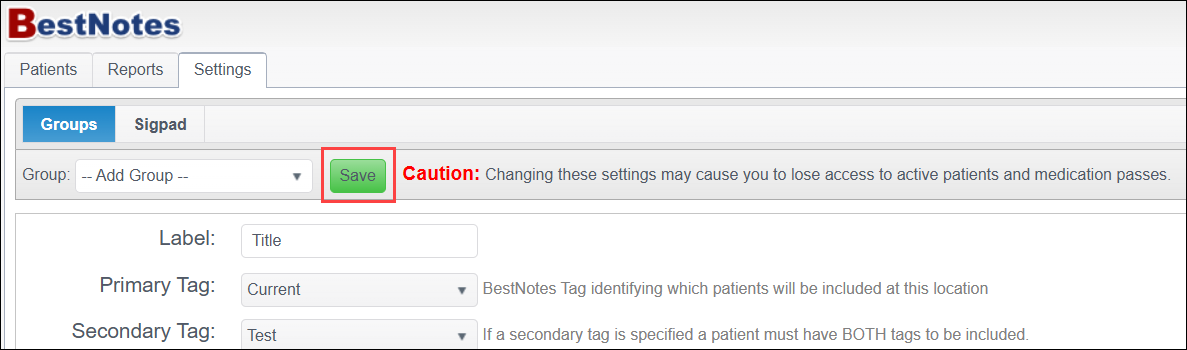
- Define the label, this is the title that will appear in the drop-down.
- Select your "Primary Tag" in the drop-down. This is based on BestNotes Access Tags, and it is recommended to use the "Current" tag here. Patients with this tag will be included in this group.
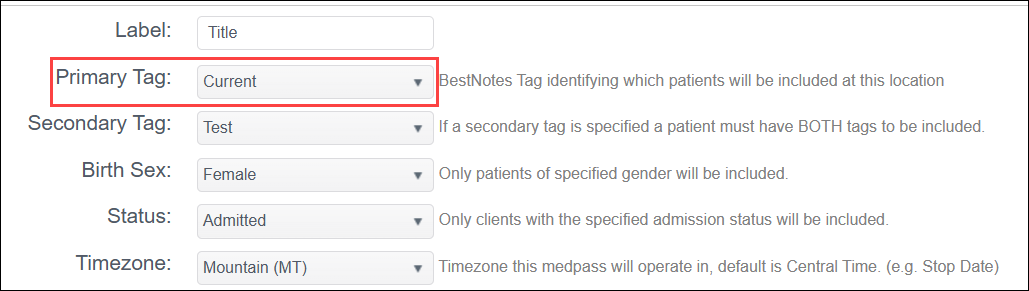
- Select your "Secondary Tag" in the drop-down. This is based on BestNotes Fixed Tags, and the patient must have both the "Primary" and "Secondary" tag in order to appear in this group.
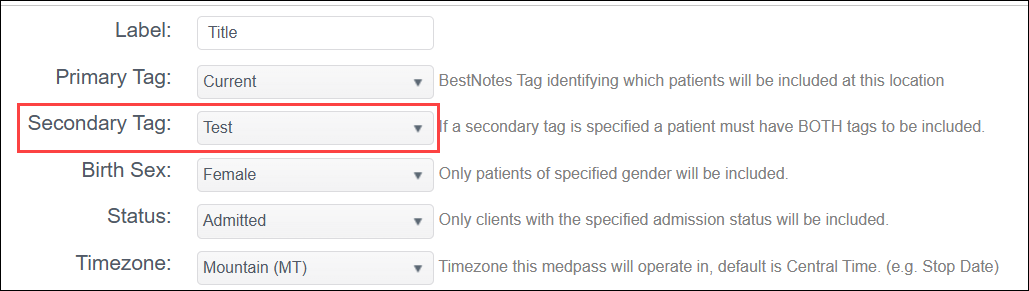
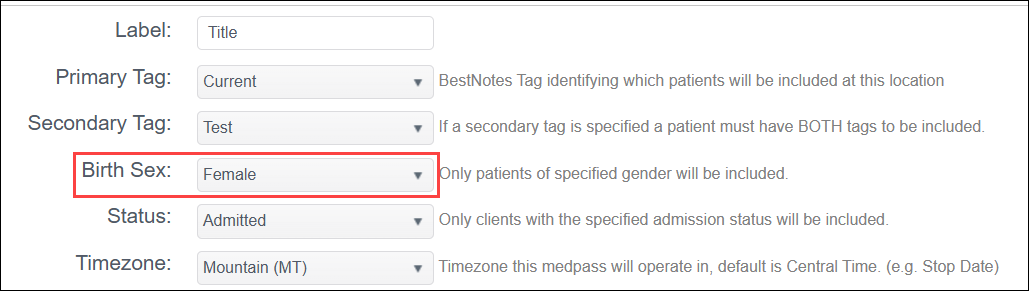
- The "Birth Sex" drop-down will filter based on the gender of the patient. If selected, only patients of the specified birth sex will be included.
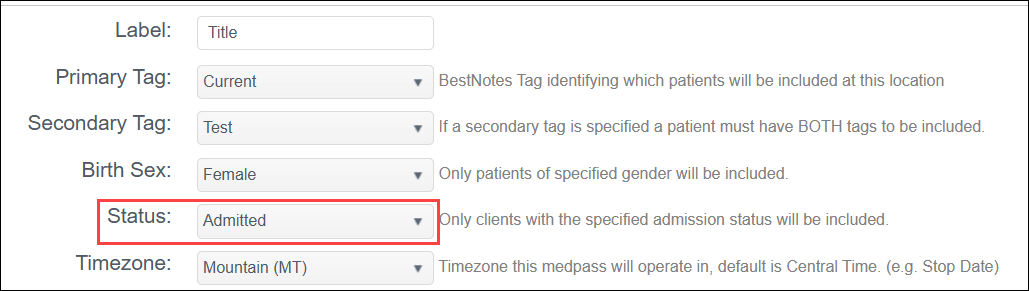
- The "Status" filter will include patients based on their "Admission" status if selected. This means they must have an "Admit" date entered in BestNotes.
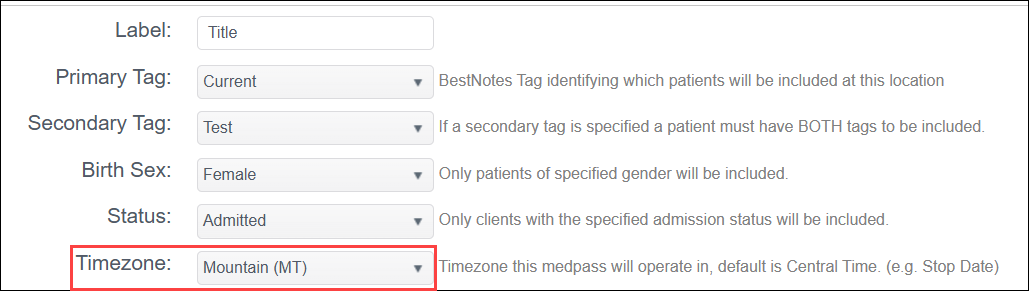
- The "Timezone" filter will specify the timezone the MedPass will be in.
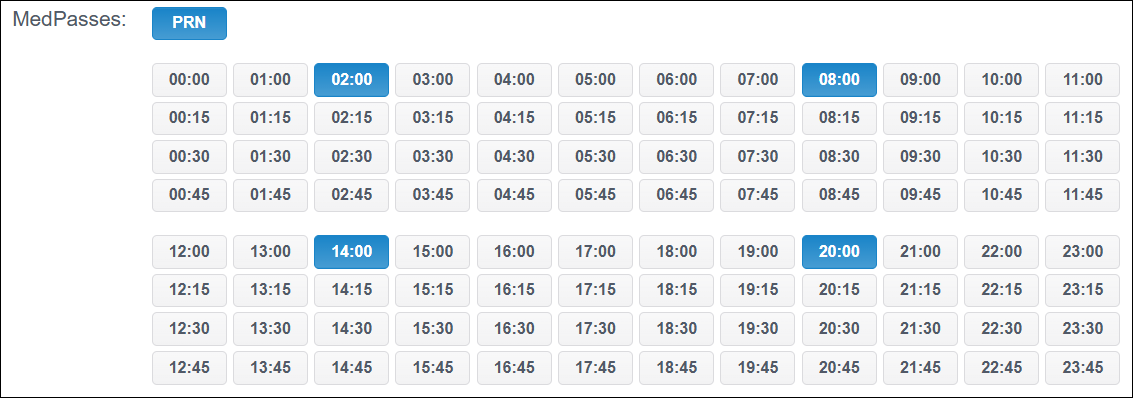
- The "MedPasses" are in Military time. Select each time that a MedPass needs to be available for the group. If they have PRN's be sure to select that button as well.
- "Administering Users" will define which users can perform the MedPasses. Any user added to this list will be the only users allowed to access the group. If no users are selected, all users will be able to access this group.

| Note: Only users with the "eMAR Access" permission can perform MedPasses. |
- Select "Save."
SigPad
To create a "SigPad" for patients to sign off on their medications. If a Sigpad is not set up, the Patient Signature button will not display for users to have patients sign off on their medications.
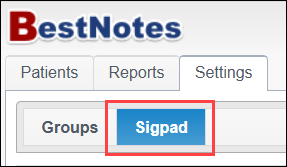
- Select the "Sigpad" tab.
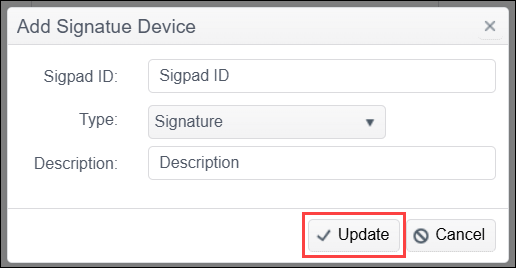
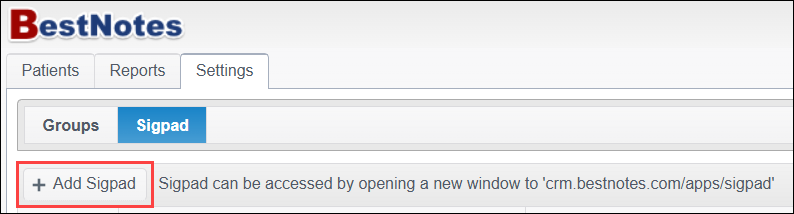
- Select "Add Sigpad."
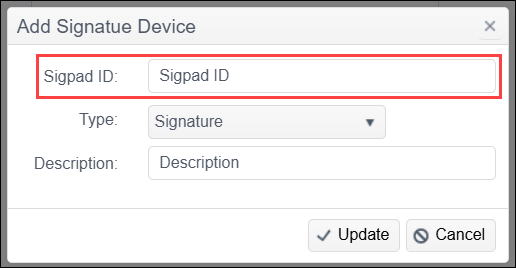
- Enter the "Sigpad ID." This is the title of the sigpad.
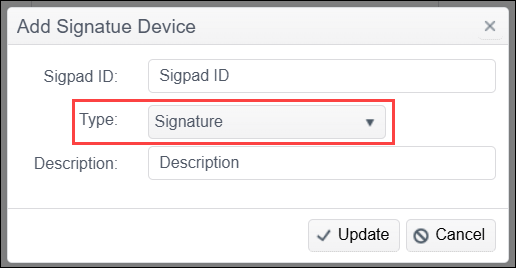
- Select the "Type." The "Signature" option will allow a scribble signature, and the "PIN" option will required the patients PIN that is setup in BestNotes.
- Enter the "Description."
- Select "Update."