Once you have created the telehealth appointment, you may need to make adjustments to that appointment. If these adjustments affect the date and time of the appointment, or if you are adding a new participant you can make your adjustments and send an updated notification by following these instructions.
Permissions Required
No specific BestNotes permissions are required.
Updating Telehealth Appointments and Participants
Updating a Telehealth Appointment
- Open the appointment you would like to adjust.
- Make date or time adjustments.
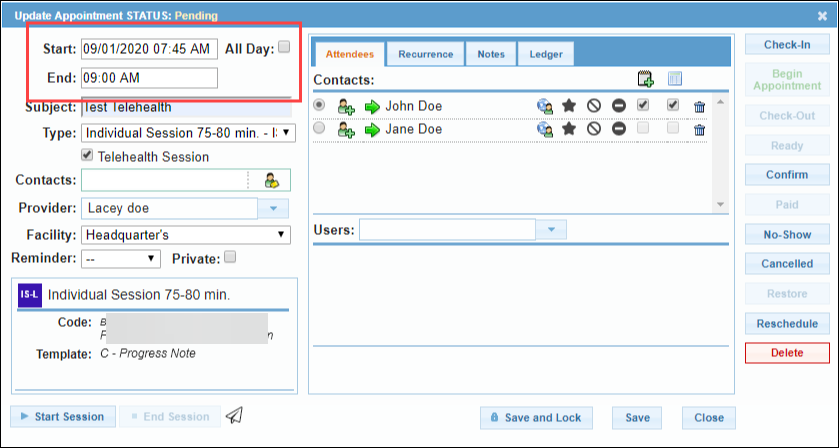
- Select the paper airplane icon.

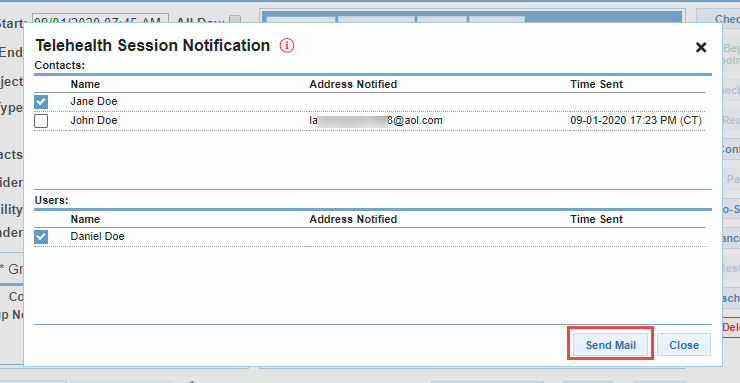
- Select all participants to send them the updated notification.
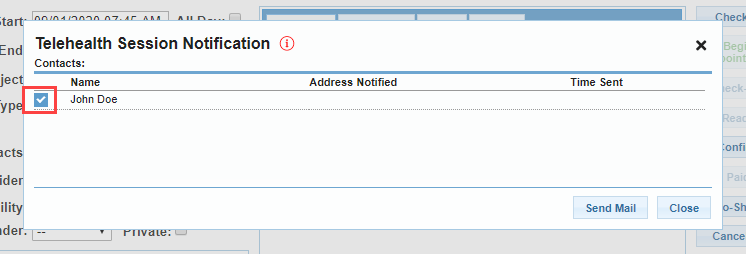
- Select "Send Mail."

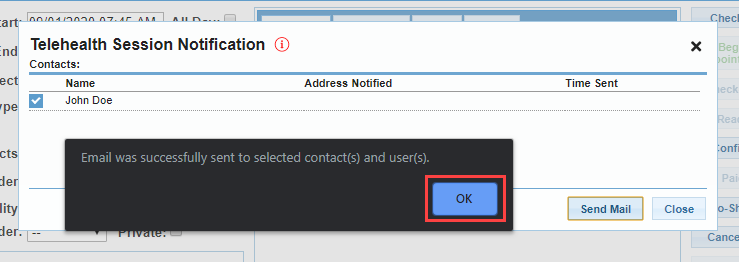
- You will receive verification of a successful send, select "Okay."
- Once the updated notification has been sent, make sure to save the changes of the appointment.
Adding Additional Participants to a Telehealth Appointment
When adding additional participants to a telehealth appointment, you can add more contacts or more users. When adding more contacts, make sure when there is more than one contact, the appointment type must be a group appointment. or the notification will only be sent to the primary contact. To add participants, follow the steps below.
- Open the appointment to adjust contacts.
- Add contacts and/or users.
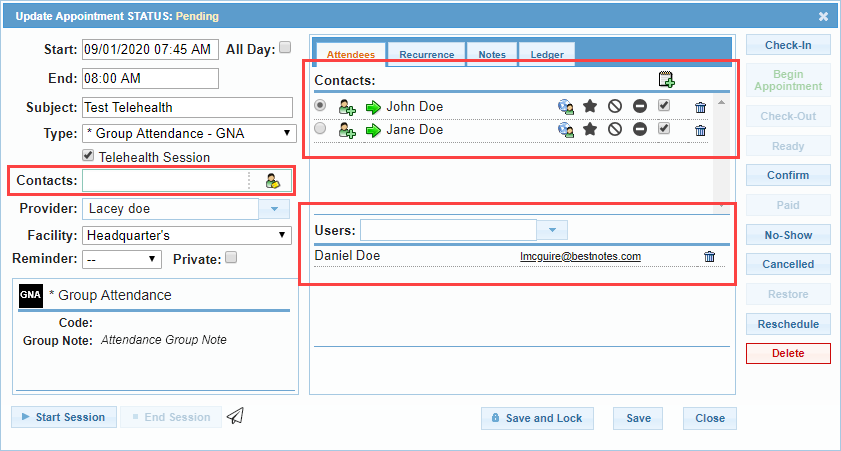
- If the appointment is changing from individual to group, update the appointment type.

- Select "Save."
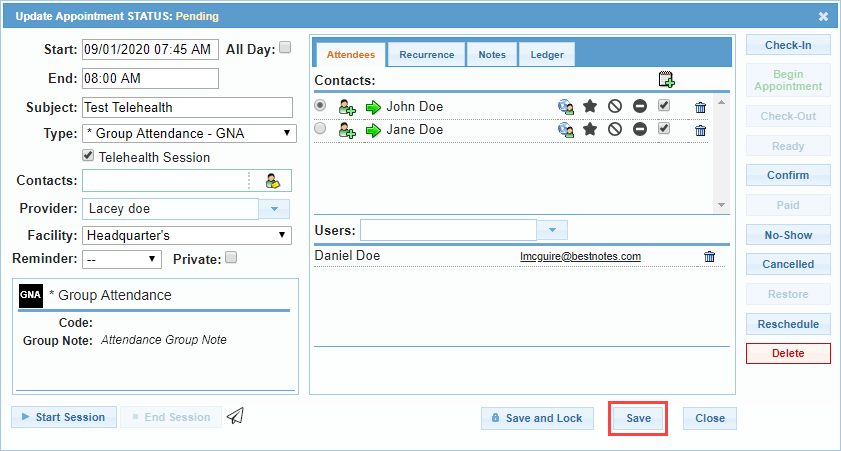
- Re-open appointment.
- Select the Send icon.
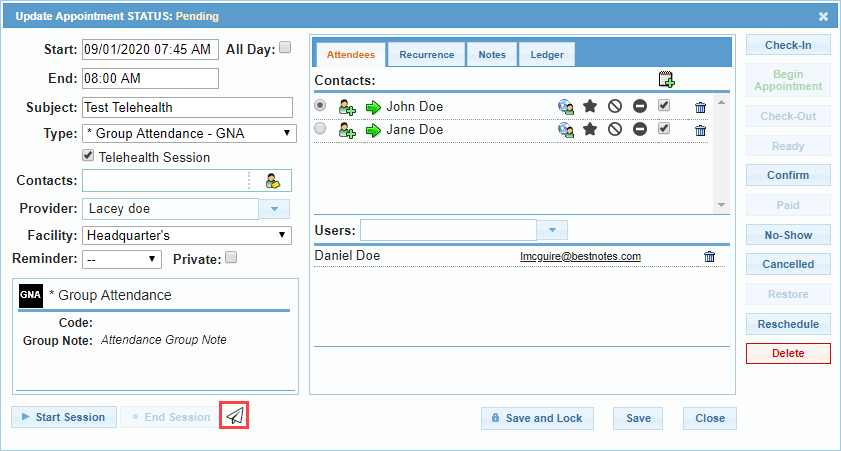
- Select the newly added participants.

- Select "Send Mail."
- You will receive verification of successful send, select "Okay."

- Save appointment.
You have now updated your telehealth appointment, and you are ready to begin your appointment.