Custom Test Groups allow you to combine existing Custom Tests into a single group, enabling staff to quickly add multiple tests to a client's Test Results, thereby minimizing data entry time.
Permissions Required
- Manage Custom Tests
- View Custom Tests
- Edit Custom Tests
Managing Custom Test Groups
Accessing Custom Test Groups
- Navigate to the "Settings" area on the bottom left navigation bar.

- Navigate to the "Custom Tests" area.
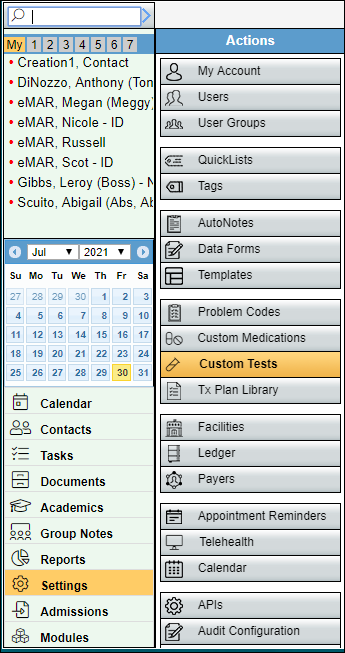
- Select the "Custom Test Groups" tab.

Create Custom Test Groups
- Select "New Test Group."
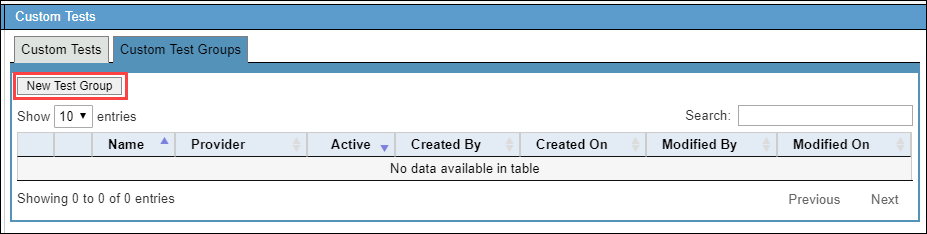
- Enter the "Name" of the Test Group and review the "Provider." The provider will automatically enter the user creating the group, however, this can be left blank by selecting the "x" to the right of the name. The provider entered when the tests are recorded will also default to the user recording the test.

- Select "Save" or "Save & Create New."

- Select the down arrow next to the new Test Group and select the "+" symbol to add a new test.

- From the drop-down select the test from the existing "Custom Tests" listed.
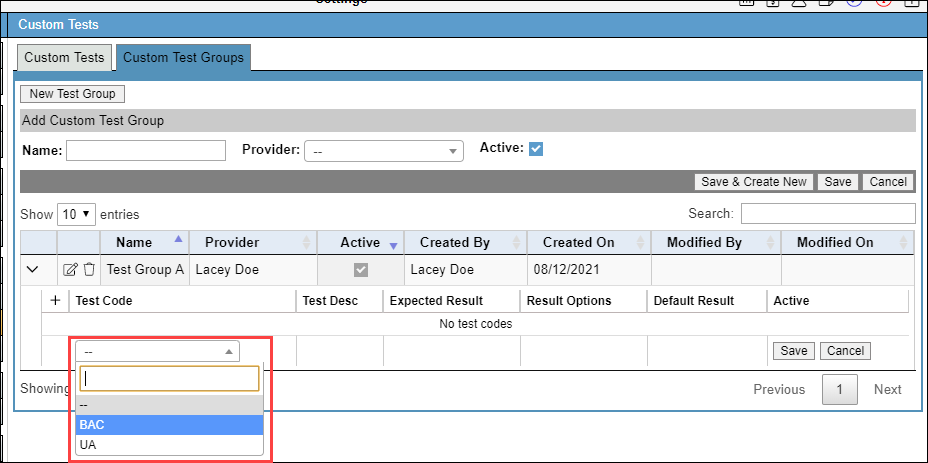
- Select "Save" and repeat as necessary to add the test you would like included in this group.

Now that you have created a test group, you can add this group to the client when adding test results in the Med/Clinical.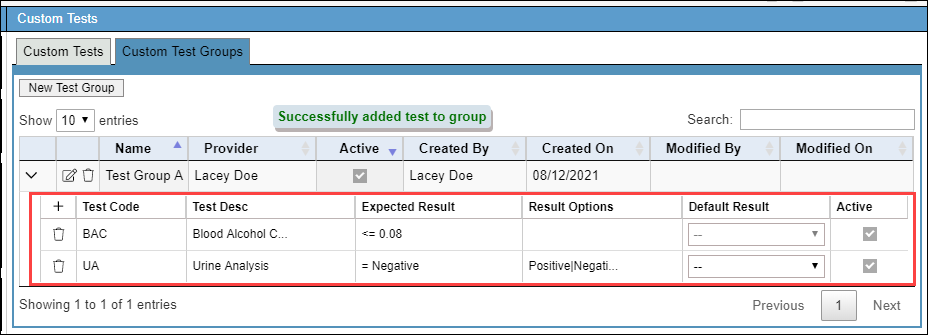
Next Steps
- See also: Create custom tests
- See also: Record custom test results