This article explains how to add a related contact to a client's chart and enable their access to the BestNotes web portal.
Permissions Required
No specific BestNotes permissions are required.
Adding a Related Contact and Enabling Portal Access
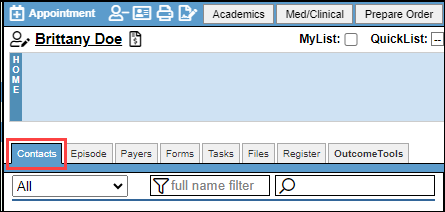
Navigate to the "Contacts" area on the client's chart.
Select the contact (if already created) or create the contact as an "Individual" or "Client."
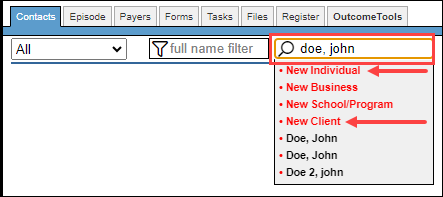
When creating a new contact, add the following information at a minimum:
- Relation
- First (name)
- Last (name)
- Home Email
- Access Tag
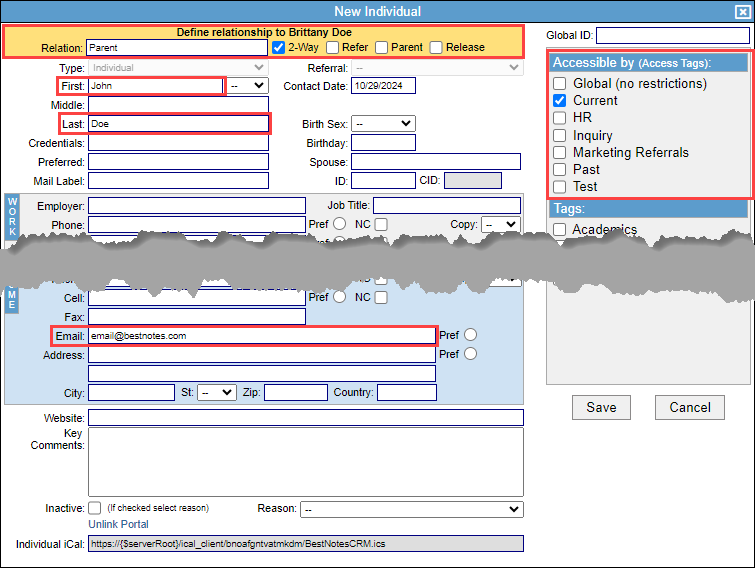
Select "Save."

In the "Contacts" tab, find the related contact and select the "Relationship" icon.
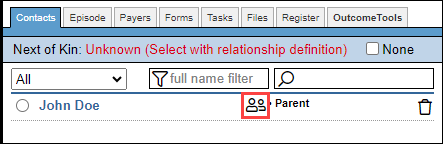
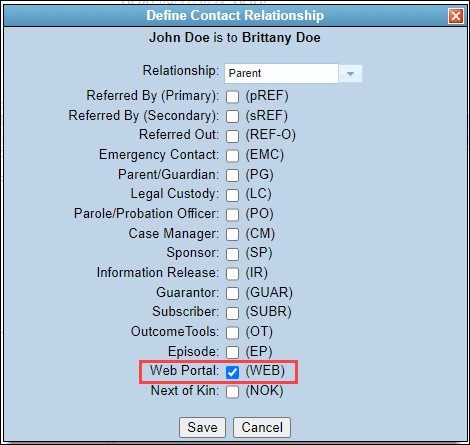
At a minimum, select the "Web Portal" option.
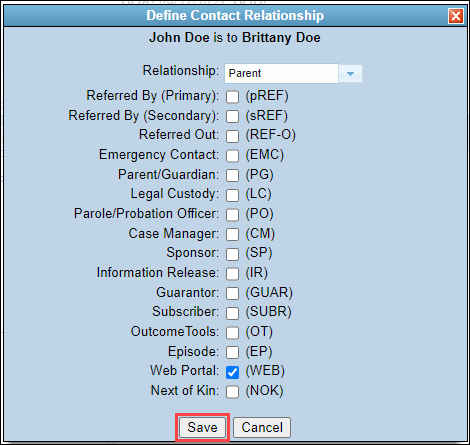
Select Save.
Now that you have created the related contact, you can assist them in creating a portal account. Make sure that you are navigating to the related contacts chart to begin the portal creation.
You can also have the related contact sign shared documents by adding the related contact as a signer before sending the document to the portal.
Next Steps
See also: Create portal account
See also: Share documents to the portal