This article explains how to review client applications submitted through BestNotes and import the collected data into client records.
Permissions Required
- Admissions
Reviewing and Importing Client Applications
To review any applications submitted by the client, you will need the "Admissions" permission.
Navigate to Admissions
- Select the "Admissions" in the bottom left hand side of your BestNotes dashboard.
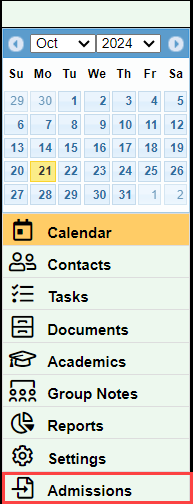
View and Import application
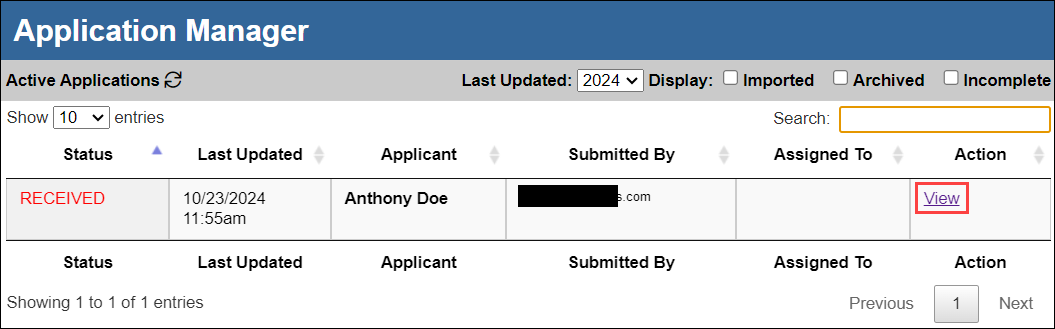
| Note: By default, the list of applications are those that have been completed and submitted. To review "Archived" or "Incomeplete" applications, select the corresponding checkbox in the upper right hand corner. |
- This will open the "Application Manager" where you can view submitted applications. Find the desired application, and select "View" in the "Action" column on the right hand side.
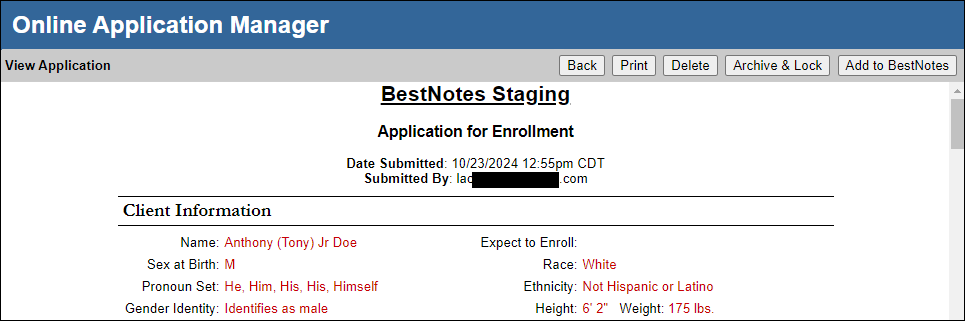
- Review the content of the application. Red text indicated text entered by the client.
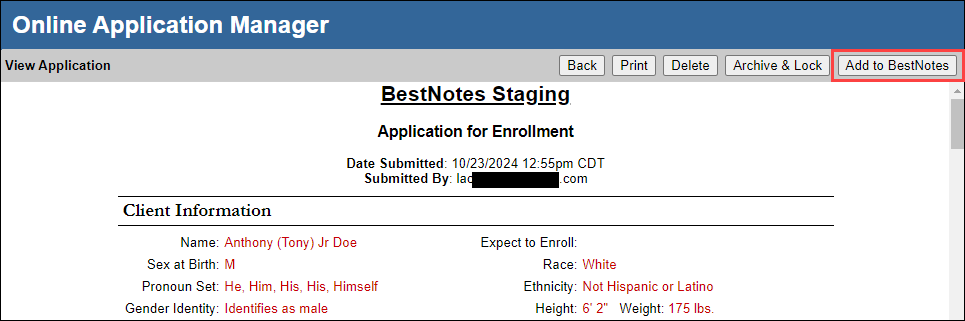
- Once you have reviewed the application, select "Add to BestNotes."
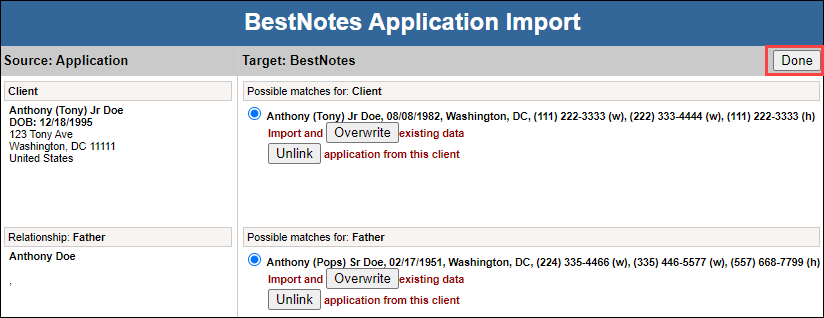
- This will show you the "BestNotes Application Import" screen. On the left hand side you will see the client information entered into the application. On the right hand side you will see a list of possible matches.
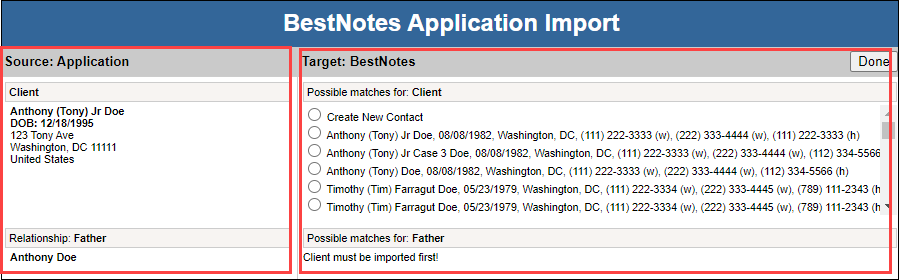
- If the client is new and doesn't match any entries listed, select the "Create New Contact" button.
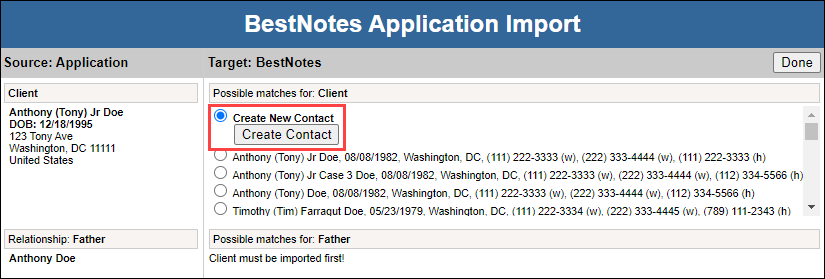
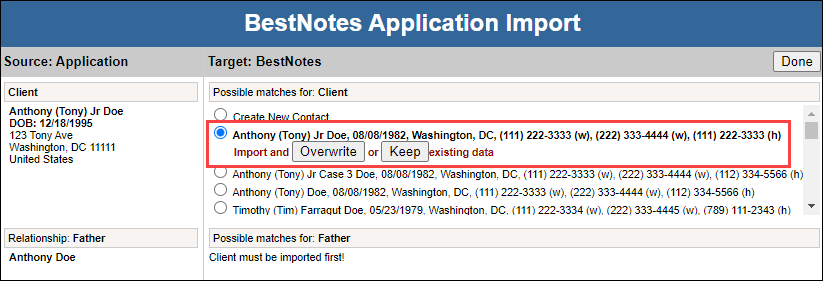
- If the client is an existing client, select the client from the "Possible Matches." You will then have the option to "Overwrite" or "Keep." If you "Overwrite" this will pull the latest information entered on the application overwriting the existing content and import the application to the Activity Log. If you "Keep" this will keep the existing data in your BestNotes and only import the application to the Activity Log.
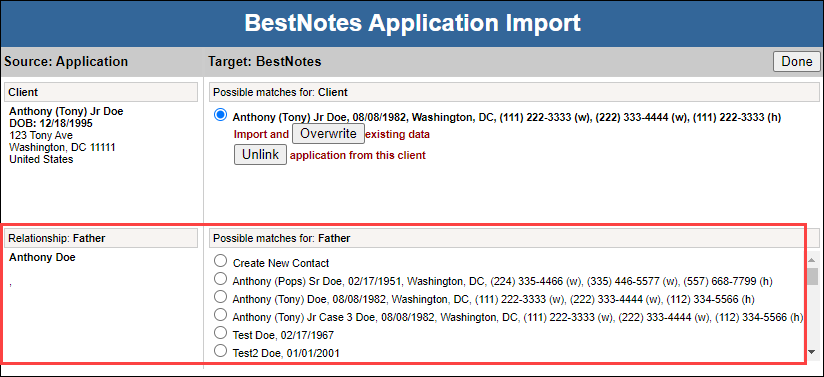
- Next, you will move down to any related contacts that you would like to add the the client's chart. Select the "Create New Contact" for any new related contacts, or select the match from the "Possible Matches." You will have the same "Overwrite" and "Keep" options here.
- Once you have all of your contacts import options selected, select "Done" in the top right corner.
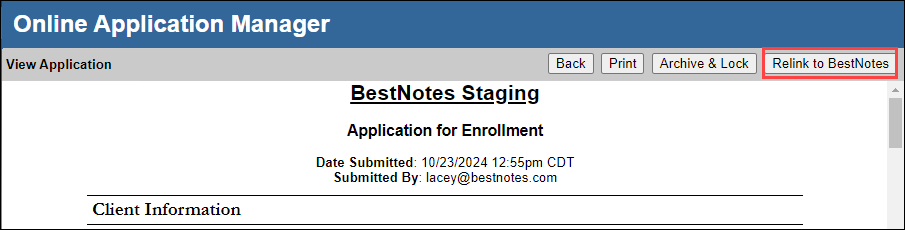
- This will then show the application again, and in the top right corner the "Add to BestNotes" button will now say "Relink to BestNotes." This means that your application has been imported. You can further review the application if necessary.
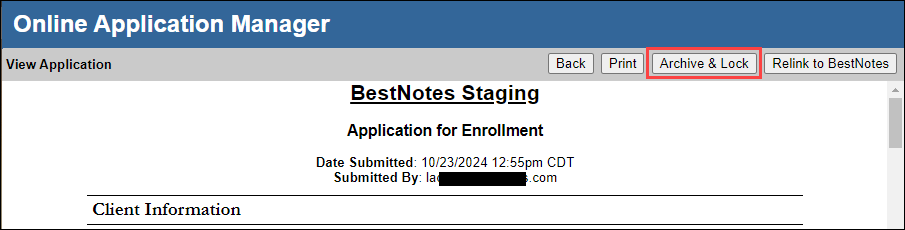
- If you are done with the application, select "Archive & Lock." This will remove the application from the portal so the client can no longer make changes to the application, and you will be taken back to the application to review any other applications as necessary. Otherwise, you can close the application manager.
Review application in Client's chart
- Navigate to the client's chart.
- If you selected "Overwrite", the demographic information from the application will be updated.
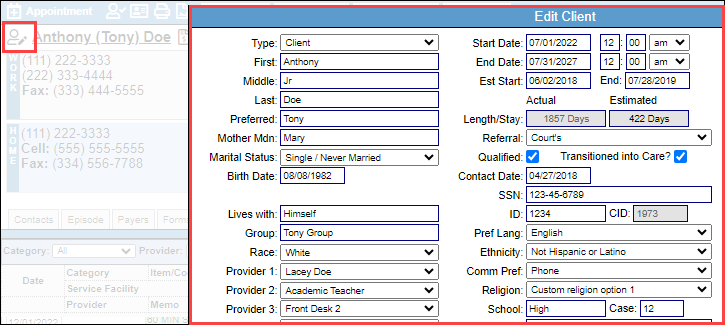
- The client reported application information will be populated automatically into the "Med/Clinical", accessed via the button at the top of the client's chart.
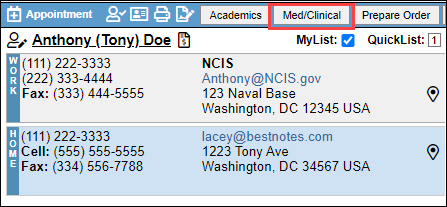
- The application will automatically import to the "Activity Log" in the client's chart.

Next Steps
- See also: Re-link to BestNotes application
- See also: Re-activate BestNotes application