This article provides step-by-step instructions on how to check in and check out appointments in BestNotes, including verifying appointment details and completing associated documentation.
Permissions Required
No specific BestNotes permissions are required.
Checking In and Out Appointments
Check-In Appointment
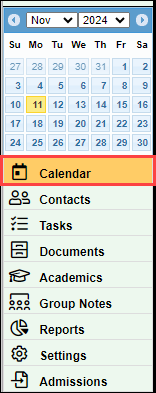
- Navigate to the "Calendar" tab.
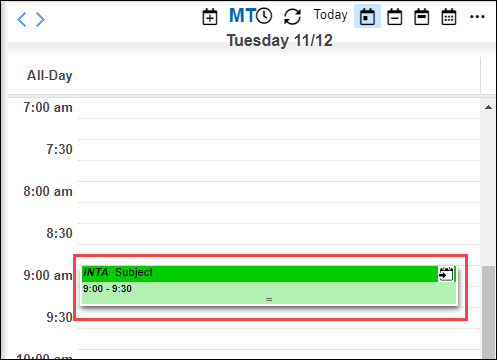
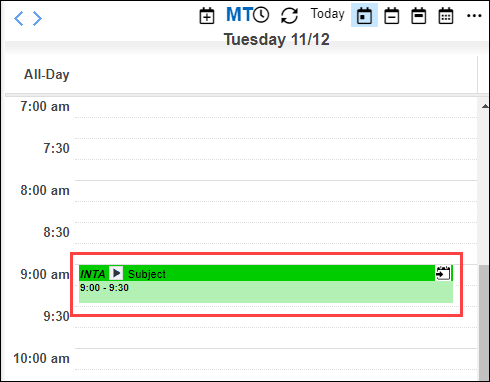
- Left-click on the appointment to open the appointment details window.
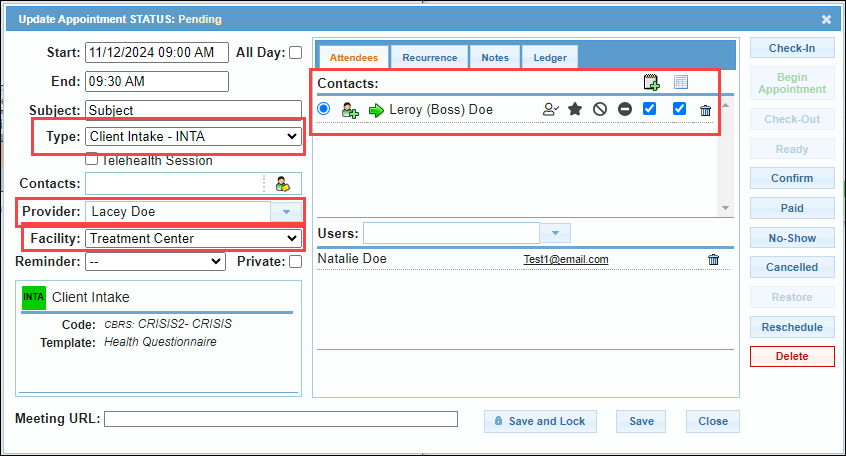
- Verify the appointment "Type", the contact's name, the "Provider" and the "Facility."
- To begin the appointment select "Check-In."
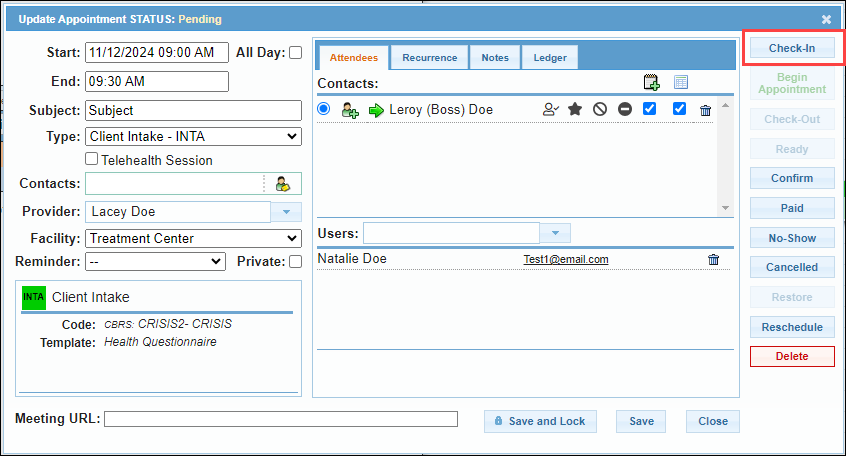
- When the appointment is checked in, documents linked to that appointment type will automatically open.
Note: If you are not the provider of the appointment, the documents will not open when selecting "Check-In", but will open when the Provider select "Begin Appointment." - Complete all necessary documentation. Save the completed documents be selecting "Save, Sign & Lock" for templates or Group Notes, or "Publish Snapshot" for Assessments and Treatment Plans. This will save those documents to the client's Activity Log.

If you "Un-Check-In" an appointment with documentation associated with it, that documentation will be Deleted.
Check-Out Appointment
- Left-click the appointment to open the appointment details window.
- In the appointment window, select "Check-Out." This will Check-Out the appointment and apply any ledger items to the contact's register.
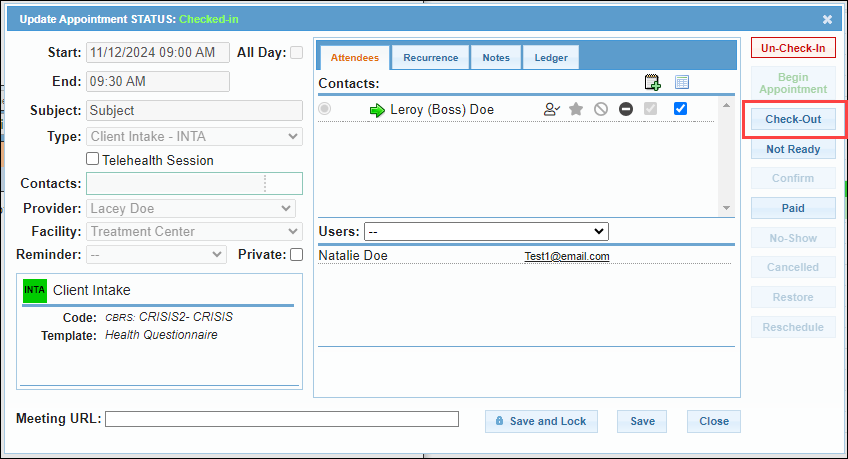
If you "Un-Check-Out" an appointment, the ledger data for the appointment will be deleted from the contact's register.
Back to top of page