This article provides a comprehensive guide to managing notes within the BestNotes Activity Log, including adding new notes, utilizing AutoNotes™, cloning existing notes, understanding note status options, generating reports, and locking/unlocking notes.
Permissions Required
- File Audit
Visual Tutorial
Click Play button
Managing Notes and Activity Log
Activity Log Navigation
Each contact's Activity Log is located on the right side of a contact's face (profile) page and represents all the activity this contact has been associated with, including appointments, uploaded files, and notes.
The Activity Log is ordered by pinned Notes, Appointments, and regular notes. They are chronological, with the newest entries at the top of the log.
Using the search feature at the top of the Activity Log, you can filter the activity log by type and search the contents of all notes stored in the activity log.
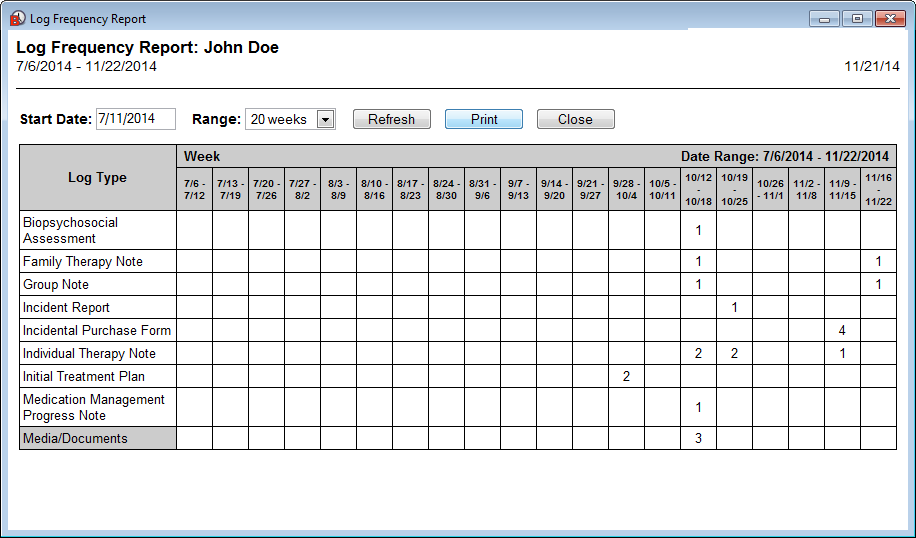
Next to the filter and search bars is an icon which brings up a graphical breakdown of the frequency with which each note type is used, as well as when documents/media were uploaded to the contact's activity log.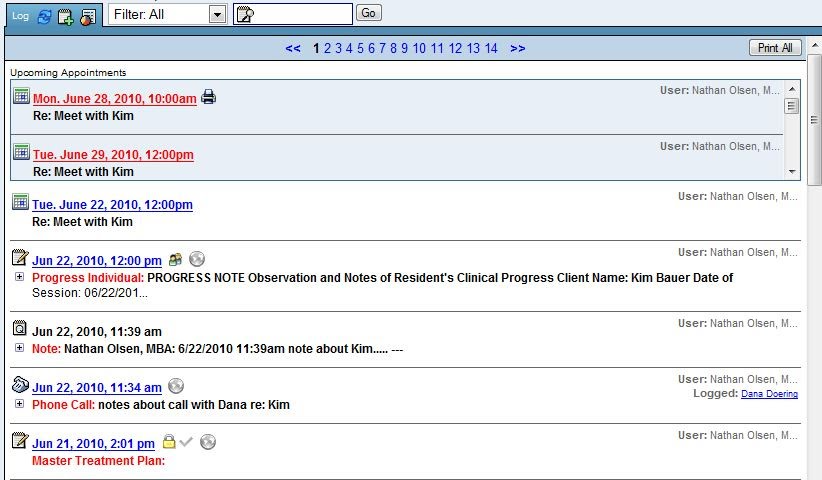
Adding a Note
- To add a note to a contact's page, click on the New Note button.
- A blank space will appear in the Activity Log, and a light blue bar with additional options will be presented. First, choose the note type by dropping down the Note selection box. The options that appear above the Template section will all be blank notes.
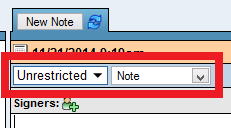
The blank notes provided in the activity log give you a way to quickly filter through the activity log to find a specific type of note.
Within the Template section, you will find AutoNotes™ which have been added to your BestNotes.
Adding and Using AutoNotes™
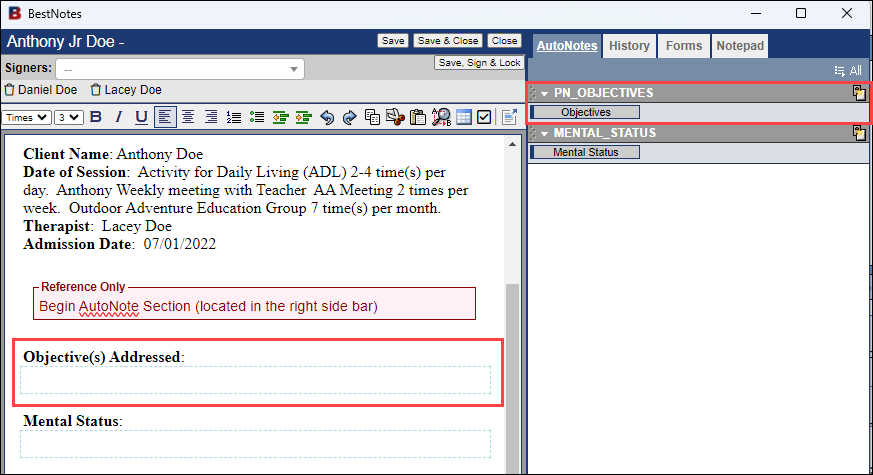
To use a template, select the template from the note selection dropdown box. Once the template is open, a screen similar to the one shown below will appear. The template is composed of blank fields and AutoNote™ sections. Hover your cursor over a blue dotted line outlined area to see what type of entry is required to fill out the field. Blank fields can be filled out by clicking on the field and typing in the desired text.
To fill out the sections labeled as AutoNotes™, click on the corresponding AutoNote™ button from the selection pane on the right side of the screen.
Clone (Copy) Note
- Click New Note.
- Select appropriate Template.
- Click on History tab.
- The same Note Types will display.
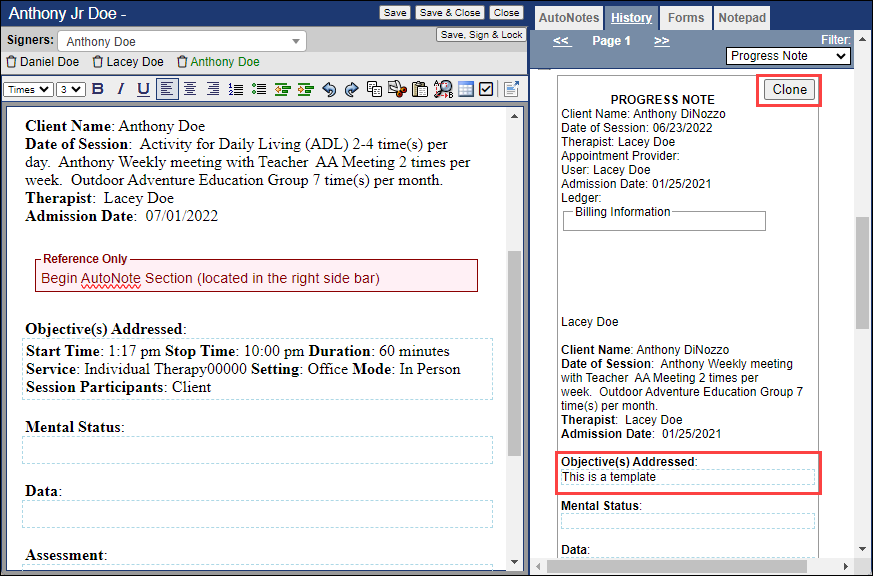
- Click on a past note to open.
- Two options to duplicate (Copy) information:
- If you are copying AutoNotes™ to the same Note Type, Double-click on individual pieces of information within the note (duplicates to the same place in the new note).
OR - Click the Clone button to duplicate the entire note (only the date and time of the new note will be different).
Post Note Creation or Status Options
When the log is listed in the Activity Log:

When the log is open:

Once a note has been saved, several new options will be available within the peach colored bar. From left to right, a user can print and delete the note or add a ledger entry to the note.
- The Append button will add additional information to the bottom of a Note.
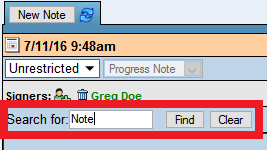
- The Find in Document icon will open buttons to search the log and highlight every text with the same characters.
- The Find button will highlight text in log.
- The Clear button will remove highlight(s).
- The Ledger icon will allow a user to add a ledger to a log and mirror on the Register tab.
- The Pin icon can keep this note at the top of the activity log.
- The Process Indicator icon can be given a number of purposes (e.g., indicating if notes had been printed for the hard copy file).
- When the Check Mark or Lock icon is clicked, the note will be locked against all editing (this can only be reversed by BestNotes staff or individuals with the File Audit permission within the organization).
NOTE: When the check mark is Green, it is marked as audited. Required signatures will not be added unless the document is unchecked. - The Globe icon, when activated, indicates to the user that this note has been made available to authorized individuals using the parent web portal.
- The Send to feature allows the user to highlight a section of text and then click this icon to send that text to other contact's activity logs.
- Next to these icons are the save and exit icons.
Reports
- Click on the paper with orange circle icon to print the client's Log Frequency Report, which will show the number of documents during a selected date range.
Log Review
The Log Review displays all documentation (e.g., Comprehensive or Templates) created in BestNotes. This report is useful for managing documentation that must be completed within a particular time frame. Select a date type and a date range to filter documentation. The User filter will default to the user currently logged in. When displaying documentation for All Users, All Log Types, a maximum date range of 1 week can be selected.
- For example, if your business requires document ABC to be completed within 7 days after a patient's arrival. The report selection would be: Admit Date, Weekly date range, and ABC log type. This will display all clients that have a start date (DOA) in that date range and the status of the ABC documentation for that client.
- Data / Results can further be filtered by: Tags and Log/Template Type.
- It displays: Client Name, Initial Contact, DOA (Date of Admission), DOD (Date of Discharge), Provider, Log Type, Filed On (Activity log date / snapshot dates), Created By, and Staff and Contact Signature status (Date/Time Signed).
- Additional options to display: DTC (number of days to document completion) from Initial Date, DTC (number of days to document completion) from Admit date, DTC from previous document and number of days since filed.
All Users vs. single User selection
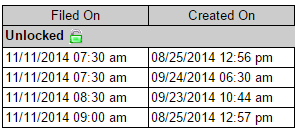
- All Users – Documents for a given log date range will display signature requirements for all users and will be grouped by log status of Unlocked, Locked, and Audited (green checkmark).
- Single User – The date range can be extended up to 1 month. The report will pull all documents created by this user and/or documents requiring their signature. The logs will be grouped by this user's signature status: Unlocked, Locked (no signature), Locked/Finalized (with signature).
The "Created On" column is only populated with information when the user running the report has the "File Audit" permission.
Log Status Report
The Log Status Report displays log entries that meet the criteria selected. It can be filtered by Date Range, Indicator (Off, On, All), Status (Unlocked, Locked, Audited, All), and Type (client, individual, business, program, all). This report displays: Name, Company Name, Log Date, User, Log Type, and Subject.
The "Created On" column is only populated with information when the user running the report has the "File Audit" permission.


Filter Notes or Print All
Upper-right of Activity Log:
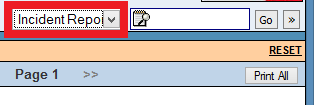
- Filter for the type of document OR search by word and click Search.
OR
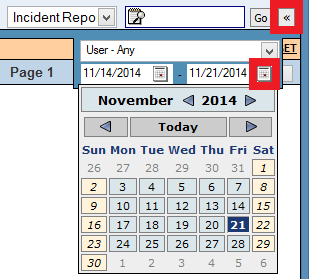
- Select Date Range and click Search.
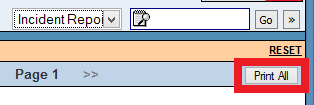
- Click Print All and it will print the documents in view (full document print).
Lock / Unlock Notes
- With the required permission, open the document (Note, Template).
- Click on the yellow Lock icon (NOTE: This will strip all the signatures off this document).
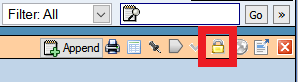
- BestNotes will prompt you to confirm.

- Once the Note is re-locked, all the BestNotes users and Contacts will need to re-sign, because it is a New note.
NOTE: Med/Clinical (Save Snapshots of Assessments, Treatment Plans (Tx)) cannot be unlocked. You have to Save a New Snapshot.
Next Steps
- See also: Filling out Templates and AutoNotes™
- See also: Ledger
- See also: Globe Icon: Making Information Available
- See also: Send To