A client's Register tab is an area to keep track of transactions. The register fields are customizable, allowing the register to track anything from apartment inventories to time spent making marketing calls.
Permissions Required
- Manage Ledger
- Ledger - Report All Providers
- Ledger - Pay Rates
Managing Register and Ledger Entries
Creating a Register Entry
The top of the register tab shows an explanation of the fields in the new entry area:
To fill out a new entry:
- Select from the Category drop down box (Insurance Copay will default to Credits).
- Select an Item/Code.
- Enter in the number of Units and a charge will be generated based on the amounts assigned to the item codes.
- Enter a Facility, as needed.
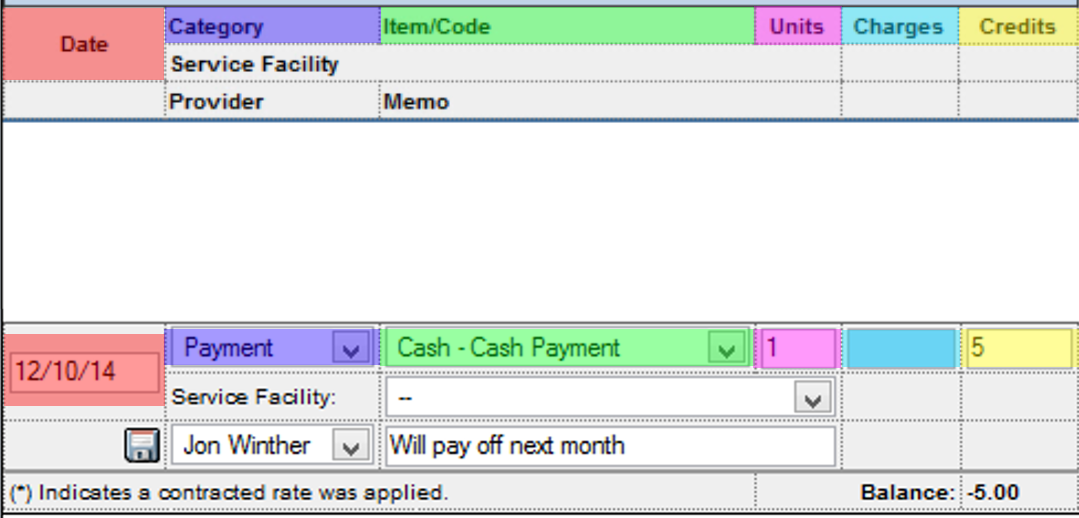
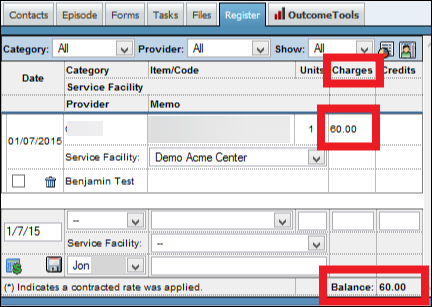
NOTE: If you do NOT see any dollar amount in the Charges field during this process, this means the amounts have been restricted and only specific users are able to see these amounts in your company.
NOTE: In order for a code to post to the register from a calendar appointment, the code has to have at least one default unit. Otherwise it does not know what to charge or how many units to charge the client.
Creating a Ledger Entry in a Note
- Click on New Note.
- Select the type of Note you would like to create.
- Enter in the notes for that session and save the note.
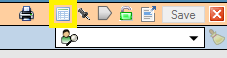
- Once the note is saved, a ledger icon will appear at the top.
- Click on the ledger icon.
- A ledger chart will appear above the note.
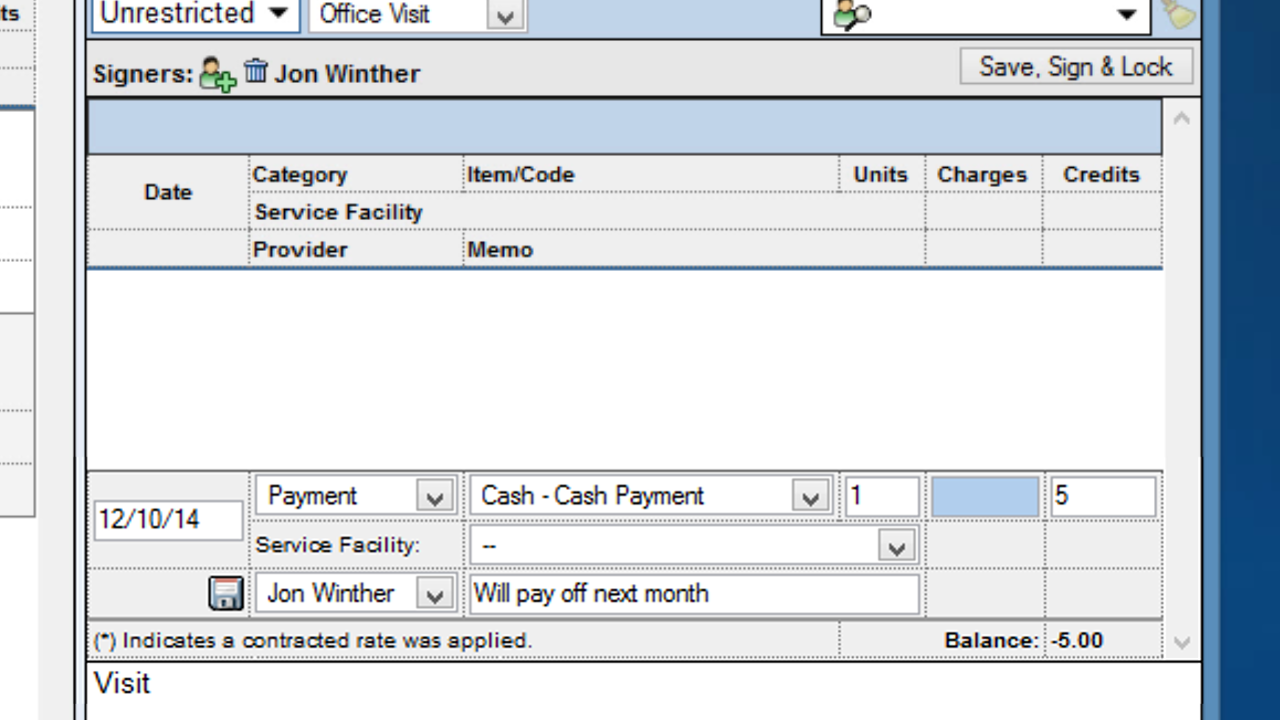
- Enter in the provider, type of session, cost of service and facility.
- Click the Save icon to the right.
- This entry has been added to the register of that client.
NOTE: To access all charges made on the ledger for a client, go to a client's page and click on the Register tab. This is a running list of all charges for this client.
Using Units and Fee Schedules
- Ledger Settings can be programmed to process default units via Fee Schedules or what a Payer wants.
- When adding ledgers, the Usual fee will populate like normal for Appointments and Group Note Group Entries, but when the ledger is saved the Fee Schedule will post and the Fee Schedule will populate when a single ledger is being added on a client's Register tab or Note.
- For example, the Insurance wants 6 units on the claim (Requires the Bill Rate to be a number that will multiply with the Fee Schedule's Default Units to get the desired amount):


Populates Usual Fee First

Posts Fee schedule upon saving.

Including Modifier and / or Add On
After a ledger is registered from either the Calendar, New Note or Register Tab, click on the + plus icon.
To cancel a Modifier, reopen the + icon menu and un-select the Modifier.

To cancel an Add On, click on the X

Register / Ledger Report
Displays fields from the ledger and organizes the information based on categories and billing codes BestNotes users are tracking.
- This is a report that can be filtered by a date range as well as many other filters.
- It allows the user to choose what fields to display (Status, Date, Category, etc.) as well as filter criteria (Date, Category, Provider, Item/Code, Tag, etc.).
Report Example:

Ledger Setup
Displays all Ledger Items/Codes created in BestNotes. It can be filtered by Category. It is sorted by Category and grouped by Procedural Codes.
Contact Ledger Balance
Displays balance as seen on the client register tab. The report can be filtered by Facility and balance type. The balance type options are 'Client Owing' (positive balance in register), 'Client Credit' (negative balance in register), 'Non-Zero Balances' and 'All'. The report is titled 'Contact Ledger Balances' and not client as it looks at all contact types in BestNotes. Ledger items can be applied to non-client type contacts.
Next Steps
- See also: Ledger Documentation
- See also: Reports Documentation
- See also: How to Create a Super Bill
- See also: Manage Ledger and Setup