This article provides step-by-step instructions on how to order lab tests for clients within BestNotes, including required client information and navigating the lab order process.
Permissions Required
- Labs - Order
- Labs - View
Ordering Lab Tests
Before creating a lab order, ensure that each ordering provider has their NPI Number entered into their User Details, as this is required for successful lab order creation.
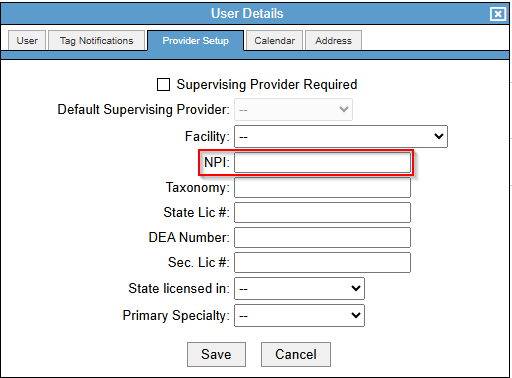
NOTE: In order for lab results to successfully import, the ordering provider specified on the order must exist as an active user in BestNotes with a valid NPI number.
Step 1 - Contact Setup
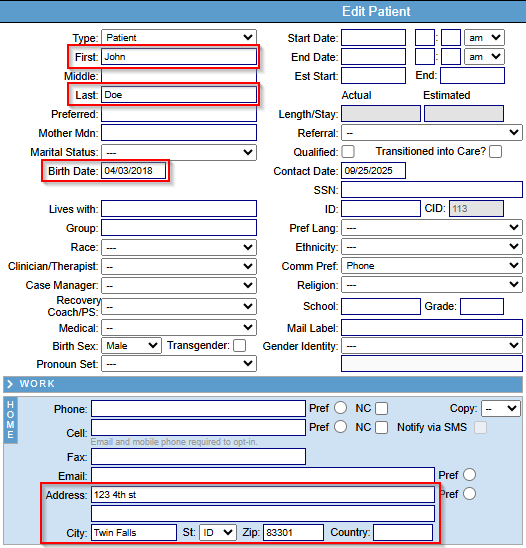
Before a lab order can be submitted, a client needs the following information added to their chart:
- First and Last Name
- Date of Birth
- Birth Sex
- Phone and/or Cell
- Home Address
- If your company has Payers in Settings, this information should be added in the client's Payers tab.
- Payers need their full information.
- If the client is a child, it is recommended the Related Contact(Parent/Guardian) has the following:
- Full Name
- DOB
- Gender
- Home Address
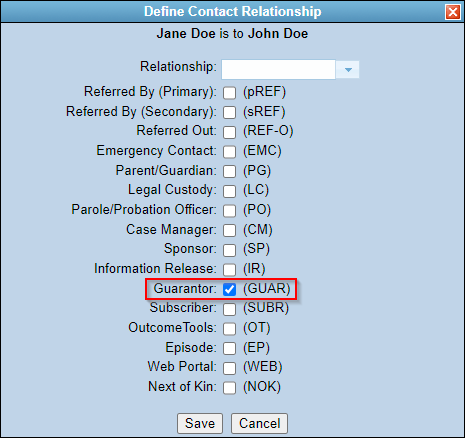
- The Guarantor relationship has been applied to the Parent/Guardian contact.
- If your company has Payers in Settings, a Payer needs to be added in the related contact's Payers tab.
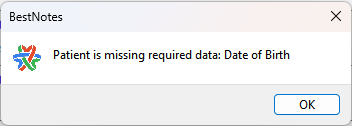
NOTE: If any information is missing, you will receive an error specifying the missing required information. Once the error is corrected, click Prepare Order again.
Step 2 - Create Lab Order
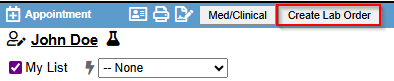
- From the client's chart, click Create Lab Order.
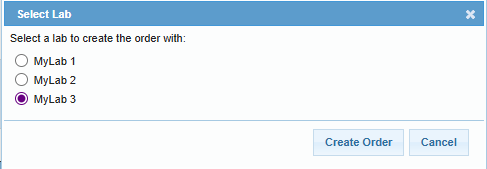
- If there are multiple lab options available in your account, you will be prompted to choose which lab the order is intended for before selecting Create Order.
Step 3 - Navigating the Order
Each section within the Lab Order can be navigated using the Chevron icons.

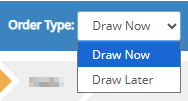
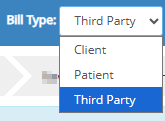
When creating a new order you may update the Order Type, Bill Type, or Cancel the order if created in error:

The Order Type determines the draw time:
The Bill Type determines which party will be billed for the order:
Step 4 - Patient Information
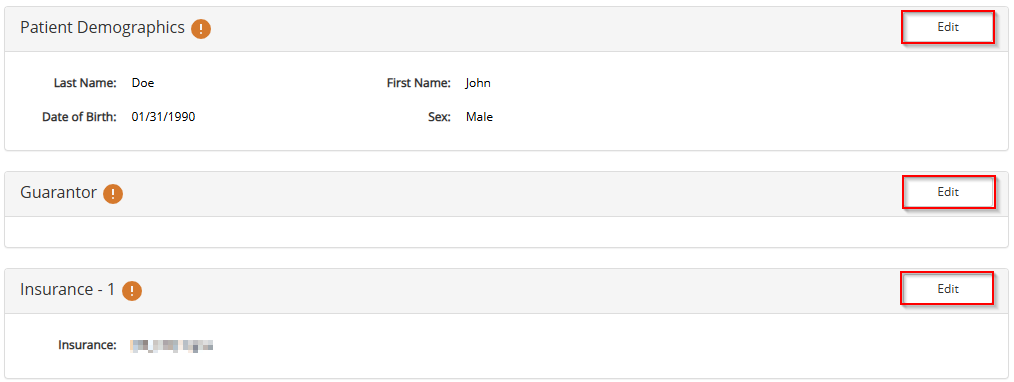
The Patient section of the order is populated with the Patient's information: including demographics, guarantor, and insurance from the client's Payers tab.
It is best practice to enter as much information as possible while creating any lab orders, to mitigate potential conflicts or result delays. The following information will automatically import from the client's chart within BestNotes:
- Client Demographics
- Primary Insurance
- Secondary Insurance
- Guarantor Contact Information
Individual sections of the order can be modified by clicking Edit.
Step 5 - Tests
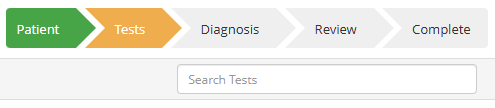
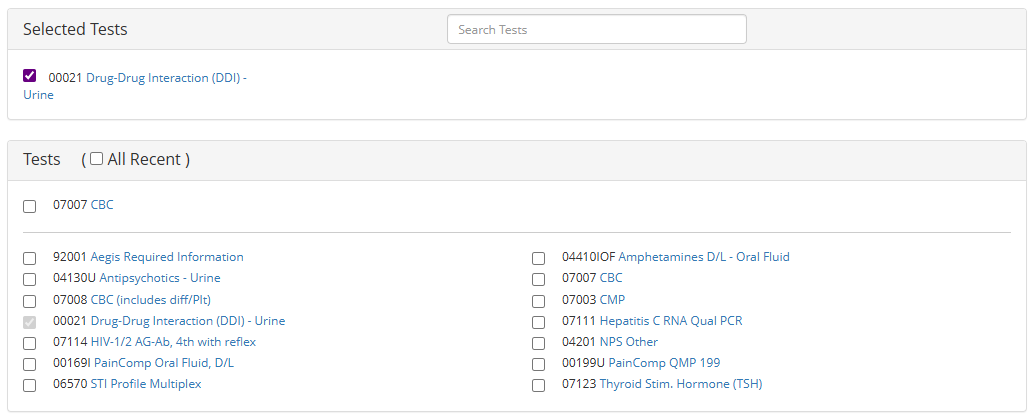
At least one test must be selected before the order will be valid. In the Search Tests field, search for the desired test by entering either the Test Code or search for the code by keyword. Once a code is added into the lab order it will be shown in the Selected Tests section:
NOTE: Available test and matching codes will differ depending on the preferred lab partner you've chosen. Any selected or recommended code can be selected to view additional details related to the test.
The Tests section will display the most recent tests that have been ordered on the current client chart. Below the client-specific collection, other frequent tests will be available to select. The listed test options will change based on the facility and the frequency of each test.
Some tests may have related questions (AOE's) to help inform the lab of unique client circumstances. If these questions are required, they will be presented after clicking Next.
Step 6 - Diagnosis
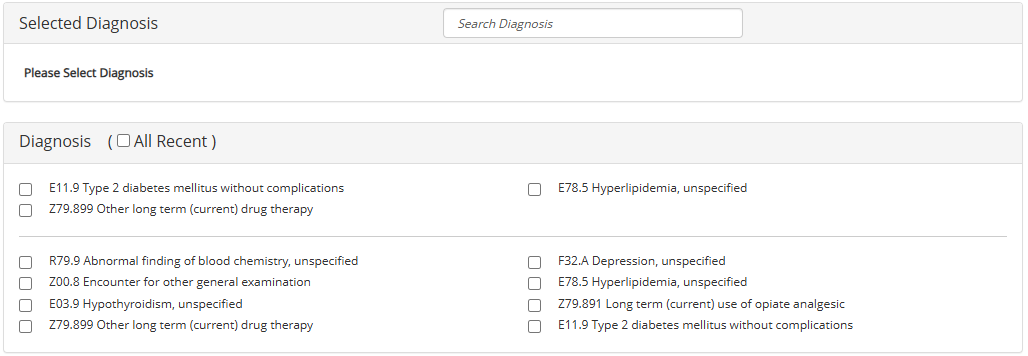
At least one diagnosis must be selected before the order will be valid.
The Diagnosis section will display the most recent diagnoses that have been ordered on the current client chart. Below the client-specific collection, other frequent diagnoses will be available to select. The listed test options will change based on the facility and the frequency of each diagnosis.
NOTE: Un-checking the checkbox for a test or diagnosis will remove the selection from the order.
Step 7 - Review
Review the options selected for the order. Any necessary changes can be made by clicking Edit in the respective section. Once the information has been reviewed and confirmed correct, select Complete.
Step 8 - Order Requisition
Upon order submission, you will be presented with a downloadable PDF referred to as the Order Requisition which may include a Specimen Label. The order requisition can be viewed or printed by clicking the dated entry found under Order or by navigating to the client's Activity Log.

NOTE: ELLKAY currently supports DYMO and ZEBRA printers for printing specimen labels. After obtaining and configuring a label printer, labels can be printed with order requisitions.
Next Steps
- See also: Managing Client Payers
- See also: Insurance Billing: Step 2 - Users, Payers, Ledger Setup
- See also: Insurance Billing: Step 3 - Insurance Claims
- See also: Episode Level of Care Payers