Permissions Required
No specific BestNotes permissions are required.Completing and Signing Documents
Adding Signers
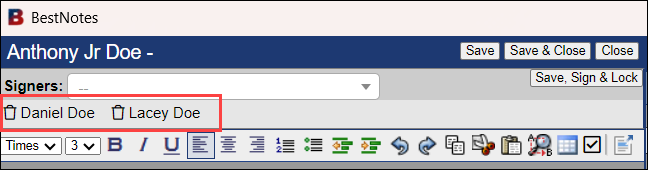
- In the top left corner, verify the signers that are listed in the light gray line.
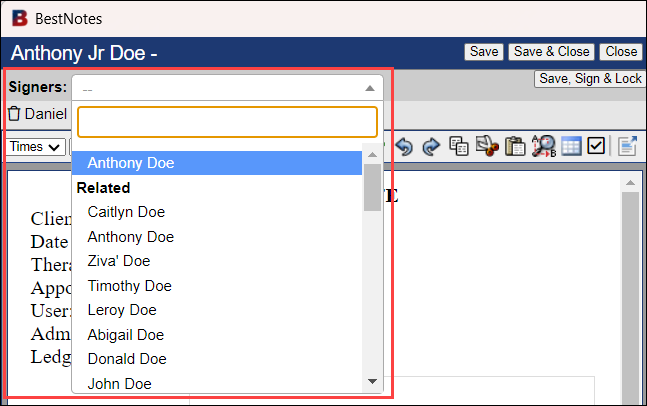
- Then add any additional signers that are necessary by selecting the "Signers" drop-down.
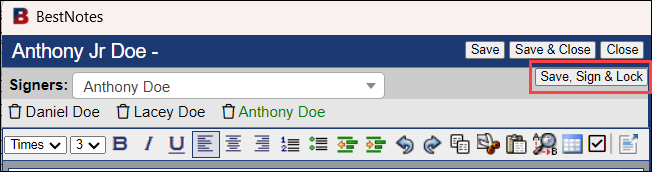
- Once all of your signers have been added, select "Save, Sign & Lock" in the top right corner.
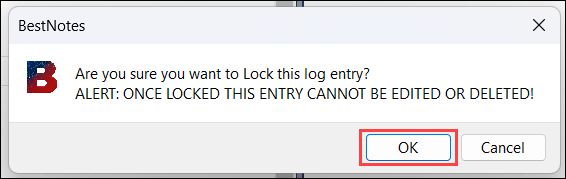
- You will receive a confirmation message to lock the document. To proceed, select "OK." This will lock the document and apply your signature.
Staff Signatures
If other users were added to the document as signers, such as a supervising provider, they will have an entry to sign in their "For Review" tab.
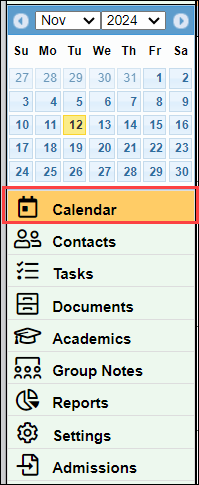
- Navigate to "Calendar."
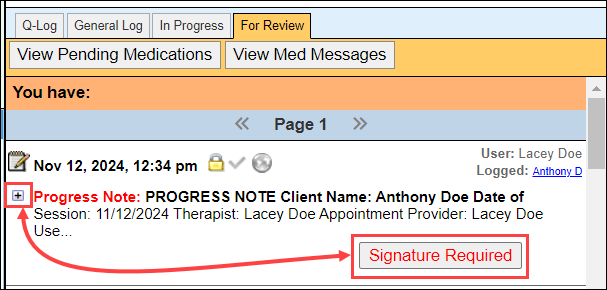
- Select the "For Review" tab.

- Select the plus symbol or the "Signature Required" button on the Entry.
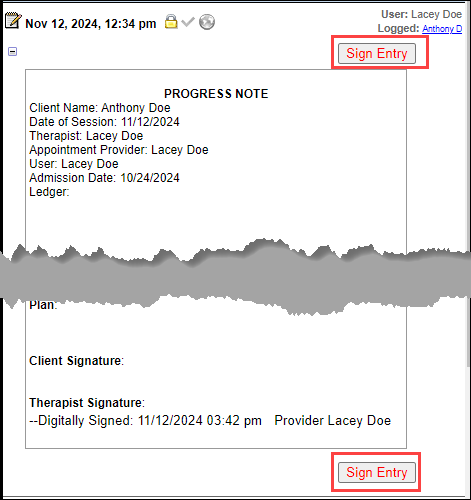
- Review the document, and select "Sign Entry."
Contact Signatures
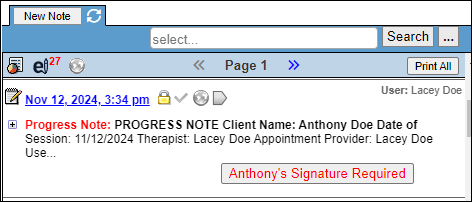
If the contact needs to sign the document, they can review and sign the document in person with a PIN, or it can be sent to their portal to review and sign the document.
You can find the document on the client's Activity Log.
Next Steps
- See also: HIPAA Compliant Client Pin and Physical Signature Link
- See also: Share documents to the portal
- See also: Signing portal documents