This article explains how to share documents with clients and their related contacts through the BestNotes client portal for viewing and signing. All signers must have an existing portal account.
To create portal accounts, see Create portal account or Related contact portal account. All document types can be shared via the portal unless your System Administrator has added specific items to the portal exception list. For more information, visit Portal document exceptions.
Permissions Required
- Web Portal
Sharing Documents to the Client Portal
To share documents to the portal, first ensure your client's portal accounts are linked. Also, note the following permission requirements:
User Permissions
To share documents with your clients on the portal, you must have the "Web Portal" permission. This permission allows you to make content available on the portal page and is never set as a default to ensure data security.
Related Contact Sharing Permissions
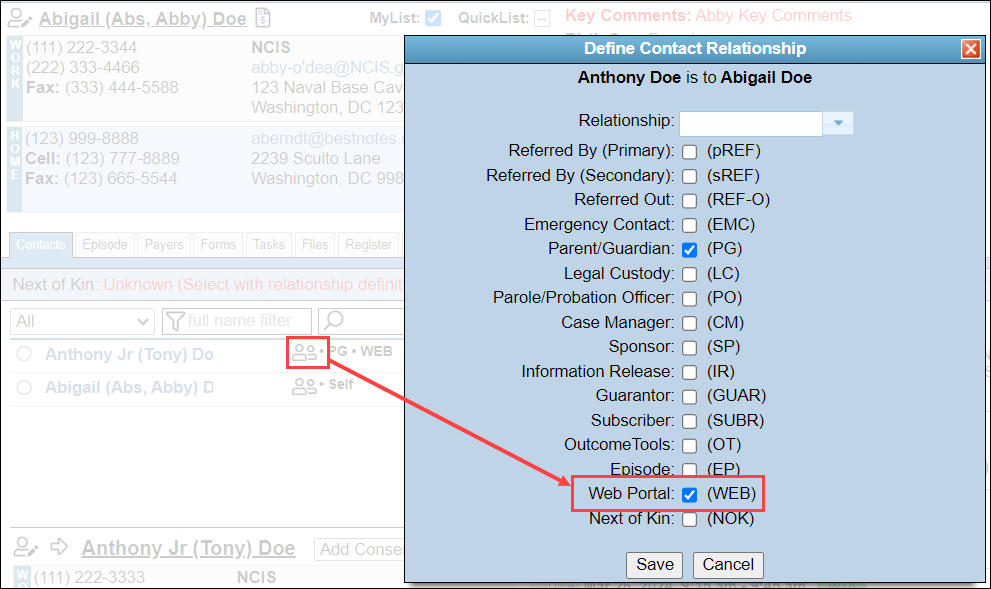
To share documents with your client's related contacts on the portal, select the "Web Portal" permission from the related contacts relationship on the contacts page. Every related contact with this permission will appear as an option to share documents via the "Web Portal."
Share from Activity Log
To share an item on the portal, first ensure your client's portal accounts are linked, and the document that you wish to share has been saved to their activity log, then follow the directions below:
Share All Available Documents
You can share all available documents to the client's portal with one click. This will only share the documents with the client, and will not share to any related contacts.
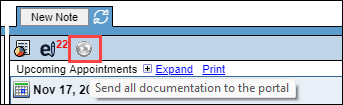
- Navigate to your client's "Activity Log" and look for the globe icon at the top.
- Select the globe icon to share all available documents to the portal.
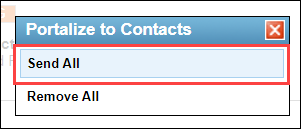
- Select "Send All" to share all available documents to the portal, selecting "Remove All" will remove all available documents from the portal.
- You will receive a confirmation message that states, "Continuing will send all documentation to the Client via their portal account." Select "OK" if you wish to proceed.

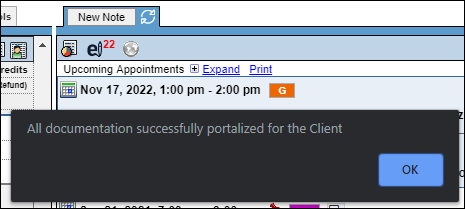
- You will receive another confirmation message that states, "All documentation successfully portalized for the client."
- This globe icon will turn orange, notifying you and other users that all documents have been sent to the portal.

- If another document is saved to the Activity Log, this globe will turn gray again, and you can repeat this process to share any new documents with the client at one time.
Share Single Documents
Sharing a single document can be sent to just the client, just a related contact, or all authorized users.
- Navigate to your client's "Activity Log" and look for the globe icon. This icon will be on any document that can be shared.
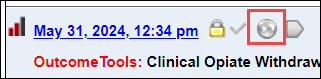
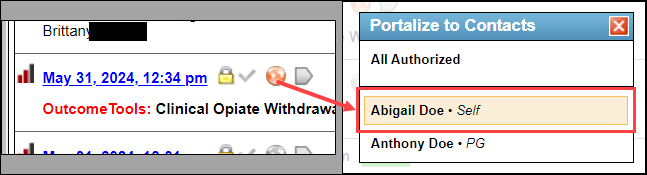
- Select the globe icon next to the entry you wish to share to show the share options.
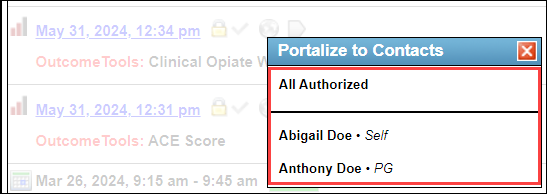
- Select the recipients you wish to share with. Once selected, the name will turn transparent orange.
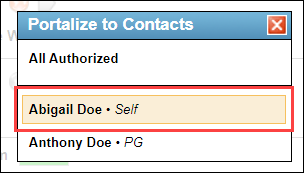
Note: Unselecting the recipients will remove the document from their portal. Otherwise, the document will stay on the portal for the selected recipients as long as your company is using BestNotes.
Once shared, if the globe icon on the activity log is blue, this means the document has been made available to all listed recipients, including the client, by selecting the "All Authorized" option.
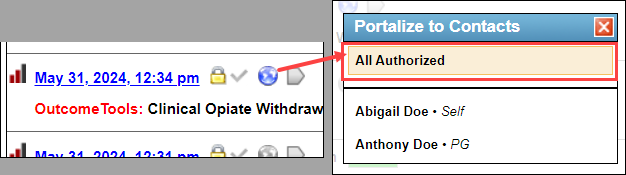
Once shared, if the globe icon on the activity log is orange, this means the document has been shared with one or more individually selected recipients.
Share from General Log
To share a group note to all the note's linked clients and related contacts at one time, follow the instructions below:
- Navigate to the "General Log."

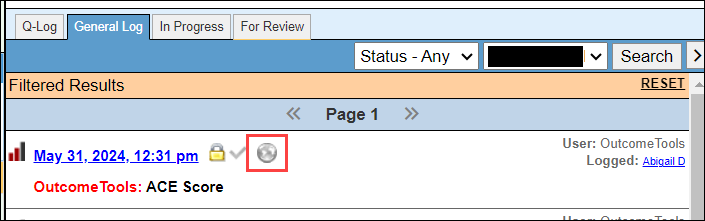
- Locate the group note you would like to share and select the globe icon.
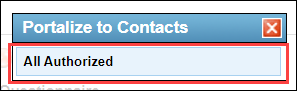
- Select "All Authorized" to share the group note to all of the participants and their related contacts with the web portal permission.
Share from Reports
Register/Ledger Report (Superbill)
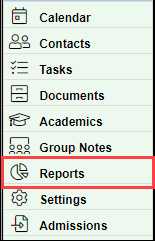
- Navigate to "Reports."
- For "Report Type" select the "Register/Ledger" report.

- Group this report by "Contact."
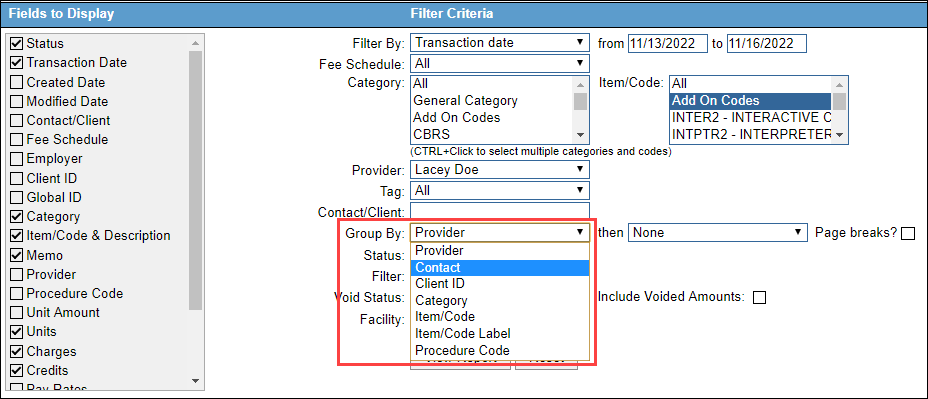
- Set any other settings that you prefer, and select "View Report."

- Select the "Portal" icon.
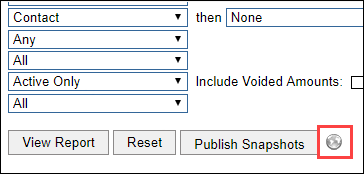
- Since the portal sharing to more than one contact instead of sharing to each individual, you will choose from "Related Groups."

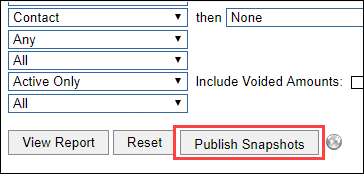
- Next, select "Publish Snapshot." This will need to be selected AFTER you have selected the portal icon. The report will not appear in the portal until the entry is saved on the client's Activity Log.
Academics Reports
You can send individual academics reports to clients.
- Navigate to client's chart.
- Select the "Academics" button.
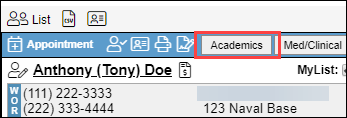
- Select the "Reports" tab.

- Select the report you would like to share.
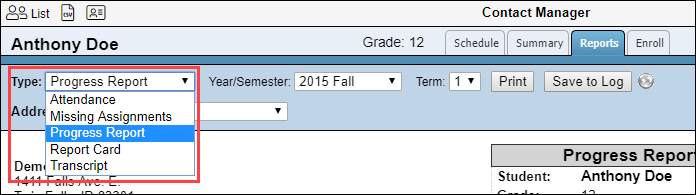
- Select the portal icon.

- Then select the "Save to Log" button. This will need to be selected AFTER you have selected the portal icon. The report will not appear in the portal until the entry is saved on the client's Activity Log.
Now that your document has been shared, your client can log in to their portal to review and/or sign these documents.